Painting a plastic bumper can seem tricky, especially if you want a smooth, professional-looking finish. With the right tools, proper preparation, and a step-by-step approach, you can achieve durable results without streaks or drips. In this guide, we’ll walk you through how to paint a plastic bumper with spray cans, covering everything from cleaning and priming to applying multiple coats and finishing with a protective clear coat. Whether you’re a DIY enthusiast or just want to refresh your car’s look, these tips will help you get the job done efficiently and effectively.
How to Paint a Plastic Bumper with Spray Cans
Some car bumpers have a matte finish, while others are glossy. Before painting the bumper, make sure to check the gloss level of the spray paint you are purchasing. You can buy special spray bumper paint or all-purpose spray paint for plastic bumpers. Before starting, make sure the bumper is clean and completely dry.
If the old paint is peeling or chipping, lightly sand it with 220-grit sandpaper. If there are deep cracks, use automotive repair putty to fix them, then sand the surface.
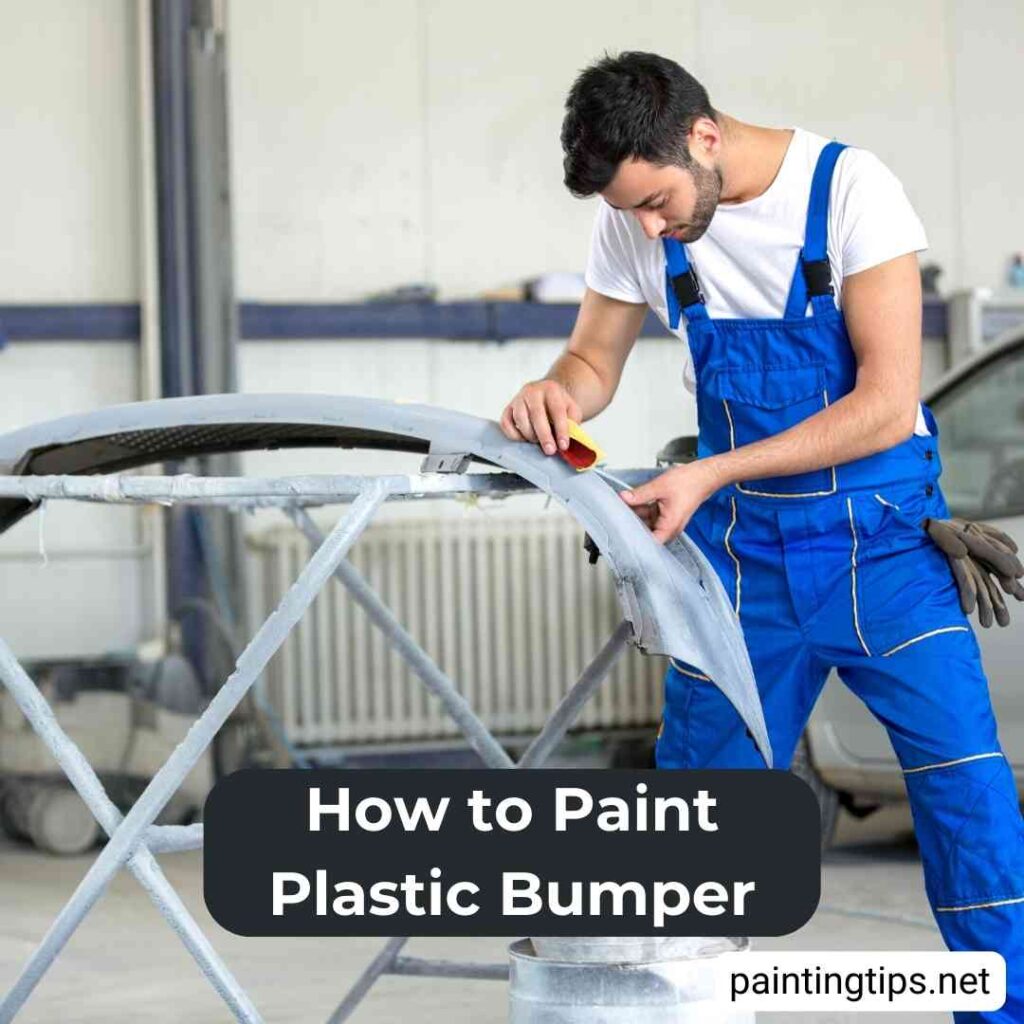
1-Remove the Bumper if Necessary
Removing the bumper before painting makes the process easier. However, if you’re only painting a section, removal may not be necessary. If you plan to remove it, having spare clips on hand is a good precaution in case any break.
2-Wash the Bumper Before Starting to Paint
Wash the bumper with soapy water and let it dry completely. This way, you can easily see any cracks or peeling paint on the bumper. Plus, the paint will adhere better.
3-Check the Condition of The Paint Cracks
Check for deep cracks. If there are any, fill them with automotive repair putty before painting. Once dry, sand the surface. Minor cracks may only require sanding. In both cases, use 220-grit sandpaper.
4-Clean off The Sandpaper Dust
After sanding, wipe off the dust with a dry cloth. Clean the bumper and inspect its final condition before painting. Make sure it’s ready for paint.
5-Apply One Coat of Spray Primer
Apply one coat of spray primer. You can use synthetic or acrylic primer. (Do not use cellulose-based primer or paint on plastic bumpers.)
6-Wait for the Primer to Dry
Let the primer dry for at least 30 minutes. Priming is one of the most important steps in bumper painting. After applying a thin coat of primer, make sure the primer is completely dry before you begin painting the bumper.
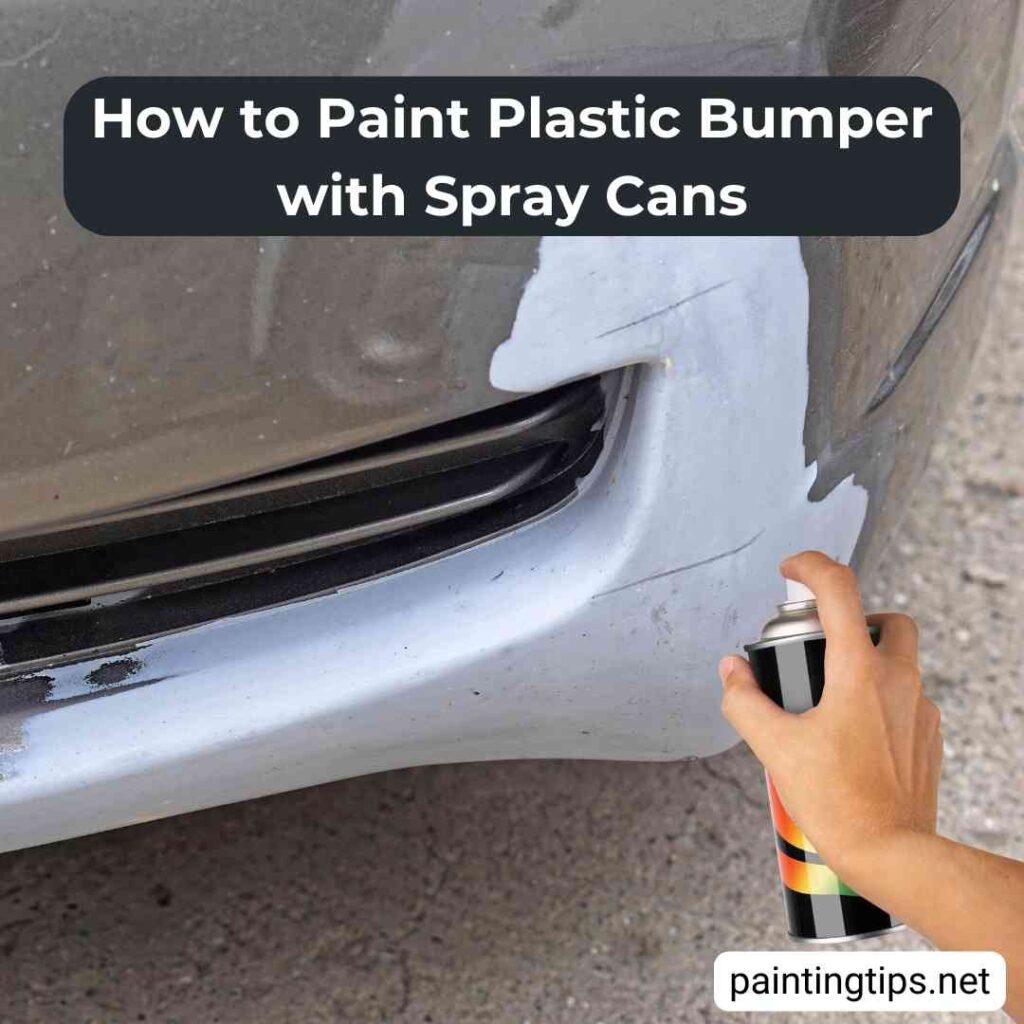
7-Apply the First Coat of Paint
Shake the spray paint can well for 1-2 minutes. Hold the can 8-10 inches (20-25 cm) away from the surface and spray in thin, even coats to avoid drips. Spraying too close can cause runs and uneven spots, requiring you to sand and repaint.
8-Allow the First Coat to Dry
Once the first coat is dry, apply a second coat after at least 20-25 minutes. Keep the layers thin to prevent dripping.
9-Apply the Second Coat
After the first coat dries, apply the second coat. This top coat is important, so make sure to apply it thinly and carefully to avoid drips and streaks.
10-Final Step: Applying Spray Varnish for a Durable Finish
For added durability, apply 1-2 coats of spray clear coat after painting. Since car bumpers are exposed to high-pressure water and soap during washes, a clear coat provides extra protection. When choosing a clear coat, consider the gloss level to match the bumper’s finish.
Additional Tips
- Do not use cellulose spray paint on plastic bumpers! Cellulose-based sprays cause plastic to shrink and fade.
- A 400 ml spray can covers approximately 1.5 to 2 m² with one coat. If you have prior spray painting experience, a 400 ml primer and 400 ml spray paint will be enough to paint two bumpers.
- Some bumpers match the color of the car. If you want a perfect color match, find your vehicle’s color code and have it custom-mixed at an auto body shop.
- Apply the spray paint in a well-ventilated area or in windless conditions. If there’s a slight breeze, position yourself so the wind is behind you. Avoid painting in very cold weather (below 41°F / 5°C).
Frequently Asked Questions
We’ve answered the most frequently asked questions about plastic bumper painting below. Feel free to use the comment section for any additional questions. “Related article: How to paint plastic.”
What Kind of Paint Do You Use on a Plastic Bumper?
You can use specialized bumper paint or general-purpose spray paint to paint a plastic bumper.
Is Bumper Paint Different Than Body Paint?
Bumper paint is usually not different from body paint. However, if the bumper’s color is different from the car’s color, a different type of paint may have been used on the bumper.
Do You Need Special Primer for Plastic Bumper?
It’s a good idea to use a specialized bumper primer for priming the bumper. However, if you can’t find it in your area, you can use a plastic primer instead.
Do I Need Primer for a Plastic Bumper?
The priming stage is important for bumper painting. It ensures that the paint adheres well to the plastic bumper.
Can I Paint My Bumper Myself?
The most challenging part of painting a bumper with spray paint is applying it without drips or runs. It’s very important to apply the paint in thin layers. Otherwise, you may need to start over. If you have experience with spray painting, you can paint the bumper yourself.
How Many Coats of Paint on a Bumper?
Paint the bumper with at least two coats. To ensure the durability of the bumper paint, you can apply a spray clear coat after painting.
Should You Sand Primer Before Painting a Bumper?
If there are no cracks or peeling in the bumper’s old paint, you don’t need to sand it. You can apply a coat of primer and paint directly.