Painting cabinet hardware is an easy and affordable way to update an old kitchen or bathroom without replacing perfectly good knobs, pulls, and handles. This guide covers the entire process, from getting your cabinet hardware ready for paint to choosing between spray paint and acrylic paint. You’ll also learn how to create an even, durable finish and deal with common issues like peeling or chipping. You’ll also find answers to common questions about painting metal, plastic, ceramic, and porcelain cabinet hardware.
How to Paint Cabinet Hardware
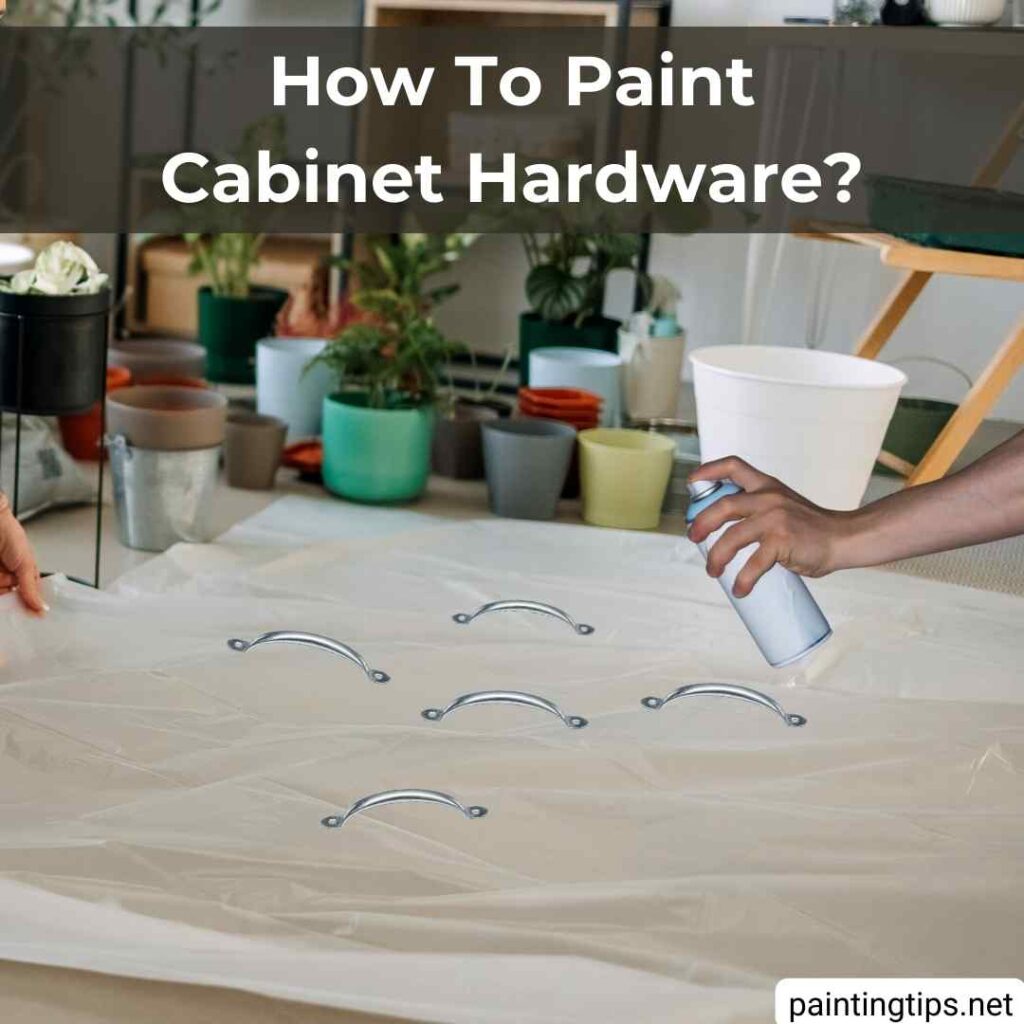
Painting cabinet hardware is a relatively simple DIY project, but the preparation makes a big difference in the final result. Cabinet knobs, pulls, and handles are touched frequently, so the paint needs to adhere properly and withstand regular use.
Before choosing a paint, consider what the hardware is made of. Metal, plastic, ceramic, and porcelain can all be painted, but some surfaces require more preparation than others.
Can You Paint Cabinet Hardware?
Yes, you can paint most cabinet hardware, including metal, plastic, ceramic, and porcelain pieces. However, the preparation and type of paint should match the material.
Metal hardware is generally easier to paint because properly prepared metal provides a good surface for primer and paint. Plastic can be more challenging because its smooth surface can make paint adhesion difficult.
If you’re working with plastic hardware, read our guide on how to paint plastic before you begin. It explains how to prepare plastic and choose a paint that is more likely to adhere properly.
Do I Need to Sand Hardware Before Painting?
Lightly sanding cabinet hardware is highly recommended, especially if the surface is glossy, smooth, or already painted. You don’t need to strip the original finish completely. The goal is simply to dull the shine and create a slightly rough surface that primer and paint can grip.
Use fine-grit sandpaper, such as 220-grit, and sand gently. If the existing paint is peeling or flaking, remove the loose paint before sanding and painting.
What Is the Best Paint for Cabinet Hardware?
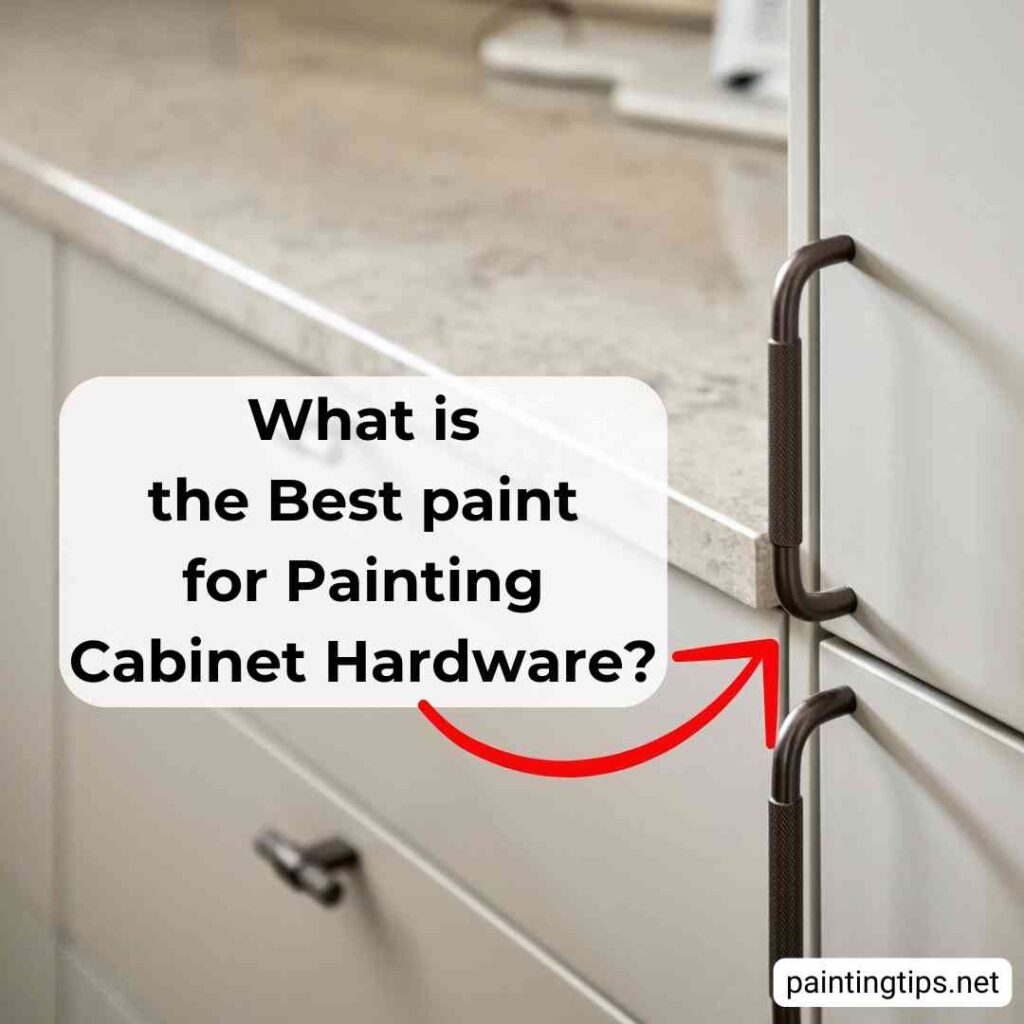
Spray paint and acrylic paint can both be used to paint cabinet hardware, but they offer different advantages.
Spray paint is usually the better choice when you want a smooth, even finish. It can cover curved handles, edges, grooves, and other details more evenly than a brush.
Acrylic paint gives you more control and can be convenient when painting a small number of pieces by hand. For better durability, choose an acrylic enamel or another acrylic paint specifically designed for the material you’re painting.
Regardless of which paint you choose, proper preparation is more important than simply choosing a particular brand or finish.
Preparing Cabinet Hardware for Painting
Good preparation helps prevent peeling, chipping, and uneven coverage. Before using either spray paint or acrylic paint, follow these basic steps.
1.Remove the Hardware
Remove the knobs, handles, pulls, and other hardware from the cabinet doors and drawers. Keep the screws and other small pieces in a container so they don’t get lost. Painting hardware while it is still attached to the cabinet makes it harder to cover all sides evenly and increases the risk of getting paint on the cabinet itself.
2.Clean the Hardware
Cabinet hardware can collect grease, fingerprints, dust, and residue from cleaning products. Wash the hardware with warm water and a suitable degreasing cleaner, then rinse it thoroughly and let it dry completely. Paint will not adhere properly to a surface that still has grease, moisture, or cleaning residue on it.
3.Sand the Surface
Lightly sand the hardware with fine-grit sandpaper, such as 220-grit. The goal is to dull glossy areas rather than remove the entire original finish. This gives the primer and paint a better surface to grip. After sanding, remove all dust with a clean, slightly damp cloth and allow the hardware to dry completely.
4.Apply Primer
Apply a thin coat of primer that is appropriate for the hardware’s material. A bonding primer can be particularly useful on smooth, glossy, or difficult-to-paint surfaces. Allow the primer to dry according to the manufacturer’s instructions rather than relying only on how the surface feels, and follow the recommended recoat time listed on the product label. If you’re unsure whether primer is necessary for your project, you can also read our guide on whether paint primer is necessary.
How to Paint Cabinet Hardware with Acrylic Paint
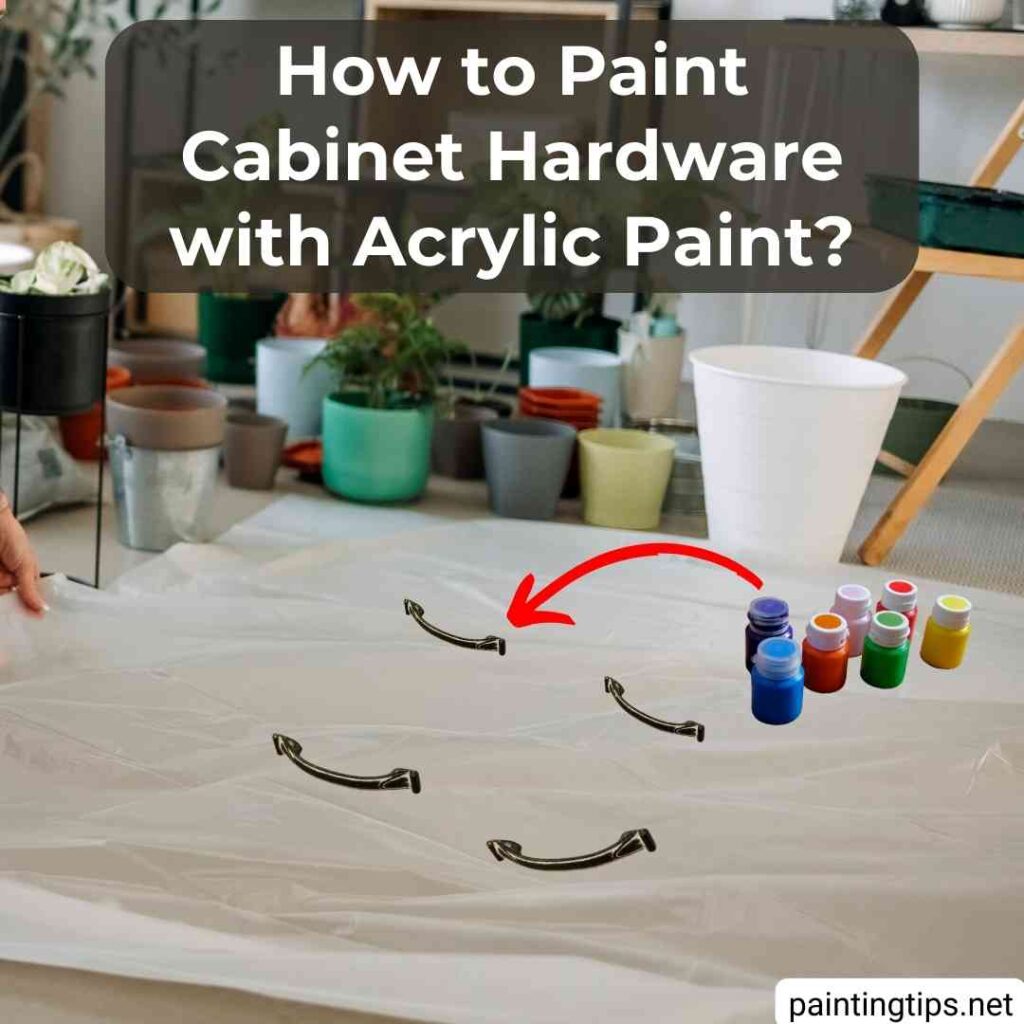
Acrylic paint can be a good choice when you want to paint hardware by hand and have more control over the application. It can work especially well for small projects, detailed pieces, or situations where spray painting isn’t practical.
1.Apply the First Coat
Use a small, high-quality brush to apply a thin, even coat of acrylic paint. Don’t try to achieve complete coverage with one heavy coat. Thick paint is more likely to create brush marks, drips, and uneven areas.
2.Allow the Paint to Dry
Let the first coat dry according to the manufacturer’s instructions. Drying times vary between products, so don’t rely on a fixed number of hours. Applying another coat before the previous one has dried properly can cause the finish to remain soft or uneven.
3.Apply a Second Coat
Apply a second thin coat if necessary to achieve even coverage. Use light brush strokes and avoid repeatedly brushing over areas that have already started to dry. This can leave visible brush marks.
4.Let the Hardware Cure
Once the final coat is dry, allow the hardware to cure before reinstalling it. Paint can feel dry on the surface while remaining soft underneath. Cabinet handles receive frequent contact, so giving the finish enough time to harden can significantly improve durability.
If the paint manufacturer recommends a protective clear coat, apply it only after the paint has dried sufficiently and make sure the products are compatible.
How to Paint Cabinet Hardware with Spray Paint
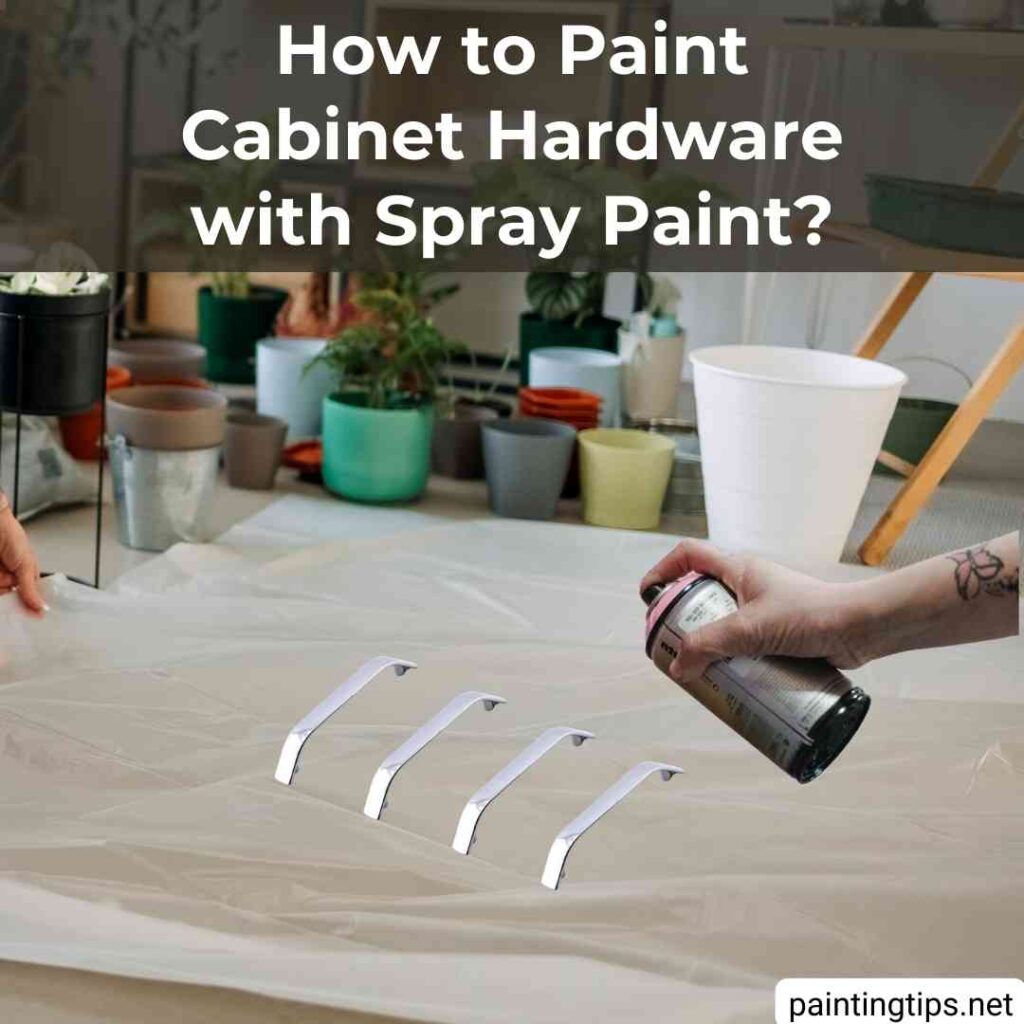
Spray paint is often the easiest way to achieve a smooth, uniform finish on cabinet knobs, pulls, and handles. Because it is applied as a fine mist, it can reach curved surfaces and small details that may be difficult to cover with a brush. Always spray in a well-ventilated area and follow the safety instructions on the product label.
1-Set Up the Hardware
Place the clean, sanded, and primed hardware on a protected surface or painting stand. Position the pieces so you can spray as much of the surface as possible without having to move them while the paint is wet.
2-Apply the First Coat of Spray Paint
Shake the spray can thoroughly and hold it at the distance recommended by the manufacturer. Use smooth, overlapping passes while keeping the can moving. Don’t stop the spray directly over one area because this can create heavy spots and runs. The first coat should be light. It doesn’t need to provide complete coverage.
3-Apply Additional Thin Coats
Allow the first coat to dry for the recommended recoat time on the product label. Apply another thin coat using the same technique. Several light coats usually produce a smoother finish than one heavy coat.
If you notice a run or heavy buildup, don’t try to wipe it away while the paint is wet. Let it dry, sand the affected area lightly if necessary, and apply another thin coat.
4-Allow the Hardware to Cure
After applying the final coat, leave the hardware undisturbed until the paint has dried and cured according to the manufacturer’s instructions.
Don’t reinstall the hardware simply because it feels dry to the touch. Handling it too soon can leave fingerprints, scratches, or pressure marks.
Spray Paint vs. Acrylic Paint for Cabinet Hardware
Both spray paint and acrylic paint can work well for cabinet hardware, but the better option depends on the type of hardware and the finish you want.
Spray paint is usually the better choice if you want a smooth, uniform finish. It works particularly well on cabinet knobs, pulls, and handles with curves, grooves, or detailed edges because the fine mist can cover these areas more evenly than a brush. Spray paint is also a practical option when you need to paint several pieces at once and want to minimize visible brush marks.
Acrylic paint can be a better choice when you’re painting only a few pieces or prefer working with a brush. It gives you more control over small details and allows you to work carefully around edges and decorative areas. If you choose acrylic paint, use a product that is suitable for the material and, for better durability, consider an acrylic enamel designed for surfaces that receive regular handling.
For frequently used cabinet handles, the preparation process is just as important as the type of paint you choose. Cleaning, lightly sanding, using a suitable primer when necessary, and allowing the finish to cure properly will help both spray paint and acrylic paint last longer.
What If You Make a Mistake While Painting Plastic Hardware?
Plastic hardware can be more difficult to repaint because some paints do not adhere well to smooth plastic. If you accidentally use the wrong paint, create heavy buildup, or simply don’t like the result, don’t keep adding more coats to cover the mistake. Removing the existing paint and starting over can produce a much better finish.
If you need to remove spray paint from plastic, read our guide on how to get spray paint off plastic before switching to a different paint or starting over. It covers practical ways to remove unwanted spray paint without unnecessarily damaging the plastic surface. If you’re dealing with acrylic paint, you can also read our guide on how to remove acrylic paint from plastic for additional removal methods.
Can You Paint Cabinet Hardware Without Removing It?
Technically, you can, but removing the hardware is strongly recommended. Painting knobs and handles while they are still attached to the cabinet makes it difficult to reach every surface evenly. It also increases the risk of getting paint on the cabinet doors and drawers. Removing the hardware takes only a few minutes and usually produces a much cleaner result.
How Long Does Painted Cabinet Hardware Last?
Properly prepared and painted cabinet hardware can remain in good condition for years, but durability depends on the type of hardware, the paint, how frequently the hardware is used, and how well the finish is allowed to cure.
Handles and knobs that are touched several times a day naturally experience more wear than decorative hardware that is rarely handled. For the longest-lasting finish, don’t rush the drying or curing process. Always follow the manufacturer’s recommendations for recoat and cure times.
What Color Cabinet Hardware Is Timeless?
Black, brushed nickel, and oil-rubbed bronze are classic choices that work with many cabinet colors and decorating styles. Brass and gold tones can create a warmer, more decorative look, while black hardware can provide stronger contrast against white, cream, or light-colored cabinets. The best choice depends on your cabinet color, countertop, lighting, and the other finishes already used in the room.
Can You Paint Metal Cabinet Hardware?
Yes, you can paint metal cabinet hardware. Spray paint is a popular choice because it creates an even finish on knobs, pulls, and handles. If you make a mistake while spray painting metal or need to remove an old spray-painted finish, read our guide on removing spray paint from metal before repainting the hardware. It explains how to remove the existing paint and prepare the metal for a new finish.
If you’re planning to paint a larger metal item as well, such as a filing cabinet, you may also want to read our guide on how to paint a metal filing cabinet. It covers the preparation and painting process in more detail.
Can You Paint Plastic Cabinet Hardware?
Yes, but plastic usually requires more careful preparation than metal. Clean the hardware thoroughly, lightly scuff the surface with fine-grit sandpaper, and use a primer or paint specifically designed to bond to plastic. For a more detailed guide, read how to paint plastic before starting your project.
Can You Paint Ceramic or Porcelain Cabinet Hardware?
Ceramic and porcelain hardware can be painted, but because these surfaces are smooth and nonporous, they need careful preparation. Clean the hardware thoroughly and lightly sand it when appropriate for the existing finish. Then use a primer and paint designed to adhere to hard, nonporous surfaces. Always check the manufacturer’s instructions before sanding or painting decorative or glazed surfaces.
Should You Seal Painted Cabinet Hardware?
A clear protective coat can provide an additional layer of protection, but it isn’t automatically necessary for every project. If the paint you choose is already designed for a durable finish, a separate sealer may not be needed. If you decide to use one, make sure it is compatible with the paint underneath. For frequently used cabinet hardware, allowing the paint to cure properly is often more important than adding an extra coat of sealer.
Should You Paint the Cabinets Too?
If repainting your hardware makes you want to update the cabinets as well, you have several options depending on the type of cabinet you’re working with.
For a kitchen makeover, read our guide on how to paint kitchen cabinets to learn how to prepare and paint cabinet doors and frames. If you’re working with unfinished wood, you may prefer our guide on how to paint raw wood cabinets, which focuses specifically on preparing unfinished wood for paint.
For a bathroom project, see how to paint bathroom vanity cabinets for a complete vanity painting guide. If your bathroom vanity already has peeling paint, don’t simply paint over the damaged areas. First, read our guide on bathroom vanity peeling to find out why it happens and how to prepare the surface correctly.
