Ceiling paint bubbling is a common yet frustrating issue that can ruin the look of an otherwise clean and well-maintained room. Whether you’re dealing with small blisters or large patches of peeling paint, these surface imperfections often signal deeper problems like moisture buildup, poor surface preparation, or incompatible paint layers. In this article, we’ll break down the most common causes of ceiling paint bubbles and provide step-by-step solutions to fix and prevent them—helping you restore a smooth, long-lasting finish.
Causes and Solutions for Ceiling Paint Bubbles
Bubbling ceiling paint is more than just an eyesore—it’s often a sign of underlying issues that need attention. If your once-smooth ceiling starts showing bubbles, blisters, or peeling, it’s essential to fix not just the visible damage but also the root cause. In this guide, you’ll learn the most common reasons behind bubbling ceiling paint, how to fix it properly, and tips for preventing it from happening again.
Common Causes of Bubbles in Ceiling Paint
Understanding why ceiling paint bubbles is the first step toward lasting solutions. Here are the main reasons this problem occurs:
1. Excess Moisture and Humidity
If you’re seeing bubbles on your ceiling, there’s a good chance moisture is to blame—especially in spaces that deal with steam and humidity on a daily basis. Water vapor can penetrate the paint and create separation between layers, forming visible bubbles as it tries to escape. You may notice bubbles appear after hot showers or cooking, or they may become worse in humid weather. These bubbles often concentrate around vents, windows, or plumbing fixtures.
Solution: Improving ventilation is key. Install or upgrade exhaust fans, use dehumidifiers in high-moisture areas, and keep doors and windows open after showering or cooking. Applying moisture-resistant paint in these areas can significantly reduce the chances of bubbling. Ceiling fans may further improve air circulation.
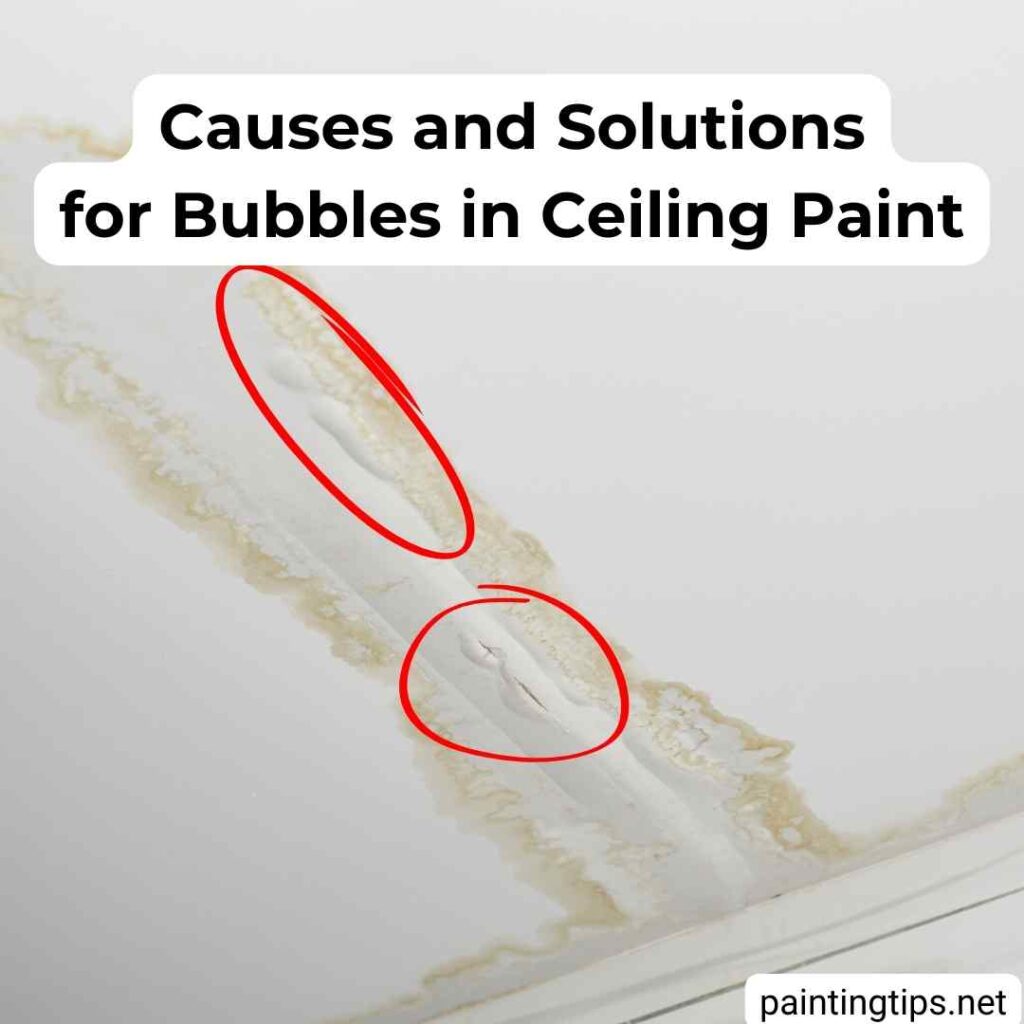
2. Water Leaks from Above
In multi-story homes or apartments, water leaks from bathrooms, kitchens, or roofing can lead to paint bubbling on the ceiling below. Water seeps through the ceiling surface and pushes up against the paint layer. Signs include bubbling in one specific area, discoloration, and issues that worsen after rain. You may also notice a line of bubbles, which could suggest pipe leakage.
Solution: First, fix the leak. This might include repairing grout in bathrooms, sealing plumbing leaks, or addressing roof damage. Once the source is fixed, apply waterproof sealants and replace damaged ceiling materials if necessary before repainting.
3. Incompatible Paint Layers
When water-based paint is applied directly over oil-based paint without the right preparation, bubbling often occurs. These two paint types don’t bond well without a proper transition, and adhesion issues can result. You’ll typically notice widespread bubbling shortly after painting, along with a tacky feel and slow drying.
Solution: Sand the surface to roughen it, then clean it thoroughly. Before applying new paint, use an oil-to-latex conversion primer. Allow proper drying time between each layer for best results. If you’re wondering about the ideal drying time between paint coats, we’ve got a detailed guide that covers everything you need to know.
4. Improper Surface Preparation
Dirty, dusty, or greasy surfaces prevent paint from sticking properly. Skipping primer or painting over peeling areas only makes bubbling more likely. Bubbles may form in patterns that match cleaning marks, and the paint may peel off easily when scraped.
Solution: Clean the ceiling thoroughly with appropriate cleaners. Address rough spots by sanding them down and make sure to mend any damaged parts. Remove all loose paint and apply a high-quality primer suitable for your ceiling type before repainting.
5. Excessive Heat
Prolonged exposure to direct sunlight—such as in rooms with large windows or skylights—can cause the ceiling paint to overheat, expand, and eventually form bubbles as it separates from the surface beneath. High temperatures cause the paint to expand and separate from the surface. You might see bubbling in sunlit areas, and the problem may shift with the sun throughout the day.
Solution: Use heat-resistant paint in sun-exposed rooms. Improve insulation above those ceilings, and consider installing curtains or blinds to block direct sunlight. Try to paint during moderate temperature conditions.
How to Fix Bubbling Paint on a Ceiling
Once you’ve identified and addressed the root cause, follow these steps to repair bubbling ceiling paint:
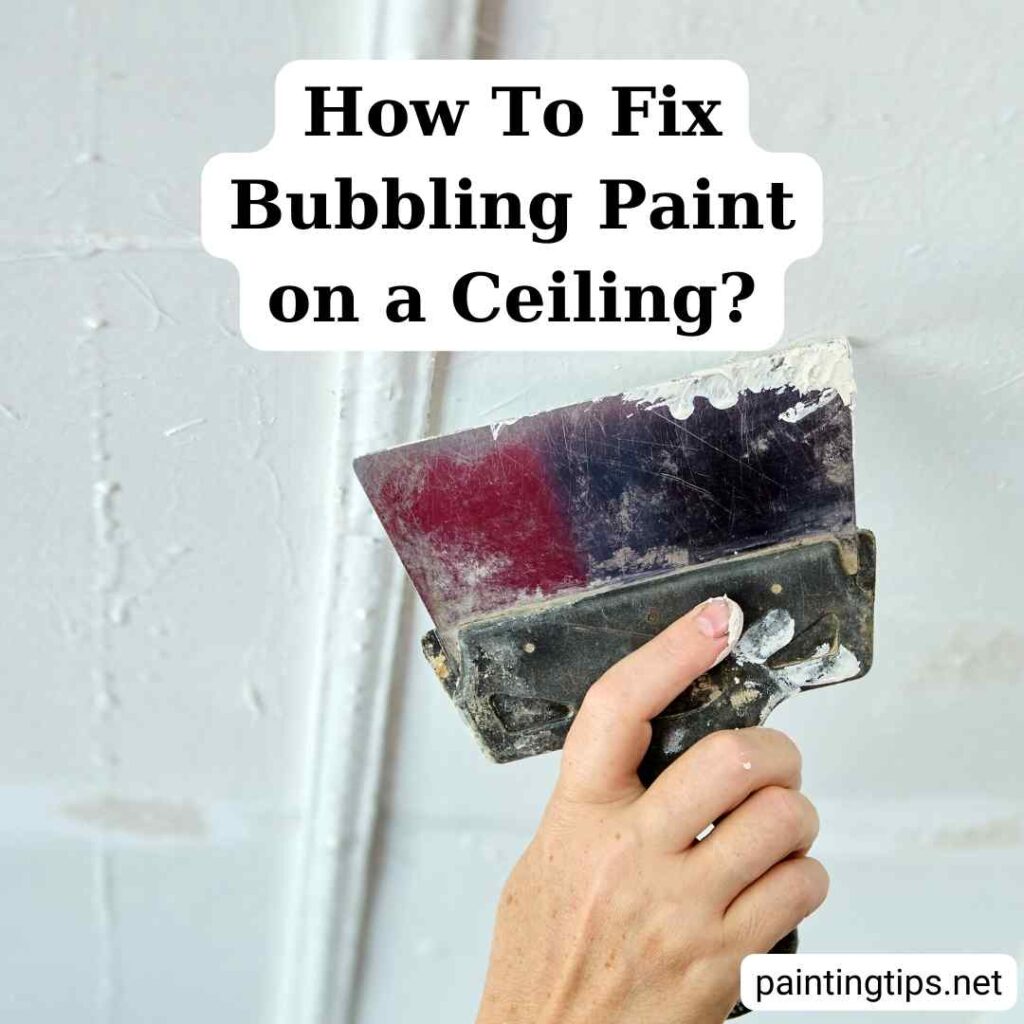
Step 1: Assess the Damage
Use a putty knife to scrape at the bubbled area. Check whether the underlying ceiling (drywall or plaster) is also damaged, soft, or discolored. Gently test nearby areas to find hidden damage.
Step 2: Prepare the Surface
Scrape away all bubbled and loose paint. Sand the edges of the remaining paint to create a smooth surface and expand your repair area slightly to ensure full removal of compromised paint. Clean thoroughly and let the area dry completely.
Step 3: Repair Any Structural Damage
If the ceiling itself is damaged, make the appropriate repairs based on the ceiling type. For drywall, apply joint compound in thin layers, allow it to dry fully, and sand between coats for a smooth finish. For plaster, use patching compound in layers and sand as needed to match the surrounding surface.
Step 4: Prime the Repaired Area
Priming ensures proper adhesion. Choose a primer suitable for your ceiling material. If water damage was involved, use a stain-blocking primer to prevent discoloration. Apply primer beyond the repaired area for even coverage and let it dry completely.
Step 5: Repaint the Ceiling
Use a high-quality ceiling paint with moisture resistance. If possible, repaint the entire ceiling to avoid color or texture differences. Instead of rushing, apply the paint in light, even layers and be sure to let each coat dry fully before adding the next one.
How Can I Prevent Ceiling Paint from Bubbling in The Future?
Stopping ceiling paint from bubbling before it starts saves both time and money compared to fixing it afterward. Begin by improving airflow in moisture-prone spaces such as bathrooms, kitchens, and laundry areas. Fix any leaks as soon as they appear to stop water from seeping into the ceiling.
Keep humidity levels in check by using a dehumidifier if necessary, especially in damp environments. Always use high-quality paint products that are designed for the specific conditions of each room. Always carefully follow the paint manufacturer’s guidelines for how to apply and how long to let each coat dry. Finally, take the time to prepare the surface thoroughly before painting—this means cleaning it well, removing loose paint, and applying a suitable primer to ensure strong adhesion.
What is the Best Paint to Use for Bathroom Ceilings?
For bathroom ceilings and other high-moisture areas, it’s important to choose paint products designed to handle humidity and prevent mold. Look for paints specifically labeled for bathroom use, as they often contain moisture- and mildew-resistant properties. Formulas with antimicrobial additives are especially helpful in preventing mold and mildew growth over time.
Semi-gloss or satin finishes are better suited for bathrooms than flat paints, as they offer greater resistance to moisture and are easier to clean. High-quality acrylic latex paints provide excellent durability and adhesion, particularly in damp conditions. For added convenience and performance, consider using a paint and primer in one product to ensure better bonding and protection.
Can I Apply Water-Based Paint Directly over Old Paint on The Ceiling?
It depends on the type of paint currently on the ceiling. If the existing paint is also water-based, you can usually proceed after lightly sanding the surface and cleaning it thoroughly.
However, if the old paint is oil-based, more preparation is needed to ensure proper adhesion. In that case, you should sand the surface to create a texture the new paint can grip onto, then clean it carefully to remove any dust or residue. Before applying water-based paint, use a conversion primer designed to bond water-based paint over oil-based surfaces. Make sure to let the primer dry completely according to the manufacturer’s instructions before painting.
Final Tips
Ceiling paint bubbles are more than a cosmetic issue—they’re often a warning sign of deeper problems like moisture infiltration, poor surface prep, or incompatible paint types. To achieve a long-lasting, flawless ceiling finish, it’s essential to identify and fix the root cause before making repairs.
Prevention is the best defense. Start by improving ventilation in your home, especially in moisture-prone areas like bathrooms and kitchens. Always use the right type of paint—moisture-resistant formulas and mold-inhibiting additives can make a significant difference. In bathrooms, ensure exhaust fans vent outside, consider upgrading to humidity-sensing models, and opt for semi-gloss or satin finishes for better durability.
If you notice bubbling along with dark spots, mold might be present. In such cases, clean the area thoroughly, use a mold-killing primer, and apply mildew-resistant paint to avoid recurring problems.
By taking the time to prepare surfaces properly, choosing the right materials, and addressing moisture at its source, you can keep your ceilings smooth, beautiful, and bubble-free for years to come.