You’ve just finished a beautiful paint job, but now you’re staring at a brush stiff with oil-based paint. Sound familiar? Here’s the truth: a quality paint brush is an investment, and with the right cleaning technique, it can last you years—even decades. But leave oil-based paint to dry in those bristles, and you might as well toss it in the trash. The good news? Cleaning oil-based paint from your brushes doesn’t have to be complicated or time-consuming. Whether you’re a weekend DIYer or a seasoned professional, mastering this simple skill will save you money, keep your tools in top shape, and ensure every project starts with a brush that’s ready to deliver flawless results.
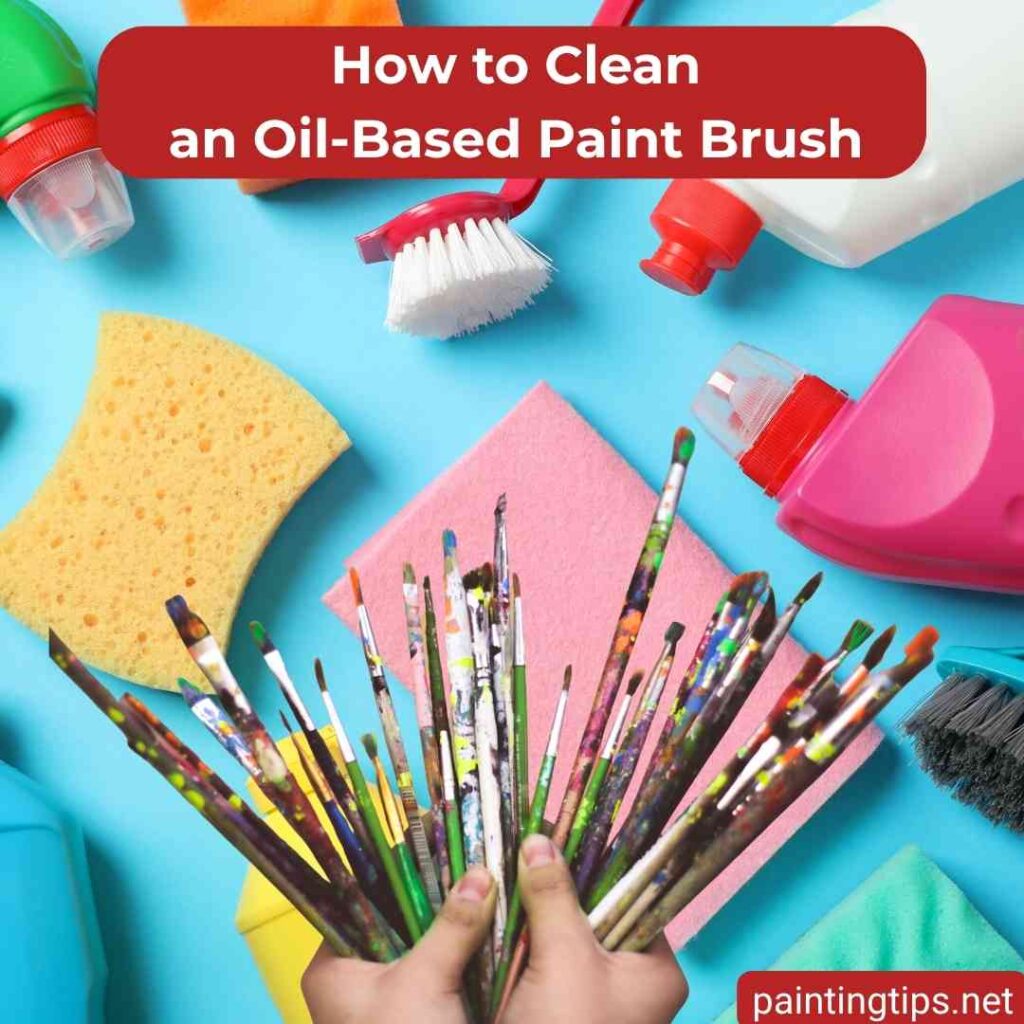
How to Clean an Oil-Based Paint Brush in 5 Easy Steps
Learning how to clean an oil-based paint brush properly is essential for any painter. Unlike water-based paints, oil-based paints require solvents to break down their petroleum or alkyd resins. The key is acting fast—once oil-based paint dries in the bristles, removal becomes nearly impossible. Different solvents offer varying levels of effectiveness, odor, and safety. Paint thinner and mineral spirits are the most popular choices for professional results, while turpentine, alcohol, and commercial brush cleaners each have their place depending on your specific needs and workspace conditions. “A related article: How to remove oil paint from clothes.”
1-Wipe Off Excess Paint
As soon as you’re done painting, scrape off as much paint as possible using the edge of the can, a putty knife, or cardboard. Press the bristles flat against the edge and pull downward to squeeze out wet paint. Don’t skip this step—removing excess paint now means you’ll use less solvent and clean your brush faster. The more paint you remove at this stage, the easier everything else becomes.
2-Dip and Swirl in Your Chosen Solvent
Pour a small amount of your chosen solvent (turpentine, paint thinner, mineral spirits, alcohol, or brush cleaner) into your first container—just enough to cover the bristles without touching the metal ferrule. Swirl the brush around gently, working the solvent deep into the bristles from ferrule to tip. You’ll see the paint begin to break down and cloud the solvent. Let it sit for a minute or two if needed, then gently comb through the bristles with your fingers or a brush comb to loosen stubborn paint trapped near the base.
Related article: Can paint thinner remove paint?
3-Rinse in Fresh Solvent
After the initial cleaning, dip the brush into a second container with clean solvent. This step washes away any remaining paint residue. Swirl and press the bristles against the container bottom, then wipe on paper towels. Keep repeating the rinse in fresh solvent until the liquid runs clear and your brush feels soft and ready to use. For heavily soiled brushes, use a third container for an extra-thorough rinse.
4-Wash with Warm Soapy Water
Now that the paint is gone, it’s time to remove any lingering solvent. Squeeze a little dish soap into your palm and gently massage it into the bristles using your fingers, working from the ferrule outward. Got an old toothbrush lying around? Use it to scrub deep between the bristles and remove any stubborn paint particles. Keep rinsing under warm running water until there’s no paint, solvent residue, or cloudy soap left—just clear water and clean bristles.
5-Dry and Store the Brush Properly
Give the brush a gentle shake to remove excess water—like you’re flicking off the last drops. Gently squeeze the bristles from ferrule to tip to remove more moisture. Reshape the bristles with your fingers so they maintain their original form. If possible, hang your brush so the bristles point downward—this prevents water from pooling where the handle meets the ferrule, which can loosen the glue and cause bristle loss. Never store your brush standing upright on its bristles, as this permanently bends and ruins their shape. Once completely dry, store brushes flat or hanging in a clean, dry place.
Solvent Options
Selecting the right solvent makes all the difference when cleaning an oil-based paint brush effectively. Each solvent has unique properties that affect cleaning power, drying time, odor levels, and safety considerations. Always work in a well-ventilated area, wear protective gloves, and dispose of used solvents according to local regulations.
1-Cleaning with Paint Thinner
Paint thinner is the most commonly used solvent for cleaning oil-based paint brushes. It’s a mixture of petroleum distillates that provides aggressive cleaning power at an affordable price. Paint thinner works quickly to break down oil-based paint and is readily available at any hardware store.
To clean with paint thinner, follow the 5-step method above. Pour paint thinner into your container and work the brush vigorously with swirling and pumping motions. The paint will dissolve almost immediately. As the thinner becomes saturated with paint, replace it with fresh solvent for your second rinse. Continue until the bristles run clear, then finish with soap, water, and proper drying. “A related article: Does thinners remove paint?”
Pros: Fast-acting, inexpensive, widely available, highly effective Cons: Strong odor, requires good ventilation, flammable.
2-Cleaning with Mineral Spirits
Mineral spirits (also called white spirits) are a refined petroleum distillate that many professional painters prefer for cleaning oil-based paint brushes. They’re less toxic and less odorous than paint thinner while still providing excellent cleaning power. Mineral spirits work more gently, making them ideal for delicate or expensive brushes.
Use mineral spirits following the same 5-step process. Pour it into your container and work it through the bristles with your gloved fingers, starting from the ferrule. Press the bristles against the container bottom to release paint. Mineral spirits may require a bit more patience than paint thinner, but the reduced fumes make it worth the extra minute or two. Replace with fresh solvent as needed until the brush runs clear.
Pros: Less odorous, less toxic, gentler on bristles, professional choice Cons: Slightly more expensive, works a bit slower than paint thinner.
3-Cleaning with Turpentine
Turpentine is a traditional solvent derived from pine trees that’s been used by artists for centuries. It’s highly effective at dissolving oil-based paint but comes with a strong, distinctive odor. Fine artists often prefer turpentine for cleaning natural-bristle brushes used with oil paints.
Pour turpentine into a container deep enough to submerge the bristles without touching the ferrule. Following the 5-step method, swirl the brush vigorously and press against the container bottom to release trapped paint. You’ll see the paint bleeding out quickly. Repeat in fresh turpentine if necessary, then finish with soap and water.
Pros: Highly effective, traditional artist’s choice, natural origin Cons: Very strong odor, more expensive, can be harsh on synthetic bristles.
4-Cleaning with Alcohol
Denatured alcohol or isopropyl alcohol (at least 90% concentration) can clean oil-based paint from brushes, though it’s generally less effective than petroleum-based solvents. Alcohol works best for light cleaning jobs or as a final rinse after using another solvent first.
Pour alcohol into a container and submerge the bristles. Work the brush vigorously—alcohol evaporates quickly, so you’ll need to work faster. For heavily painted brushes, do a preliminary cleaning with paint thinner or mineral spirits first, then use alcohol for a final cleaning. This combination reduces exposure to stronger petroleum solvents. After cleaning with alcohol, wash with soap and water and dry properly.
Pros: Less harsh fumes, evaporates quickly, good for final rinse Cons: Less effective than other solvents, requires more effort, evaporates fast.
5-Cleaning with Commercial Brush Cleaner
Commercial paint brush cleaners are specially formulated products designed specifically for cleaning oil-based paint brushes. They often contain a blend of solvents plus conditioning agents that help maintain bristle quality and flexibility. These products are available at most paint and hardware stores.
Follow the manufacturer’s instructions on the product label, as formulations vary. Generally, you’ll pour the cleaner into a container and work the brush through it thoroughly following the basic 5-step method. Many brush cleaners are less harsh than pure solvents and include ingredients that condition the bristles while cleaning. Some are biodegradable and less toxic, making them ideal for indoor use or for those sensitive to chemical fumes.
Pros: Conditions bristles, less toxic options available, specifically formulated for brushes Cons: More expensive, effectiveness varies by brand
Final Tips
Regardless of which solvent you choose, always finish by washing your brush thoroughly with mild dish soap and warm water. This removes all solvent and paint residue. Rinse until the water runs completely clear. Never wring or twist the bristles, as this damages the brush shape.
With proper cleaning after each use, quality paint brushes can last for many years and countless projects. The few extra minutes you spend cleaning your oil-based paint brush properly is an investment in your tools and the quality of your future work. Master these techniques once, and you’ll never waste money on ruined brushes again. “A related article: How to clean oil based paint off skin.”