Grouting your tiles may seem like a small step in tiling, but it’s crucial for both the appearance and durability of your surfaces. Proper grout application prevents water damage, mold growth, and tile movement, while also giving your floors and walls a polished, professional look. Whether you’re a beginner or tackling a DIY project for the first time, this guide will walk you through every step—from selecting the right grout and prepping the joints to applying, cleaning, and sealing—so you can achieve long-lasting, flawless results.
How to Grout Tiles
Properly grouting your tiles isn’t just about aesthetics—it’s essential for the durability and integrity of your tiled surfaces. Poor grouting can lead to serious issues: water leakage that causes structural damage and mold growth, uneven application that looks unattractive, tile movement and cracking that require costly repairs, and maintenance challenges due to dirt and moisture buildup in poorly finished grout lines. The good news? Grouting tiles is a DIY-friendly project that doesn’t require professional skills. Here’s everything you need to know to get it right.
Can You Grout Over Old Grout?
It’s possible, but for the best results, you should completely remove the old grout. New grout won’t bond well to the old grout, leading to cracking and an uneven appearance. Remove the old grout thoroughly and clean the joints before applying new grout. For severely damaged grout, complete removal and replacement is always the safest and most effective approach.
1-Ensure Tiles Are Secure

Before beginning the grouting process, verify that all tiles are firmly set. This is especially important for floor tiles, as loose tiles can shift during grouting, causing cracks in both the tiles and grout lines. Press gently on each tile to confirm they’re stable and fully adhered to the substrate.
2-Clean the Grout Lines Thoroughly

For proper adhesion, grout lines must be completely clean. Remove any adhesive residue, spacers, debris, or old grout using a grout scraper or utility knife. Vacuum the entire surface to eliminate dust particles that could compromise the new grout’s integrity.
3-Select the Right Grout Type

Choosing the right grout is critical for a successful installation. The recommended joint width for proper application is usually listed on the packaging. If the grout is used in joints wider than specified, it may crack over time. That’s why it’s always important to follow the manufacturer’s instructions.
4-Mix the Grout Properly

Pour the grout into a clean bucket and slowly add water while mixing. Stir thoroughly until you get a smooth, peanut butter-like consistency—not too runny, not too stiff. Let the mixture sit for 5–10 minutes, then give it a quick remix before applying.
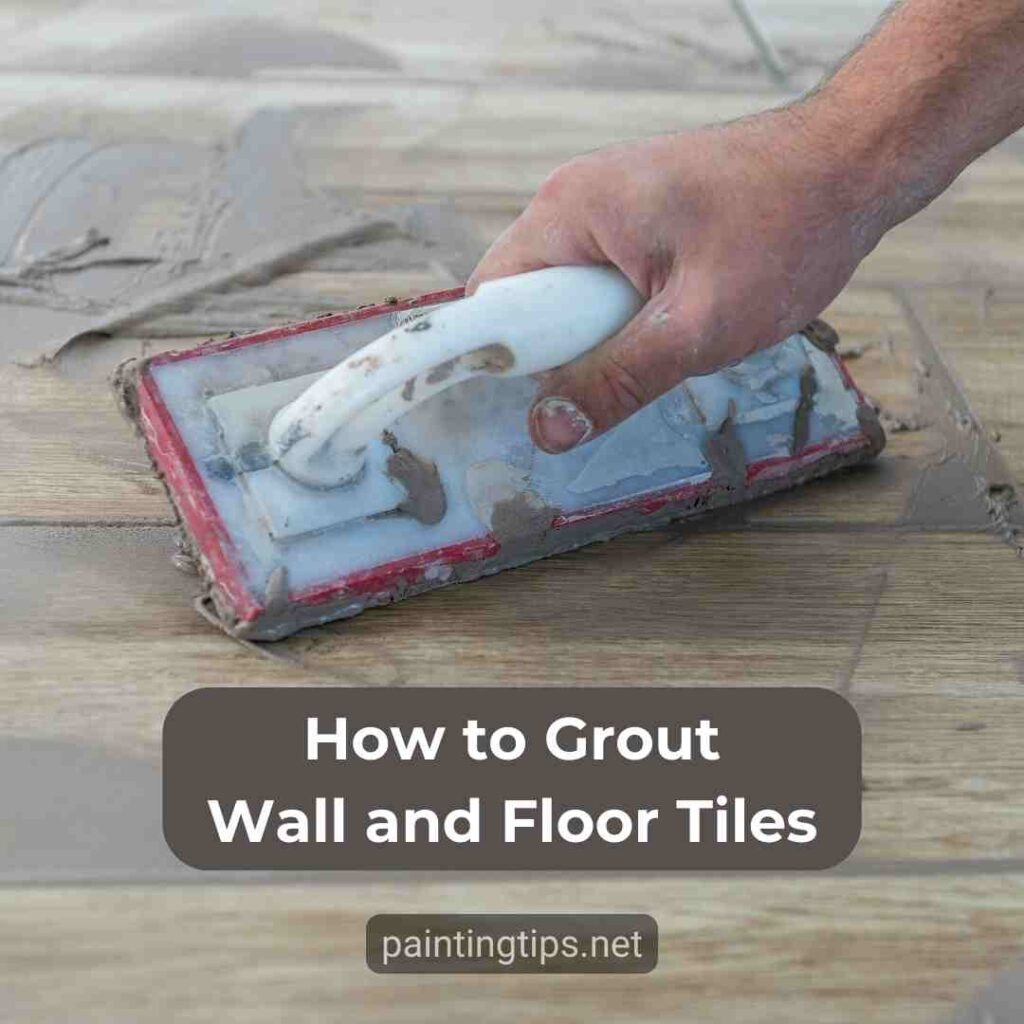
5-Apply the Grout Effectively

Scoop a workable amount of grout onto your tiles using a spatula. Hold your rubber float at a 45-degree angle and spread the grout diagonally across the tiles, pressing firmly to pack the joints completely. Work in manageable sections of about 10 square feet at a time.
Pro Tip: Begin grouting from the farthest corner of the room and work backward toward the exit. This strategy prevents you from stepping on freshly grouted areas.
6-Clean Excess Grout at the Right Time

Timing is crucial when removing excess grout. Wait until the grout begins to haze over (typically 20-30 minutes after application), then use a damp—not wet—grout sponge to gently clean the tile surfaces. Rinse and wring out your sponge frequently, working in circular motions across the tiles.
Make two passes: first to remove the bulk of excess grout, and a second lighter pass to clean any remaining haze. Be careful not to dig into the fresh grout lines with your sponge.
7-Allow Proper Curing Time

While grout may appear dry within 2-4 hours depending on room temperature and humidity, complete curing takes longer. Avoid walking on freshly grouted floor tiles for at least 24 hours. For shower or bathroom installations, wait 72 hours before exposing the area to water.
After the grout has dried completely (usually 48-72 hours), apply a high-quality grout sealer to protect against stains and moisture—particularly important in kitchens and bathrooms. “Related article: Painting grout.”
How Long Do You Leave Grout Before Wiping Off?
Wait 15–30 minutes, or until a slight haze forms on the tile surface. Test by touching the grout—it should feel firm but not fully dry. Wipe with a damp sponge, not too early or too late, to avoid pulling out grout or leaving hard-to-remove residue.
Materials You’ll Need:
- Grout.
- Clean grout sponge.
- Bucket for mixing.
- Rubber grout float.
- Metal spatula or margin trowel.
- Clean water.
- Microfiber cloth for final polish.
Frequently Asked Questions
What Is the Best Way to Apply Grout Between Tiles?
Use a rubber grout float at a 45-degree angle to press grout firmly into the joints using diagonal strokes. Work in small sections (around 10 square feet) to prevent the grout from drying before cleanup. For corners, use your gloved finger to press grout into tight spots.
How to Grout Tiles for Beginners?
Clean the grout lines and mix a small batch of grout to a peanut butter-like consistency. Use a rubber float to press grout firmly into the joints with diagonal strokes. Work in small sections, wipe off excess grout after 15–30 minutes with a damp sponge, and let it dry for 24 hours. Seal after 48–72 hours for long-lasting results.
What Are the Biggest Grout Mistakes?
Common grout mistakes include using the wrong type of grout, mixing it with too much or too little water, skipping the resting time after mixing, and working on too large an area at once. Cleaning too early or too late, using too much water during cleanup, walking on grout before it cures, skipping sealing, and applying uneven pressure can all lead to poor results.