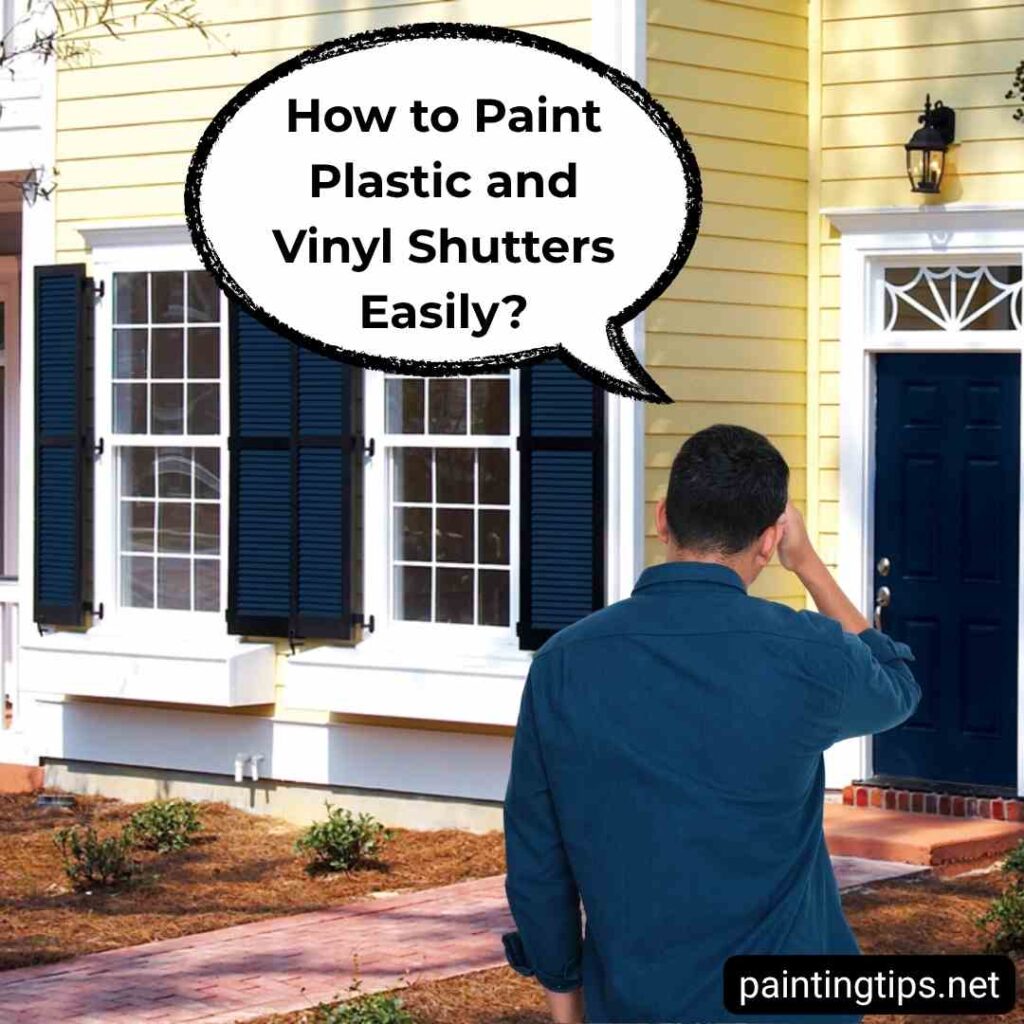
Plastic and vinyl shutters add charm and dimension to your home’s exterior, but over time, they can fade or start to look outdated. If you’re wondering how to paint plastic shutters or more specifically how do I paint vinyl shutters to make them look like new again, this guide will walk you through everything you need to know—from prep work and paint selection to application techniques for long-lasting results.
How to Paint Plastic Shutters
Painting your shutters is an affordable way to refresh your home’s exterior look without the need for replacement. Whether they’ve faded due to sun exposure or you simply want a new color, painting your shutters is a simple DIY project when done correctly.
However, because plastic shutters are exposed to harsh outdoor conditions, it’s important to manage the process carefully to ensure the paint lasts. Plastic shutters are often colored during the manufacturing process, and traditional paint doesn’t adhere well to plastic surfaces. That’s why extra care—including sanding and priming—is essential when painting plastic shutters.
What Kind of Paint Do You Use on Plastic Shutters?
Not all paints adhere well to plastic. To achieve a durable, professional-looking finish:
- Choose a high-quality exterior acrylic latex paint that’s specially made for plastic or vinyl shutters to ensure proper adhesion and durability.
- Avoid dark colors unless they’re approved by the shutter manufacturer, as dark shades absorb more heat and may cause warping.
- Choose paints with built-in UV protection to help prevent fading over time.
Tip: Brands like Sherwin-Williams, Behr, and Benjamin Moore offer paints that work great for painting plastic shutters.
Is It Better to Spray Paint or Brush Paint Shutters?
Spray painting is usually the preferred option for shutters because:
- It provides a smoother, more even finish
- It easily reaches slats and grooves
- It’s faster, especially when painting multiple shutters
Brush painting may work for small projects or when you want to avoid overspray, but brush marks are harder to avoid without experience. Best practice: Use a paint sprayer or aerosol spray paint designed for plastic.
How to Paint Plastic Shutters – Step-by-Step
1-Remove the Shutters (Optional)
Remove the shutters and label each one so you can reinstall them in the right place. That said, leaving the shutters in place while painting is also a practical option. If you choose to leave them on, make sure to secure the shutters firmly so they don’t move during painting.
2-Clean Thoroughly
Dirty shutters won’t hold paint well. Clean them using mild detergent and water or a vinyl-safe cleaner to remove dirt, mold, and oxidation. Rinse thoroughly and let them dry completely before moving on.
3-Repair Any Damage
Inspect the shutters for cracks or holes. If you find any, fill them with acrylic exterior caulk or filler, and allow it to dry completely before priming or painting.
4-Sand or Prime the Surface
To help the paint adhere, you should either lightly sand the shutters or apply a primer. Because sanding can be time-consuming, most people prefer using a plastic bonding primer. Cover the shutters with a complete layer of primer and let it dry for 4–5 hours. If you’re using an oil-based primer, give it a full 24 hours to cure before painting. “For more information about priming, you can read this: What does paint primer do.”
5-Paint the Shutters
If you’re using spray paint to paint plastic shutters, hold the can or sprayer about 8–12 inches away from the surface. Apply light, even coats of paint to the shutters to prevent drips and ensure a smooth, consistent finish. Allow each coat to dry for 30 to 60 minutes before applying the next. Two coats are usually enough to get solid coverage.
For those planning to paint vinyl shutters with a brush, choose a soft, high-quality brush and exterior-grade acrylic paint. Apply two coats of paint to the shutters, allowing at least four hours of drying time between each layer. While brushing takes longer, it gives more control over tricky corners and edges.
To make your shutters more durable, seal them with a water-based acrylic topcoat 4–5 hours after the final coat has dried. This added layer protects the shutters from fading, moisture damage, and regular wear over time.
If using oil-based paint on plastic or vinyl shutters, start with an oil-based primer at least a day before painting. Then apply two coats of paint, waiting 24 hours between coats to ensure a smooth and long-lasting finish. If you’re undecided between using acrylic or oil-based paint, this article on “oil vs. water-based stain” might be helpful.
6-Let the Paint Cure
Allow the paint to cure for at least 24–48 hours in a dry, dust-free area before reinstalling the shutters. Once fully cured, reattach them to the house.
Tips for Long-Lasting Results
- Choose a dry day with low humidity and temperatures between 50–90°F.
- Don’t skip cleaning and priming—these steps are critical for paint adhesion.
- Store leftover paint for future touch-ups.
- Repaint shutters every 5–7 years if they’re in areas with strong sun exposure. “This article on “How to Paint on Plastic” might be helpful before you start painting your shutters.”