Bubbling paint on walls is more than just an eyesore—it’s often a sign of underlying issues like moisture, poor surface prep, or using the wrong type of paint. Whether you’ve just painted or the bubbles appeared months later, understanding what causes paint bubbles on walls can help you avoid costly mistakes. In this guide, we’ll explore common reasons for wall paint bubbling and how to prevent it from happening again.
Why Does Paint Bubble on Walls?
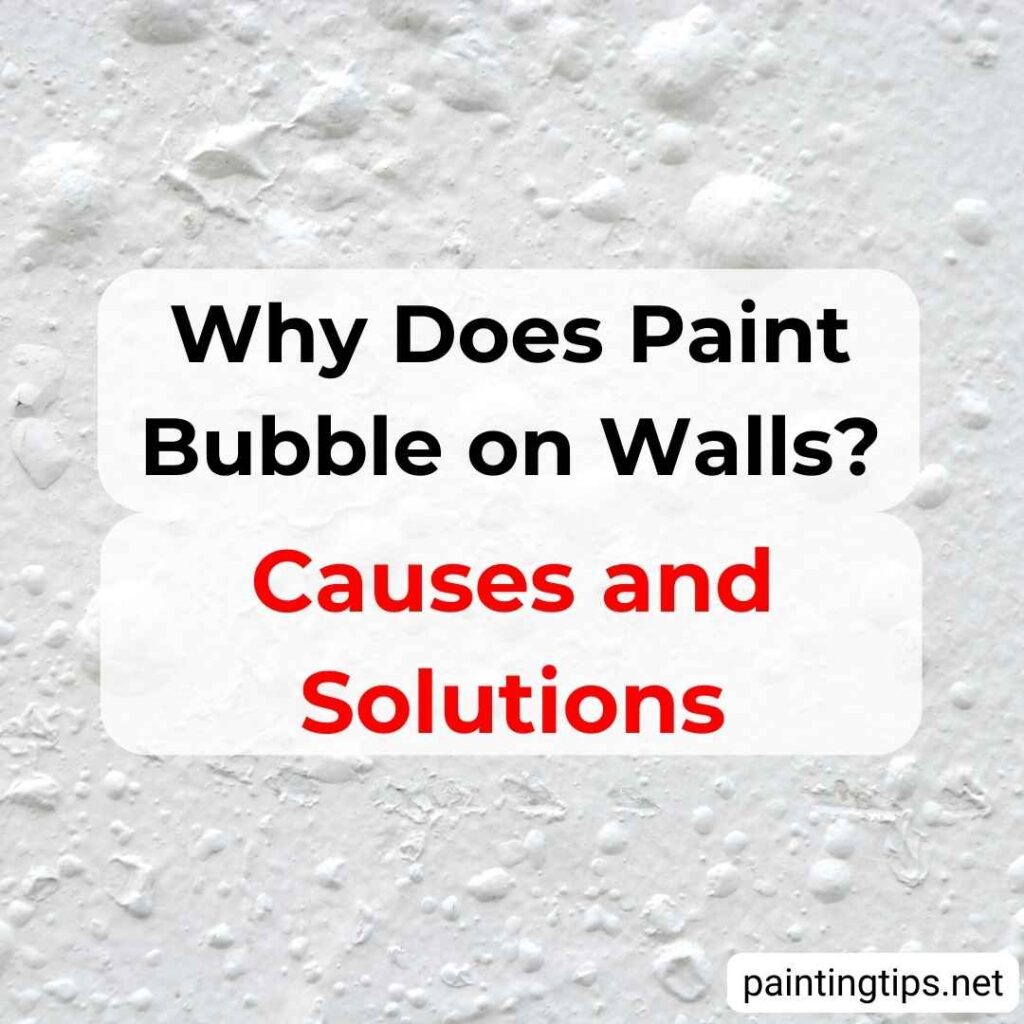
Understanding why paint bubbles on walls is key to preventing this frustrating issue. While excess moisture is often the main culprit, several other factors can also lead to bubbling—sometimes immediately after painting, other times weeks or months later. Common mistakes like skipping surface prep, painting on dirty or oily walls, or applying water-based paint over oil-based layers can all create air bubbles in paint. Even environmental factors, such as extreme heat or humidity, can disrupt proper drying and cause wall paint bubbling. Let’s break down the most common causes so you can avoid these pitfalls and keep your painted walls looking flawless.
1-Incorrect Paint Choice
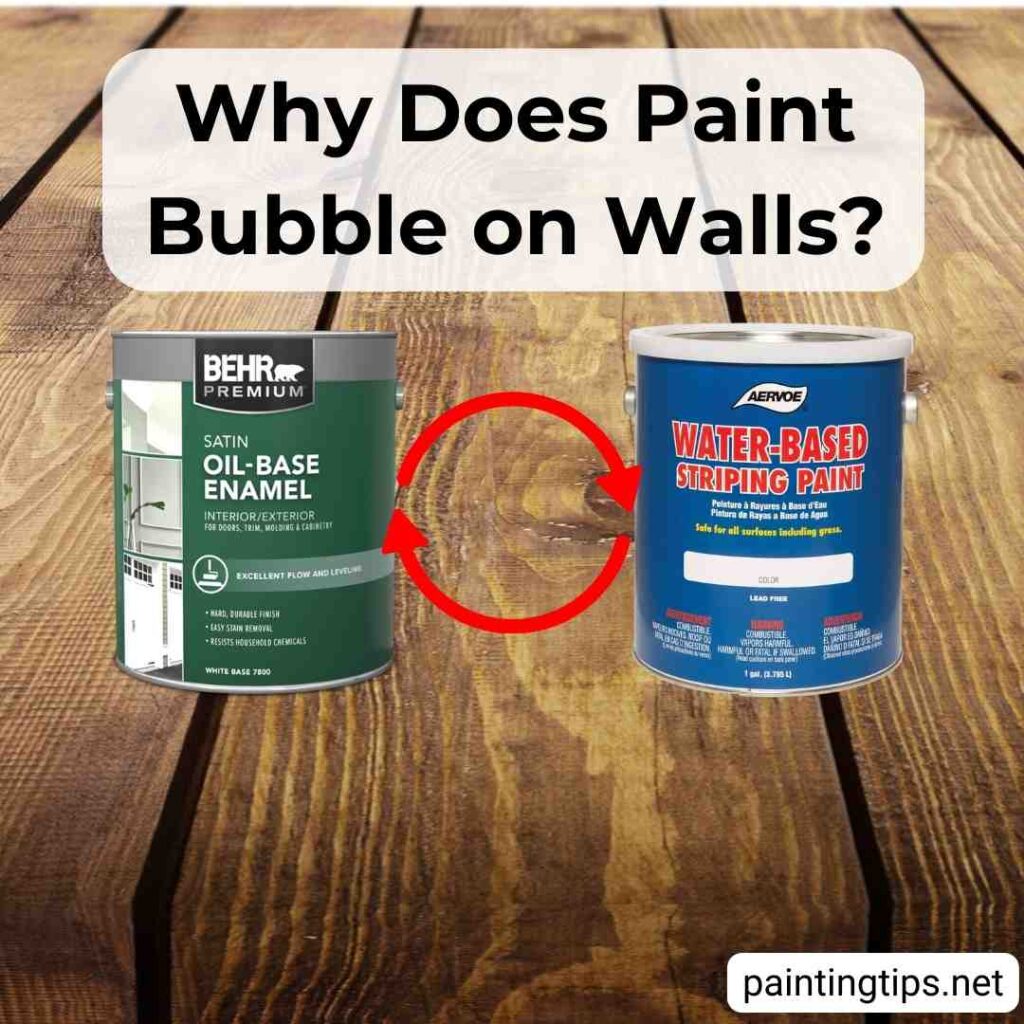
Today’s interior paints are typically water-based, which makes them easy to apply in multiple coats. But when applied over oil-based or synthetic paints, water-based paint can struggle to stick. Over time, this may lead to bubbling or peeling on your painted walls.
To avoid this, if you’re not sure about the old paint type, apply a bonding primer or a transition primer. This step helps ensure proper adhesion and prevents future paint bubbles on walls caused by incompatible layers. If you’re applying water-based paint over oil-based paint, using a primer is especially important. “Related article: Painting over oil based paint.”
2-Painting over Low-Quality or Deteriorated Paint
Old or low-quality paints can leave behind a powdery, dusty surface that interferes with adhesion. This creates a weak base, making it easier for paint bubbles or peeling to appear.
Before painting, wipe away any dust with a damp cloth. Then apply a high-quality primer and let it dry fully before adding your new coat. This helps prevent air bubbles in paint and ensures a smooth finish. “Related article: Is paint primer necessary?”
3-Painting on Dirty or Oily Walls
Dirty or greasy walls are a recipe for bubbling paint on walls. Paint won’t stick to surfaces coated in dust, oils, or other residues, which results in bubbling and flaking soon after application.
Make sure to thoroughly clean the wall surface before priming and painting. Use a degreaser if needed, and always let the surface dry completely. Clean, dry surfaces are critical to preventing wall paint bubbling. “Related article: How to clean walls without streaks?”
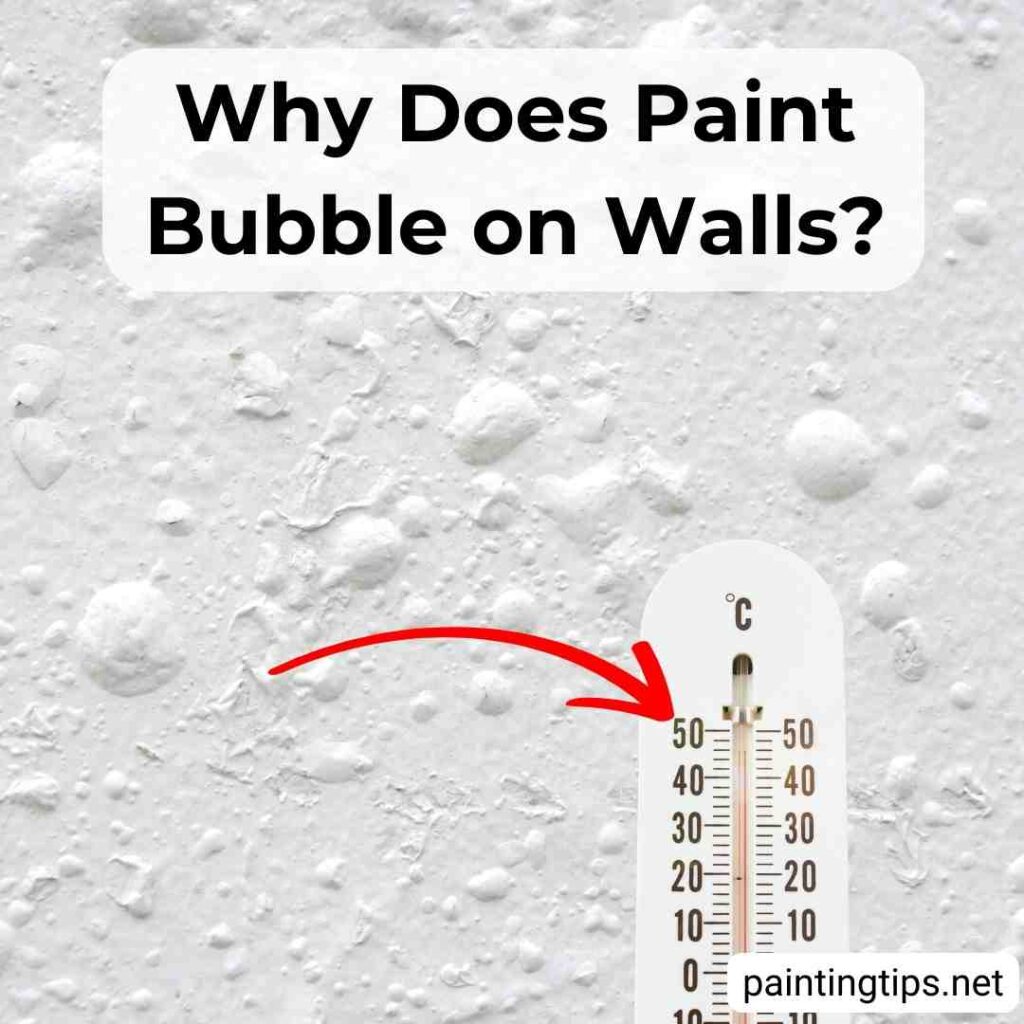
4-Painting in High Temperatures
Painting in hot weather or under direct sunlight can make paint dry too fast. This traps air bubbles beneath the surface, which causes bubbling paint on walls, especially outdoors or in sunlit rooms.
For exterior paint jobs, it’s best to work early in the morning or in the evening when the surface is cooler. For interiors, keep the temperature within the range suggested by the paint manufacturer to avoid heat-related issues like paint bubbling on walls. “Related article: Painting in cold.”
5-Painting on Moist Walls
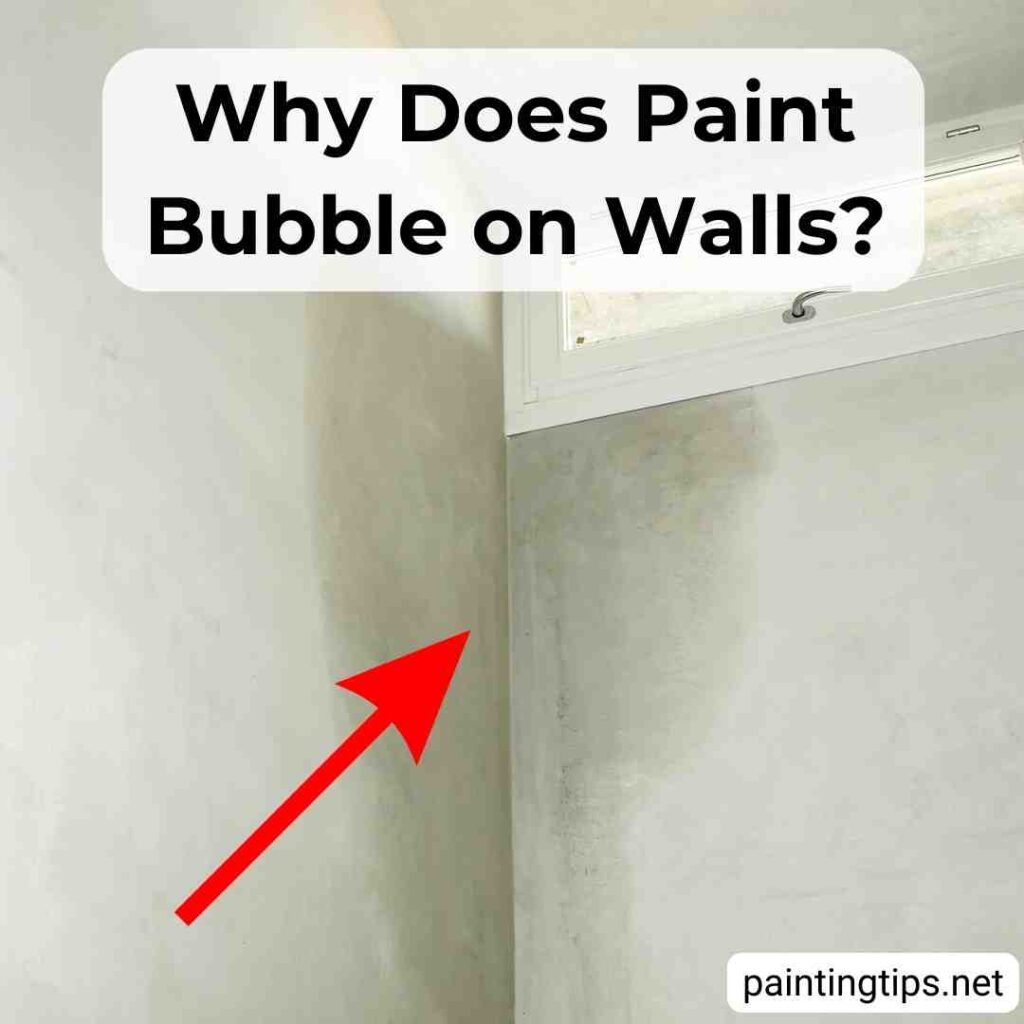
Moisture behind or within a wall is one of the most common reasons for paint bubbles on walls. Water leaks, plumbing issues, or humidity from upper floors can saturate walls and lead to bubbling, peeling, or even mold growth.
Always check for signs of moisture before painting. If moisture is present, address the issue completely before moving forward. Let the surface dry thoroughly, and if necessary, use a moisture-blocking primer to protect against future damage. This is especially important when dealing with paint bubbles on walls from moisture. “Related article: Paint bubbling on ceiling.”
How do You Fix Bubbling Wall Paint?
Fixing wall paint bubbling requires patience and proper technique. Here’s how to do it right:
- Identify and eliminate the cause. If moisture is the issue, fix any leaks or dampness before proceeding. Moisture must be fully resolved to prevent new bubbling.
- Remove the bubbled paint. Use a scraper to peel off any loose or raised areas. Smooth out the surface by sanding away any flaws or bumps.
- Repair damaged areas. If necessary, apply joint compound or plaster to fill cracks or holes. Let it dry and sand smooth.
- Apply a primer. Use a high-quality bonding or moisture-resistant primer before repainting. This helps prevent air bubbles in paint and ensures better adhesion.
- Repaint the area. Once the primer is fully dry, apply your topcoat using proper techniques and under suitable conditions to avoid future bubbling paint on walls.
Frequently Asked Questions
Why is My Wall Bubbling?
Bubbling on your wall can be caused by several factors. Moisture from leaks, high humidity, or damp walls can prevent paint from adhering properly. Improper surface preparation, such as not cleaning or priming the wall, can also lead to bubbling. Using the wrong type of paint, like applying water-based paint over oil-based paint without primer, can cause poor adhesion. High temperatures during painting can dry the paint too quickly, trapping air bubbles. Additionally, old or deteriorated paint can lead to bubbling as well. Addressing these issues can prevent future problems.
Does Bubbling on Wall Mean Mold?
Bubbling on a wall doesn’t always mean mold, but it can be a sign of moisture issues, which could eventually lead to mold growth. If the bubbling is caused by dampness or water leaks, the moisture can create the perfect environment for mold to develop. It’s important to identify the source of the moisture and address it to prevent mold from forming. If mold is already present, it will need to be removed before repainting.
Does Bubbling Paint Mean Water Damage?
Yes, bubbling paint can be a sign of water damage. When moisture seeps into the wall, it can cause the paint to lose adhesion and form bubbles. This is often due to leaks, humidity, or water intrusion, which can lead to further damage if not addressed. It’s important to find and fix the water source before repainting to prevent the issue from recurring.
Why is My Wall Foaming?
Foaming on a wall is often caused by a chemical reaction, usually between the wall surface and the cleaning solution or paint being used. It can also happen if the wall is damp when paint is applied, causing trapped moisture to react with the paint.
Does Bubbling Paint Mean Damp?
Yes, bubbling paint can indicate dampness. When moisture or humidity seeps into the wall, it can cause the paint to lose adhesion, leading to bubbling. This can be due to leaks, condensation, or high humidity levels, all of which create a damp environment.