Fresh paint can only look as good as the wall underneath it, and drywall that hasn’t been cleaned, patched, and primed properly will telegraph every flaw straight through the topcoat — this walks through the cleaning, repair, sanding, and priming steps that get a wall ready for paint, along with the questions we hear most often about the process, from whether primer is really necessary to how new drywall needs to be treated differently.
How to Prep Drywall for Paint
Drywall‘s paper facing doesn’t absorb paint evenly — bare paper soaks it up at a different rate than a sanded patch of joint compound, which is why unprimed drywall so often ends up looking blotchy. Primer evens out that absorption so the topcoat cures to a consistent color and sheen across the whole wall, and it also gives the paint something solid to bond to, which is what keeps it from peeling or flaking down the road. If you’re curious about what’s actually happening on the wall while that’s going on, how does paint primer work breaks it down in more detail.
Patched areas that never got primed are especially prone to trouble — they can dry to a slightly different sheen than the rest of the wall, a flash that’s easy to miss on painting day but obvious once the room is lit normally.
Brand-new drywall needs a bit more thought than an older wall getting a touch-up. The paper facing and the joint compound over the seams are both extremely absorbent, so a PVA (polyvinyl acetate) primer made for new drywall seals the surface far better than a standard latex primer. If the taped seams and the surrounding panel are showing a texture difference once paint goes on, a skim coat over the whole wall before priming will even that out. For the full process on a wall that’s never been painted, how to paint new drywall walks through it start to finish.
Can You Paint Directly Onto Drywall?
Painting straight onto bare or repaired drywall without primer isn’t a good idea. The paper facing and any patched joint compound absorb paint unevenly, so skipping primer usually leads to a blotchy, flat-looking finish where repaired spots stand out from the rest of the wall. A dedicated drywall primer seals the surface first, so the topcoat goes on smoothly and dries to one consistent sheen.
What Happens If You Paint Drywall Without Primer?
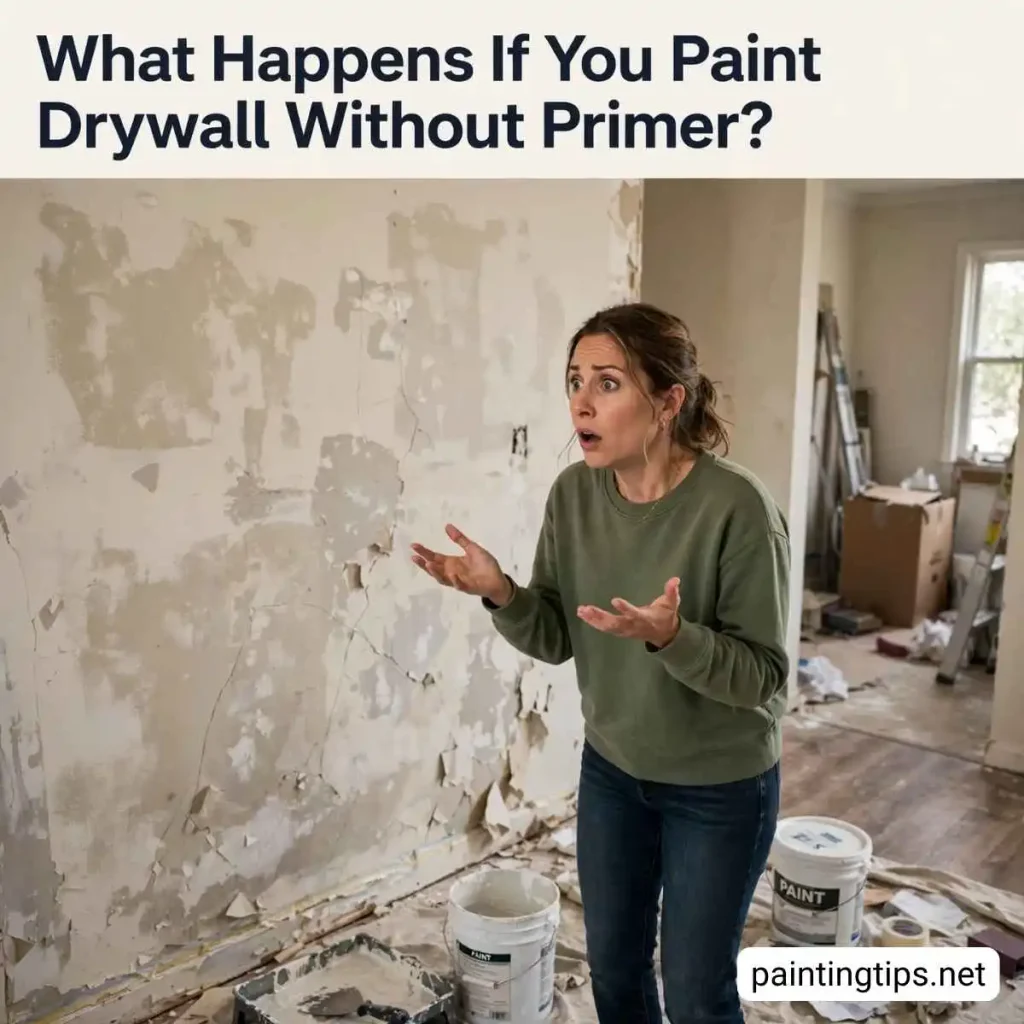
Without primer, paint tends to soak into the drywall unevenly, leaving patchy or dull-looking areas — especially over anything that was patched with joint compound. It can also mean applying two or three extra coats just to get solid coverage, since the wall keeps drinking in paint instead of holding it on the surface.
Over time, paint applied directly to unprimed drywall is also more likely to peel or crack, since it never had a properly sealed surface to bond to in the first place.
How Do You Get Paint to Stick to Drywall?
Getting paint to bond well starts with a clean, even surface. Dust and debris need to come off first, since even a light film keeps paint from grabbing onto the wall. Any holes, cracks, or uneven seams should be filled with joint compound and sanded smooth, because paint will show every ridge or dip underneath it.
Once the wall is clean and smooth, a coat of primer gives the paint something consistent to adhere to — after that dries, the topcoat goes on evenly and holds far better long-term.
How to Clean Drywall Before Painting
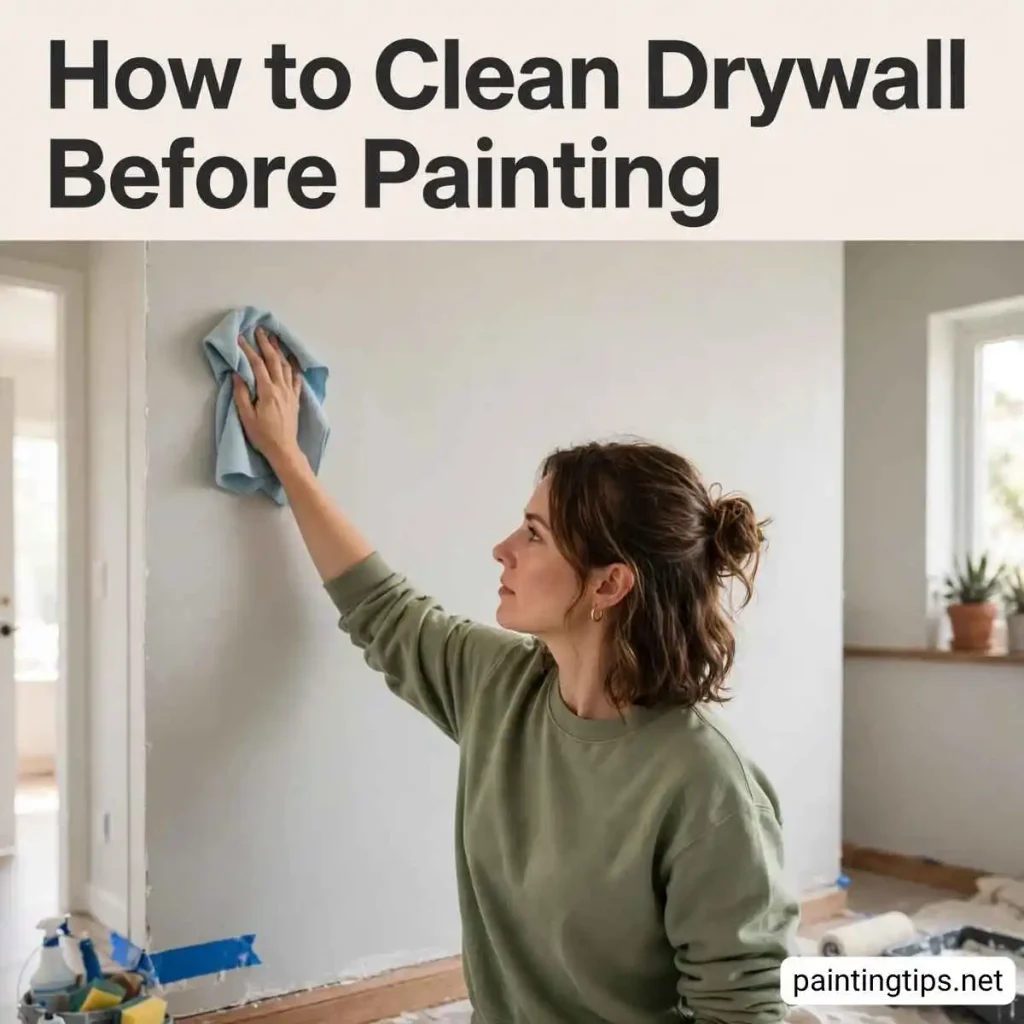
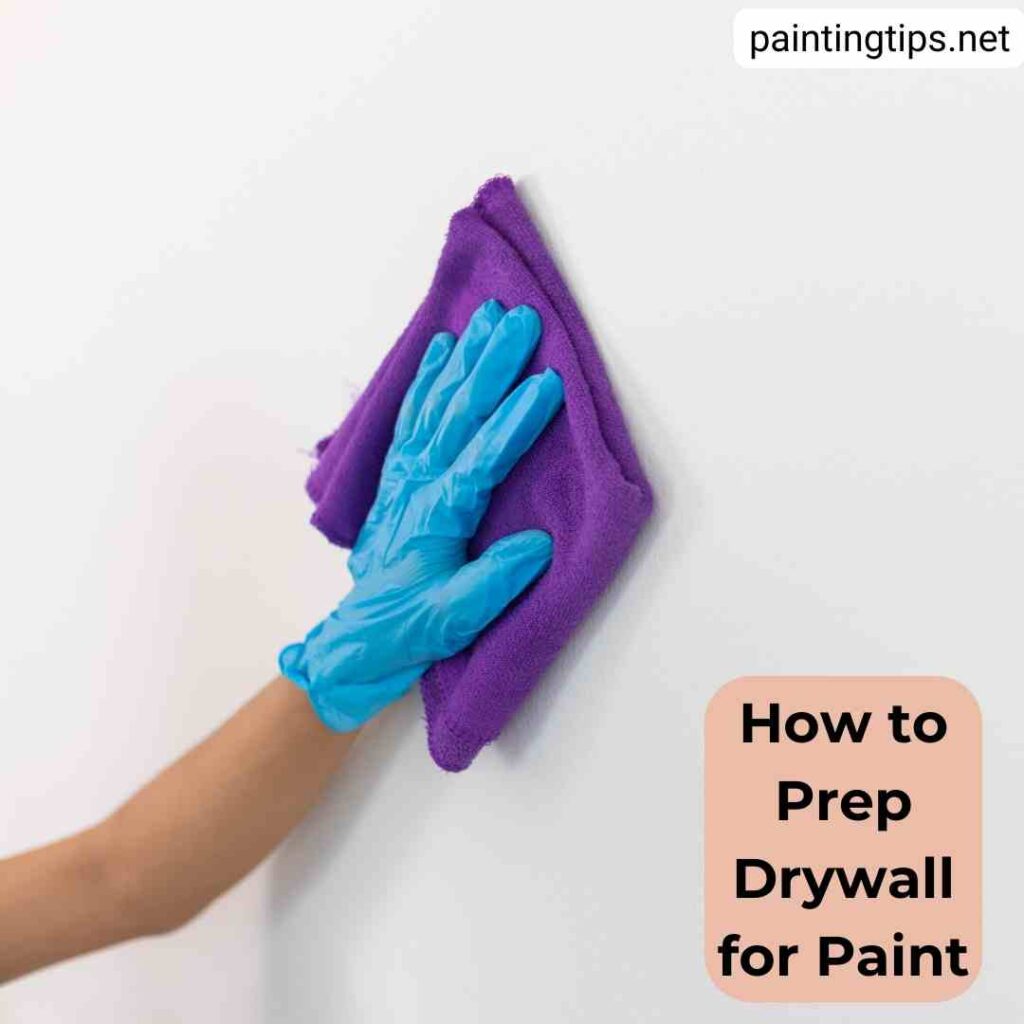
Cleaning drywall before painting starts with a dry pass — a soft cloth or a vacuum with a brush attachment lifts off loose dust and debris without pushing it into the surface. For grease marks, fingerprints, or light stains, a barely damp cloth works better than a wet one; drywall paper can soften or bubble if it takes on too much moisture, so it’s worth erring on the dry side.
Give the wall time to dry completely before moving on to repairs or sanding, since trapped moisture under joint compound or primer can cause adhesion problems later.
Do You Sand Drywall Before or After Primer?
Sanding happens before primer, not after. Joint compound needs to dry fully and get sanded smooth first, since primer is meant to seal a surface that’s already even — sanding after priming would just cut back through the seal you just created.
Once the compound is sanded and the dust is cleared away, priming locks in that smooth surface and gives the topcoat a consistent base.
Step-by-Step Guide to Prepping Drywall for Paint
With the “why” out of the way, here’s what the process actually looks like on the wall, in the order it needs to happen. Each step builds on the one before it, so it’s worth resisting the urge to skip ahead to priming before the compound has fully dried or the dust has been cleared away.
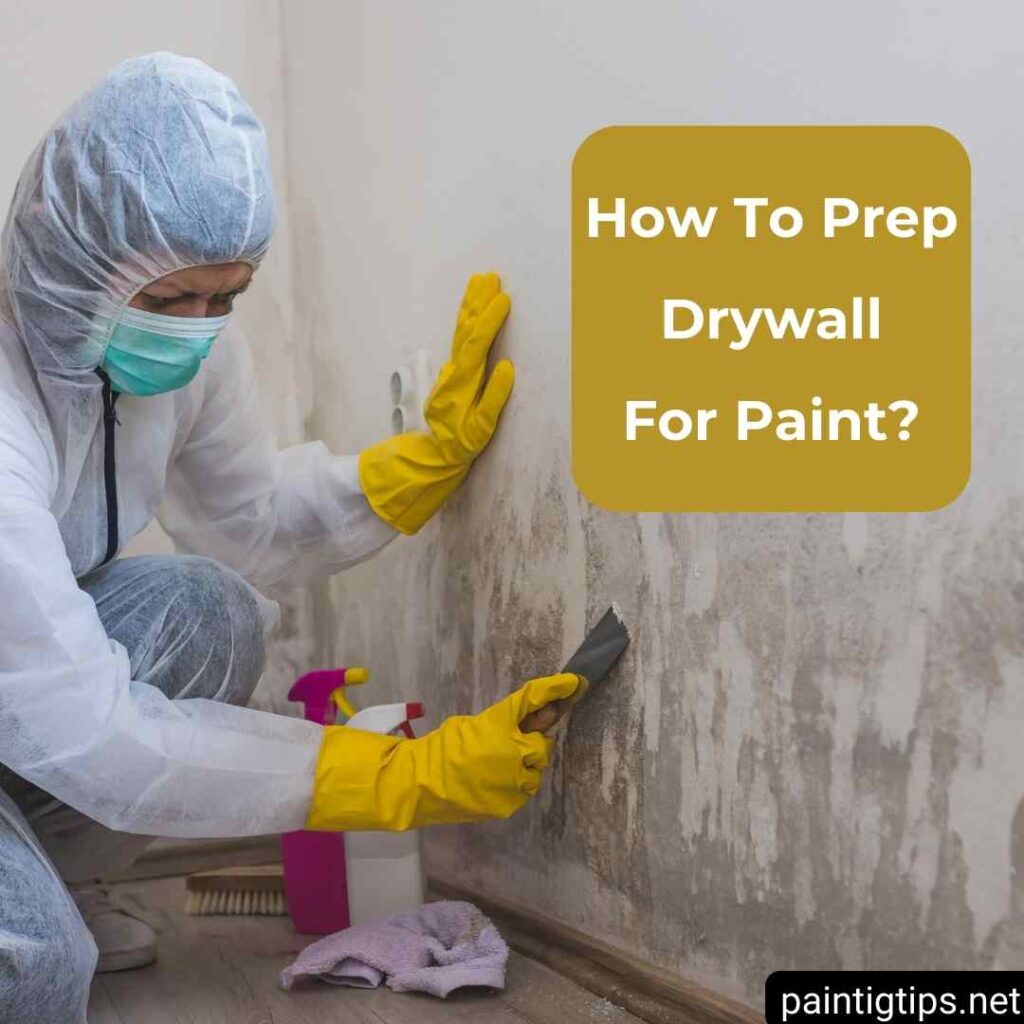
The most important step in preparing drywall for painting is to create a smooth and even surface. First, apply joint compound to seams and screw holes, then sand the surface to eliminate imperfections. Next, use a primer to ensure even paint absorption and better adhesion. Finally, clean off any dust or debris to achieve a flawless finish. Skipping these steps can lead to uneven paint coverage, stains, and poor adhesion. Here are all the details!
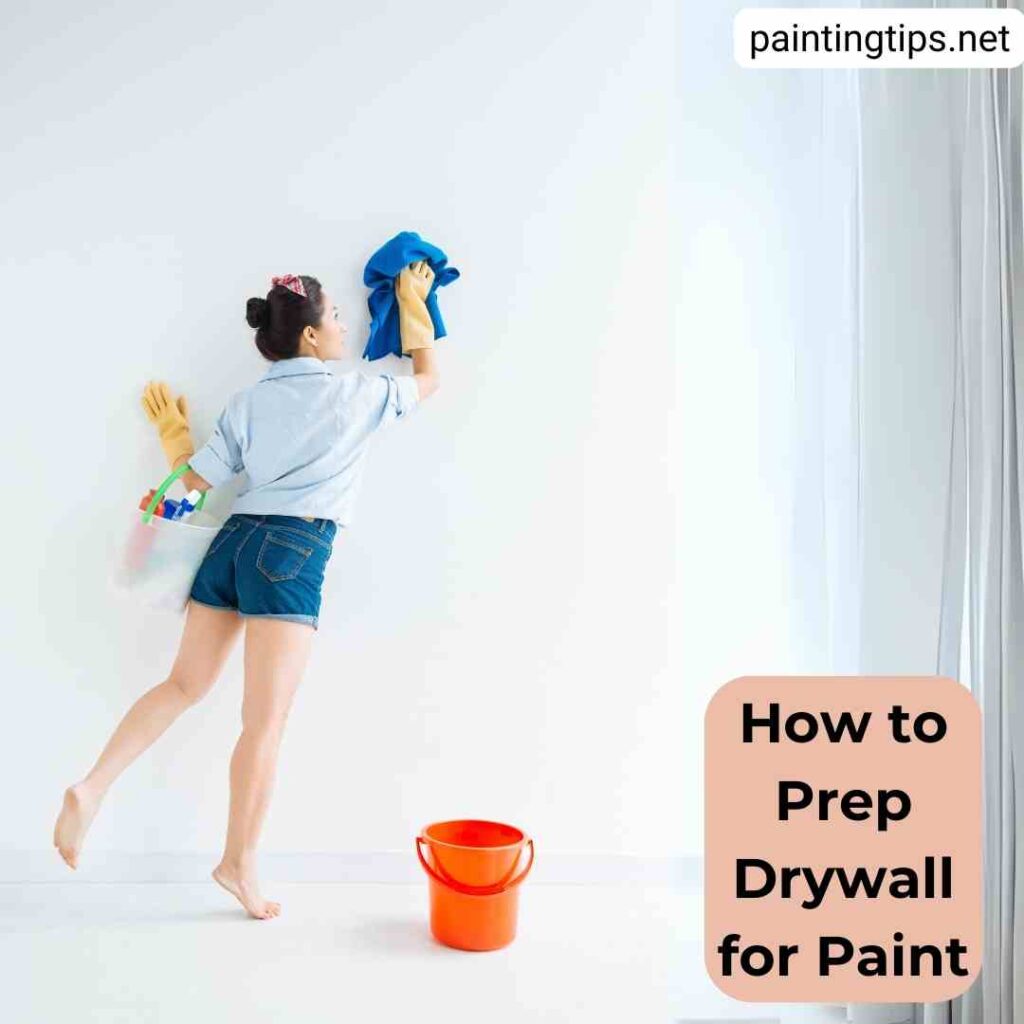
1. Clean the Drywall
Start by removing dust, dirt, and any loose debris with a dry cloth, a vacuum with a brush attachment, or a microfiber duster. Leftover dust is one of the most common reasons paint fails to adhere properly, so it’s worth being thorough here even though it’s the least glamorous step. Any dust left behind can prevent the paint from adhering properly. “Related article: How to clean painted walls without leaving streaks.”
2. Inspect and Repair Imperfections
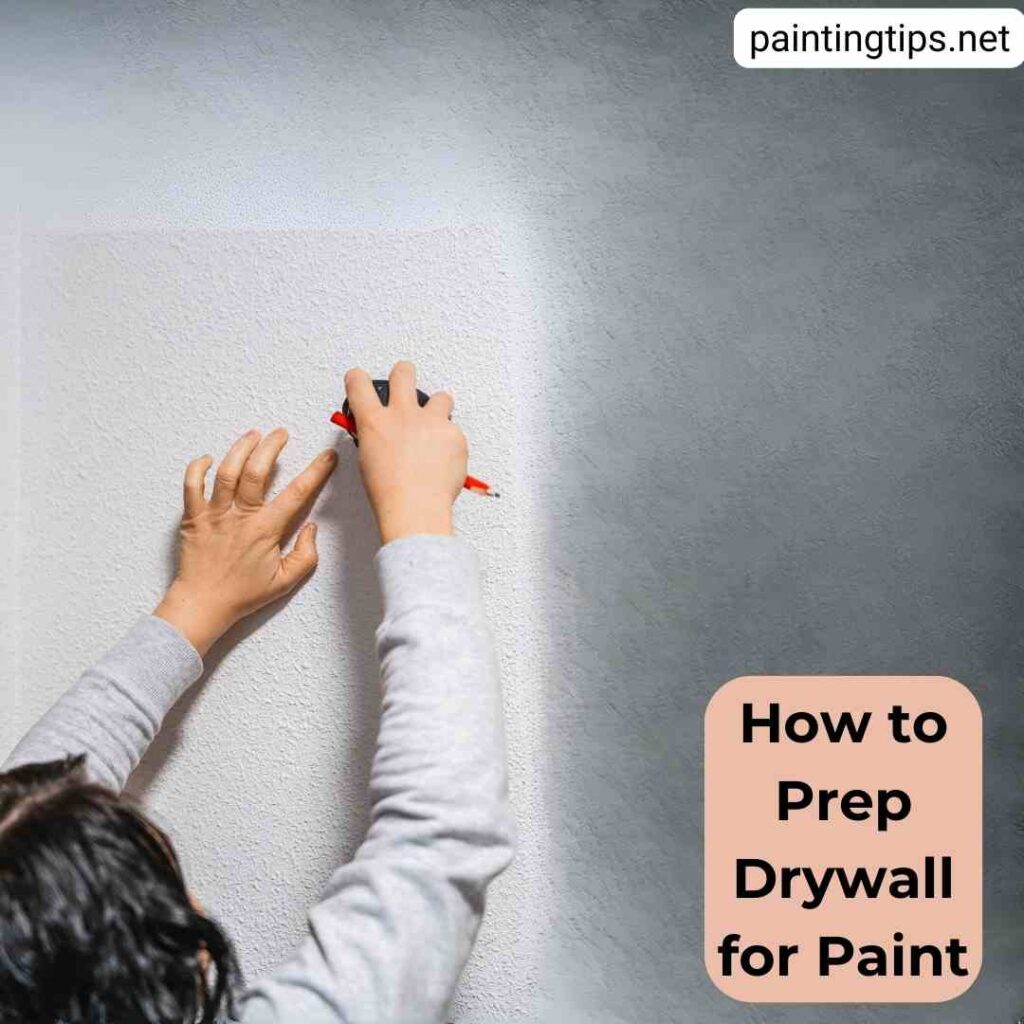
Walk the wall and look closely for cracks, nail pops, dents, or seams that aren’t lying flat — small flaws like these become far more visible once paint is on, especially under bright or angled light. Mark anything that needs attention so it doesn’t get missed once repairs are underway; this is also the point to address any drywall repair beyond minor filling, such as re-taping a lifted seam or patching a larger hole, before moving on to joint compound. “Related article: wall crack repair.”
3. Apply Joint Compound to Fill Gaps and Holes
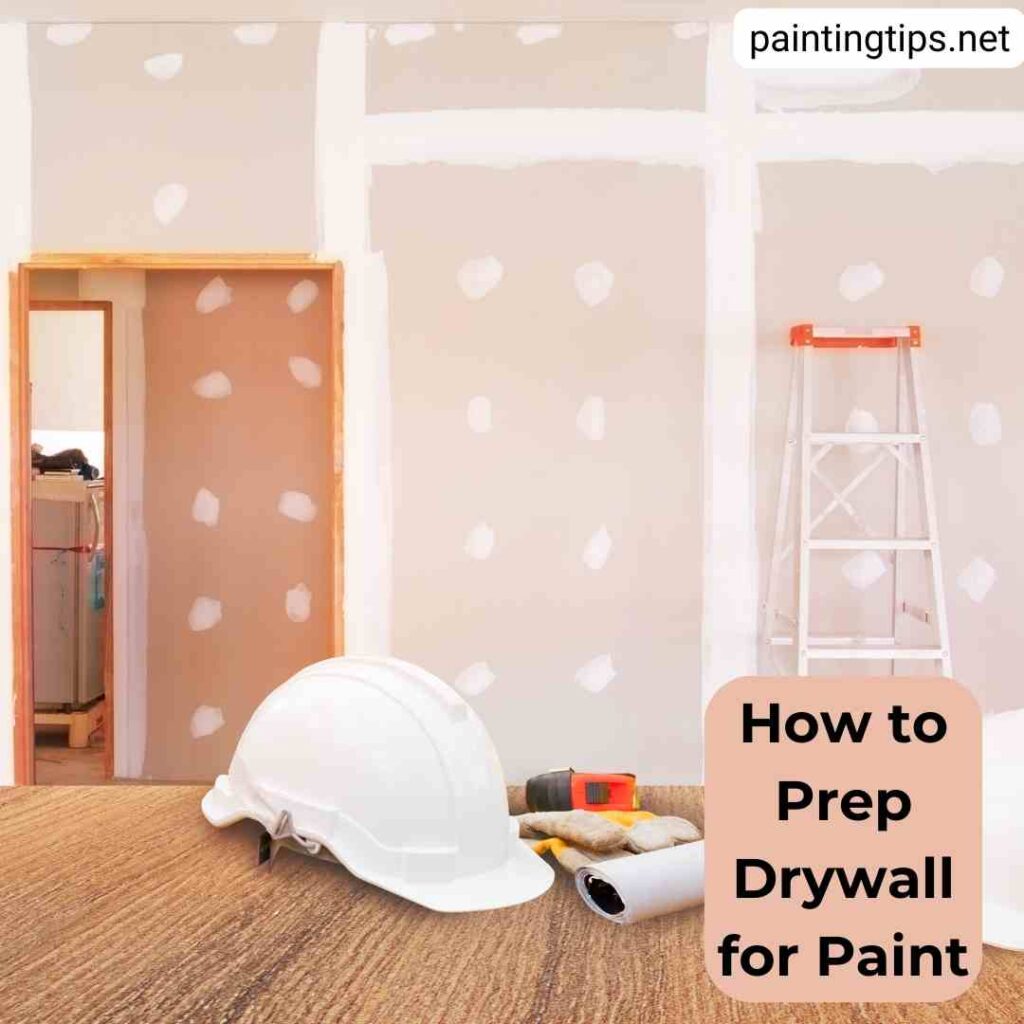
Use a putty knife to work joint compound into holes, cracks, and uneven seams. For deeper gaps, build it up in thin layers and let each one dry before adding the next, rather than trying to fill everything in one pass. Feathering the edges out smoothly as you go cuts down significantly on the sanding needed later.
4. Sand the Surface for Smoothness
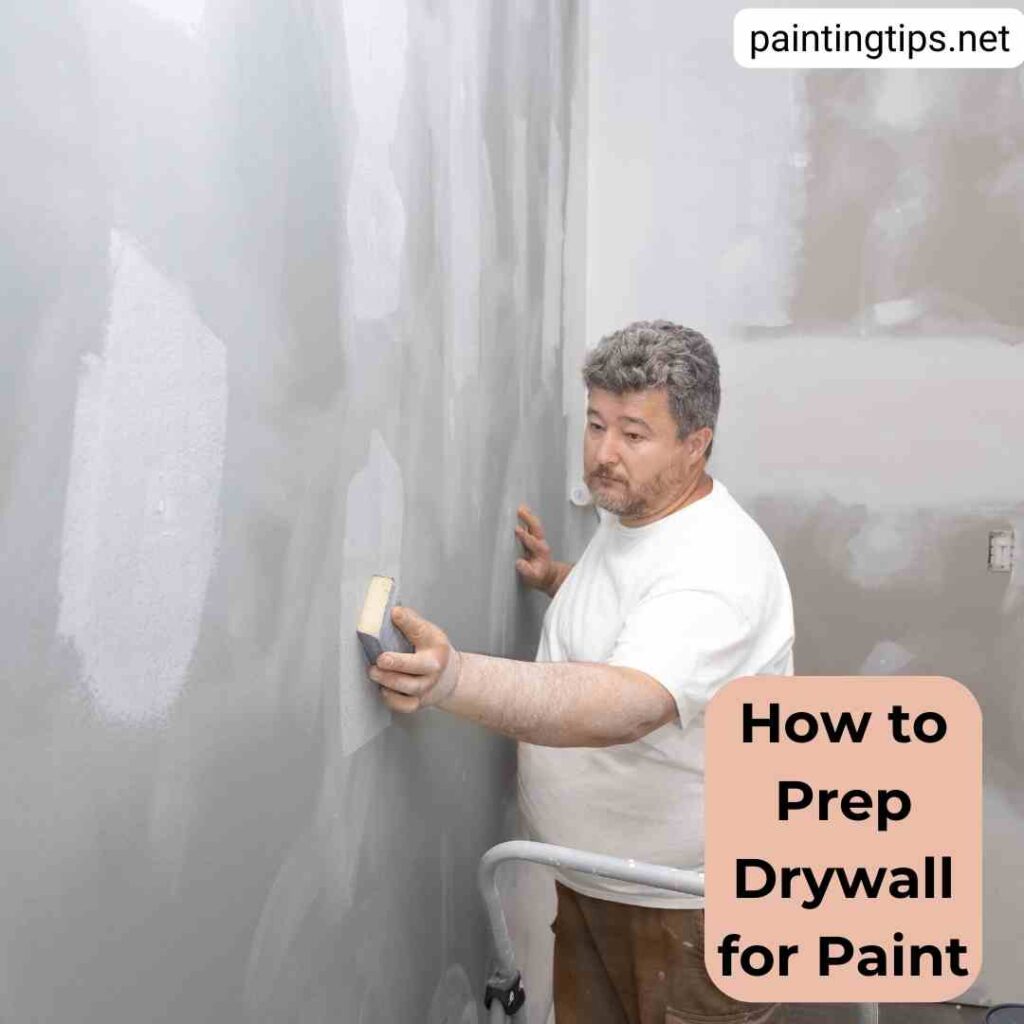
Once the compound is completely dry — which can take anywhere from a few hours to overnight, depending on humidity and layer thickness — sand it with a fine-grit paper in the 150–220 grit range. Light, even pressure is enough; sanding too aggressively can gouge the paper facing around the patch and create a new imperfection to fix. A dust mask is worth wearing here, since drywall dust is fine enough to linger in the air.
5. Remove All Dust
Wipe the wall down with a damp cloth or a tack cloth to pick up every trace of sanding dust. Anything left behind will end up trapped under the primer, creating a slightly gritty texture that shows through the topcoat.
6. Apply a High-Quality Drywall Primer
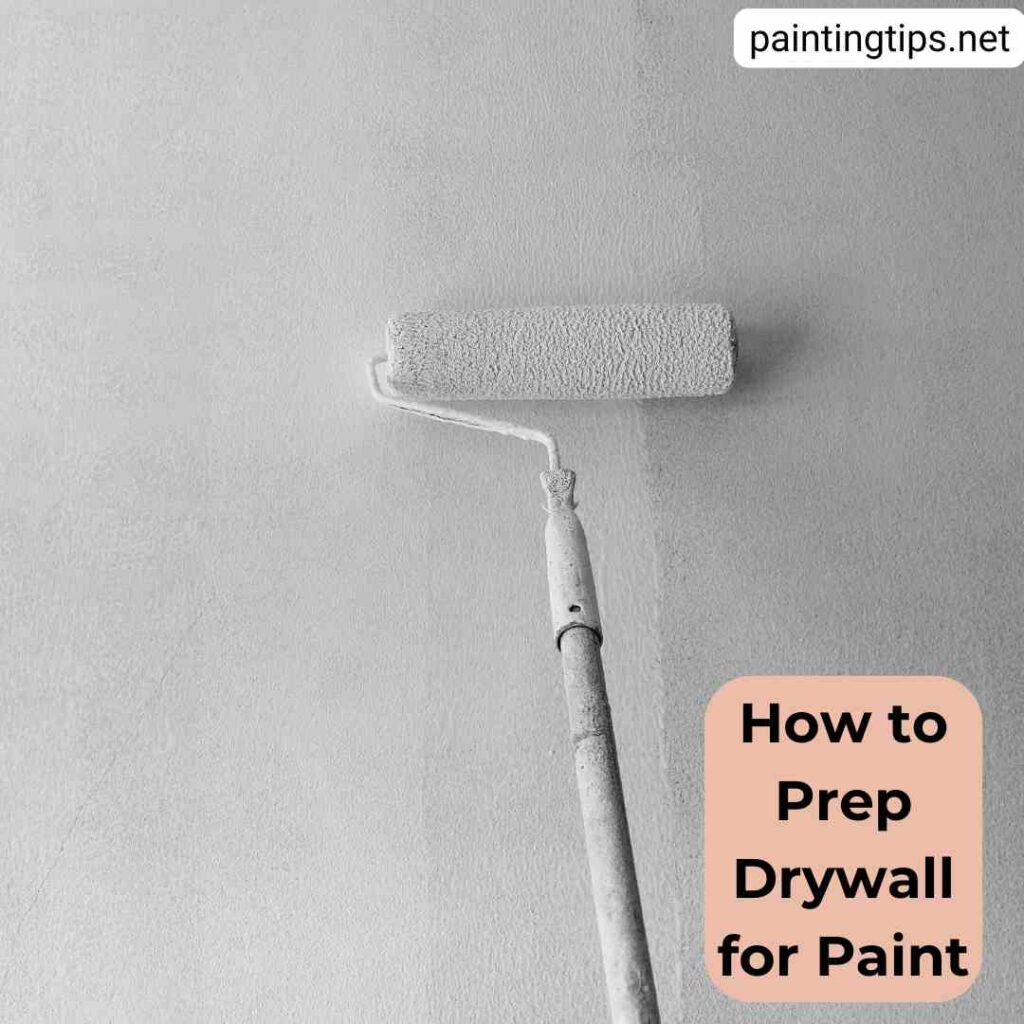
Roll or brush on a primer suited to the wall — a PVA primer for new or heavily patched drywall, or a standard latex primer for touch-up work on an already-painted surface. Even, full coverage matters here, since thin or missed spots are exactly where uneven absorption and flashing show up later. Related article: how many coats of primer.
7. Let the Primer Dry Completely
Follow the drying time listed on the primer’s label, typically a few hours, and resist the temptation to start painting early. Rolling paint over primer that hasn’t fully cured is a common cause of streaking and uneven sheen.
8. Check the Wall Under Raking Light Before Painting
Before opening the paint, walk the wall with a work light held at a low angle. This raking light makes any remaining ridges, sanding marks, or dull spots in the primer obvious in a way that normal room lighting won’t — it’s a quick check that saves having to fix problems after the topcoat is already on.
Once the wall passes that last check, it’s ready for paint. A little patience with cleaning, repairs, sanding, and primer up front is really what separates a wall that still looks good in five years from one that starts showing flaws within the first few months. You might also like this article: how to paint a room for beginners
