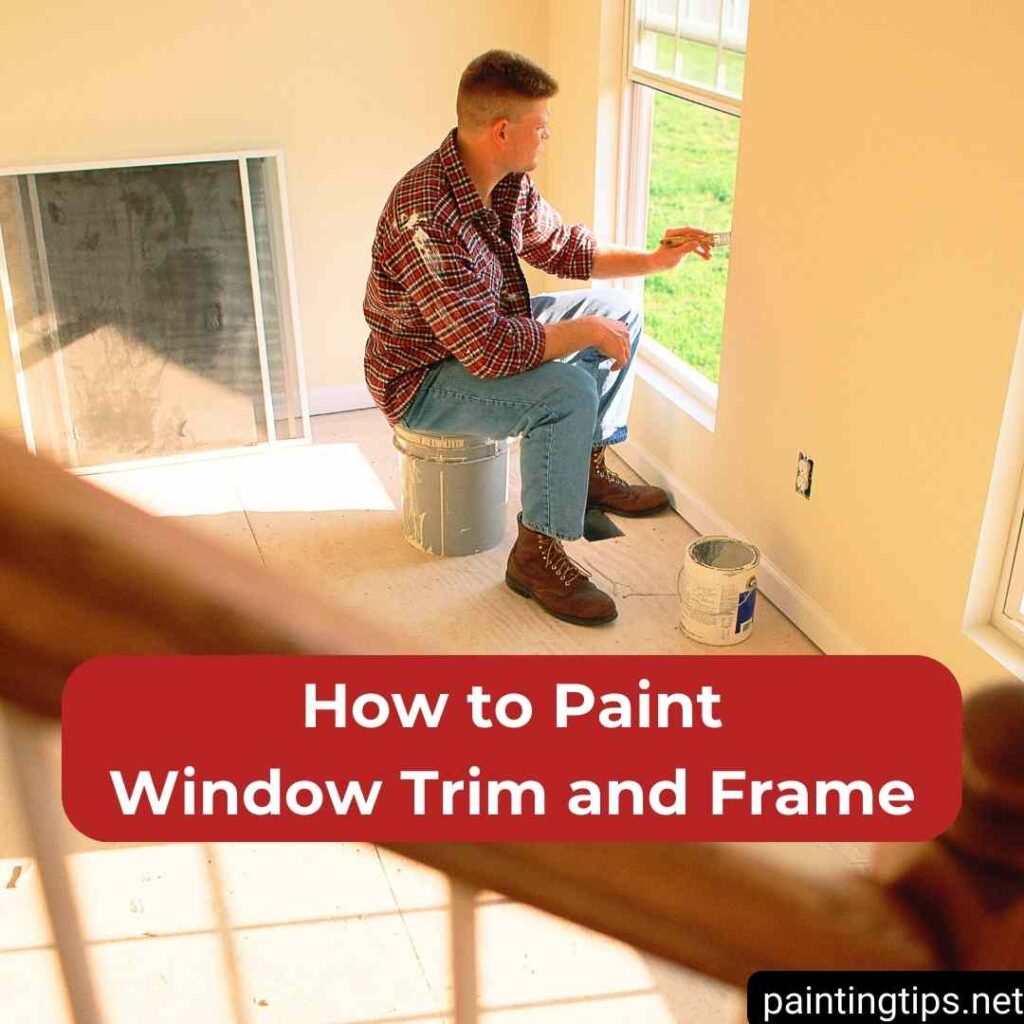
Painting your window trim and frames is one of the most effective ways to refresh your home’s interior and exterior without a full renovation. The right approach depends on the material of your windows, the condition of the existing paint, and the type of finish you want to achieve. From wood and aluminum to vinyl or PVC, each surface requires specific preparation, paint choices, and techniques to ensure a long-lasting, professional-looking result. This guide will walk you through how to paint window trim and frames correctly, covering preparation, paint selection, application, and maintenance tips.
How to Paint Window Frames
The success of painting your window trim largely depends on selecting the right paint for the material and understanding how the condition of the surface affects the process. For wooden window frames and trim, you can use exterior wood stain and sealer to enhance the natural grain or acrylic and oil-based paints for solid colors and durability. If the wood hasn’t been painted before, applying a wood preservative treatment beforehand helps protect against insects and rot. Apply one coat of preservative, wait 24 hours, then proceed with your paint. After the first coat dries, apply a second coat for full coverage and protection.
What Kind of Paint Do You Use on Wooden Window Frames?
Wood windows offer classic beauty but require proper protection from the elements. For wooden window frames and trim, consider these options:
- Exterior wood stain and sealer: These products enhance the natural wood grain while providing weather protection. They don’t require a primer but penetrate the wood for long-lasting protection.
- Oil-based enamel paint: Offers excellent durability and a smooth finish that’s ideal for wood trim. It takes longer to dry but provides superior hardness and water resistance.
- Acrylic latex paint: A versatile, water-based option that dries quickly and offers good durability with less odor than oil-based alternatives.
Pro Tip: If your wooden window frames haven’t been painted before, apply a wood preservative treatment 24 hours before painting. This provides essential protection against insects and wood rot. For wood windows, apply one coat of preservative, wait 24 hours, then apply your first coat of paint or stain. After the first coat dries (5+ hours for water-based products, 24+ hours for oil-based), apply a second coat for complete coverage and protection.
What Kind of Paint Do You Use on Vinyl, Plastic, and PVC Window Frames?
These materials don’t naturally accept paint well, making proper preparation crucial:
Primer requirement: Always use a plastic surface primer or high-quality bonding primer before painting. This creates a surface that paint can adhere to properly.
- All-purpose acrylic paint or chalk paint: Works well for both interior and exterior parts of vinyl windows. For exterior surfaces, apply an acrylic clear coat after painting for weather protection.
- Oil-based or enamel paints: These often adhere better to vinyl and PVC surfaces. High-quality oil-based paints may work without primer, but priming is still recommended for best results.
Apply at least two coats of paint to vinyl or PVC windows, allowing proper drying time between coats (minimum 24 hours for oil-based paints). “Related article: Plastic painting.”
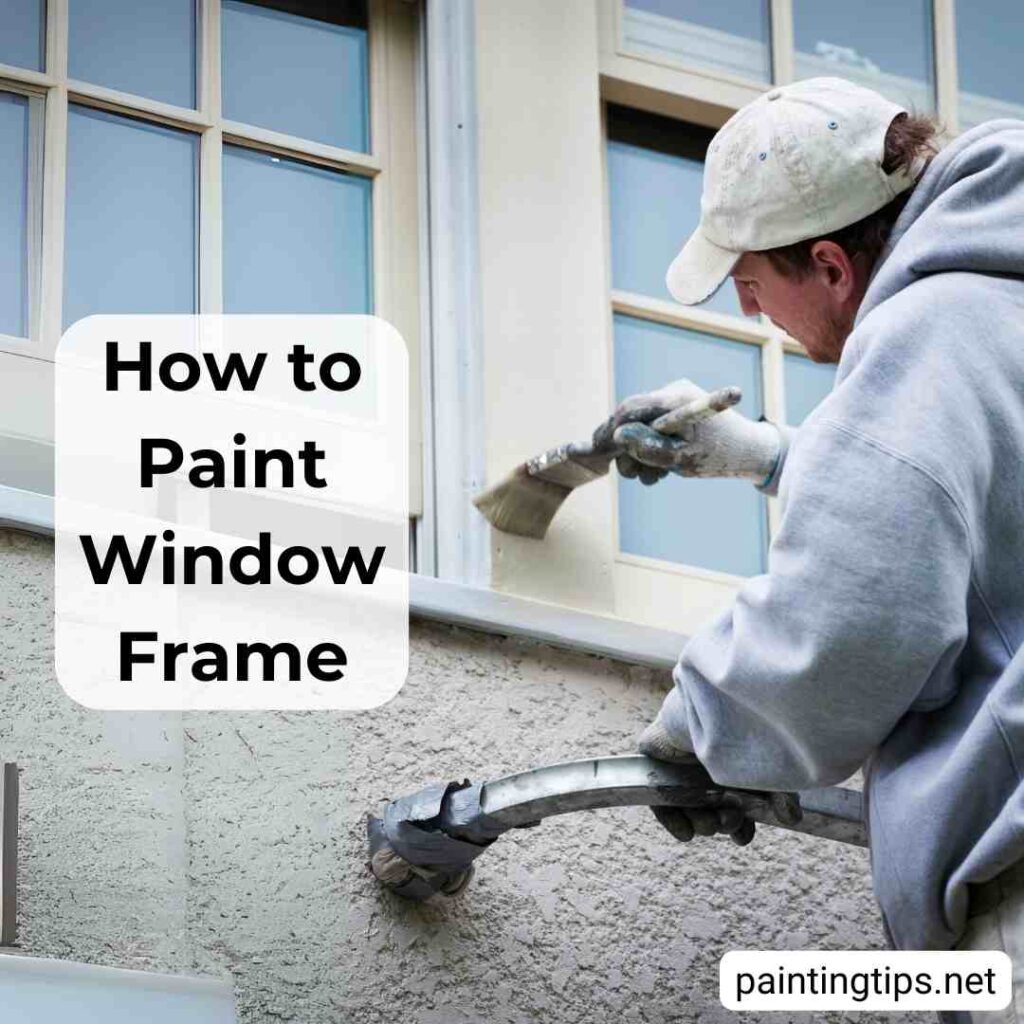
What Kind of Paint Do You Use on Aluminum Window Frames?
Aluminum windows require special consideration due to their smooth, non-porous surface:
- Specialized aluminum paint: Specifically formulated for aluminum surfaces.
- Oil-based primer and paint: Creates excellent adhesion to metal surfaces.
- Acrylic paint or chalk paint: Can be used if preceded by a bonding primer or acrylic primer (wait 5 hours after priming before applying paint).
For aluminum, apply two coats of your chosen paint with appropriate drying time between coats. After the final coat dries completely, consider applying a water-based clear coat for additional protection, especially for exterior frames.
Quick Solution for All Window Frame Types
For a versatile approach that works on most window materials:
- Use exterior paint for outdoor-facing portions of window frames.
- Use interior paint for indoor-facing portions.
- Always apply a high-quality primer before painting (plastic surface primer, all-purpose primer, or bonding primer.) Related article:
Step-by-Step Window Frame and Trim Painting Process
1-Thorough Cleaning
Start by thoroughly cleaning the window frames and trim to remove all dirt, dust, and grease. Use a mild detergent solution, rinse the surfaces well, and allow them to dry completely. Make sure the trim is clean, dry, and free of any oils to ensure proper paint adhesion.
2-Apply Painter’s Tape for Protection
Use painter’s tape to cover the glass panes, creating clean, straight paint lines. Extend the tape along walls and other surfaces adjacent to the trim, pressing the edges firmly to prevent any paint from seeping underneath.
3-Surface Preparation and Repair
Sand any peeling, flaking, or uneven areas on existing painted surfaces Use medium-grit sandpaper (120-150 grit) followed by fine-grit (220) for a smooth finish Repair damaged areas before painting. For aluminum windows: Use epoxy putty or synthetic wood filler. For wooden windows: Apply water-based colored wood filler. For PVC windows: Use epoxy filler or synthetic putty.
4-Apply the Appropriate Primer
Choose a primer that is compatible with both your window material and the paint you plan to use. For maximum versatility, opt for a high-quality bonding primer suitable for multiple surfaces. Apply the primer with a high-quality synthetic brush, following the wood grain on wooden windows, and allow it to dry completely according to the manufacturer’s instructions, typically 1–4 hours. “Related article: Is primer necessary before painting.”
5-Paint Application Techniques
Use a 1.5–2 inch angled brush for precise application around trim details. Spread the paint in smooth, thin layers instead of applying it thickly to ensure an even finish and prevent drips. For wooden trim, always paint in the direction of the wood grain, starting with the inner trim pieces and working outward toward the exterior trim.
6-Multiple Coat Application
Apply at least two coats of paint for optimal coverage and durability. For water-based paints such as acrylic or latex, wait at least 5 hours between coats. For oil-based paints or wood preservatives, allow at least 24 hours between coats. You can also lightly sand between coats with fine-grit (220) sandpaper for an ultra-smooth finish. “Related article: How long to wait between paint coats.”
7-Final Touches
Remove the painter’s tape while the final coat is still slightly wet to achieve the cleanest edge. Pull the tape away at a 45-degree angle for the best results, and touch up any areas where paint may have seeped under the tape. For exterior window frames, consider applying a clear protective topcoat to maximize durability.
Professional Tips
When painting window trim, consider weather conditions and ventilation for the best results. Paint on a mild day with temperatures between 60–85°F and low humidity to ensure optimal drying. Ensure good airflow, especially when using oil-based products. Invest in high-quality brushes—synthetic bristles for water-based paints and natural bristles for oil-based paints—and store leftover paint properly labeled for future touch-ups. Wait at least 24 hours before closing painted windows to prevent sticking.
To extend the life of your newly painted window trim and frames, touch up small chips or scratches promptly to prevent moisture intrusion. Inspect exterior frames annually for signs of wear or peeling, and reapply a clear protective coating every 2–3 years to maintain durability and appearance.
Frequently Asked Questions
What’s the Best Way to Paint Window Trim?
The best way to paint window trim is to follow a systematic approach: clean the surface thoroughly, apply painter’s tape to protect glass and walls, repair any damaged areas, apply an appropriate primer, and then paint with at least two thin coats using a high-quality angled brush (1.5-2 inch). Apply paint in the direction of the wood grain for wooden trim, and allow proper drying time between coats (5+ hours for water-based paints, 24+ hours for oil-based). Remove the painter’s tape while the final coat is still slightly wet for the cleanest edge.
How Do You Paint Window Trim Without Brush Marks?
To avoid brush marks when painting window trim, use a high-quality synthetic brush for water-based paints or natural bristles for oil-based paints. Apply paint in thin, even coats rather than thick layers. Paint in the direction of the wood grain on wooden trim. Consider lightly sanding between coats with fine-grit (220) sandpaper for an ultra-smooth finish. Using quality paint with good flow and leveling properties also helps minimize brush marks. Maintain a wet edge as you work and avoid overworking the paint once applied.
“Do You Need to Sand Window Trim Before Painting?”
Yes, you should sand window trim before painting if there’s existing paint that’s peeling, flaking, or uneven. Use medium-grit sandpaper (120-150) followed by fine-grit (220) to create a smooth surface. Even if the existing finish is in good condition, a light sanding creates a slightly rough texture that helps the primer and paint adhere better. Always clean the surface thoroughly after sanding to remove all dust before priming or painting.
What Paint Finish Is Best for Window Trim?
Semi-gloss or satin finishes are typically best for window trim. These finishes provide a balance of durability and appearance – they’re washable, moisture-resistant, and highlight the trim details nicely. Semi-gloss offers more shine and is extremely durable, making it ideal for kitchens, bathrooms, and exterior trim. Satin provides a subtle sheen that works well in living areas and bedrooms. For traditional or historic homes, a high-gloss finish can create a classic, elegant look on window trim.
Do I Need to Sand Window Frames Before Painting?
Yes, sanding window frames before painting is necessary, especially if they have an existing finish. Sanding creates a surface that primer and paint can adhere to properly. If the current paint is peeling or uneven, more thorough sanding is required to create a smooth surface. For frames in good condition, a light sanding with fine-grit sandpaper is sufficient to promote adhesion. After sanding, always clean the frames thoroughly to remove all dust before applying primer or paint.
Can I Paint My Own Window Frames?
Yes, painting your own window frames is a manageable DIY project with the right preparation and materials. Success depends on proper surface preparation (cleaning, sanding, repairing), using appropriate primers and paints for your specific window material, applying multiple thin coats rather than one thick coat, and allowing adequate drying time between coats. Taking time to tape off glass and adjacent surfaces will ensure clean lines. While the process requires patience, especially when waiting for layers to dry, the results can be professional-looking and long-lasting with careful attention to detail.