Ceiling cracks are one of the most common home maintenance problems, and they can appear in any room—from bathrooms to living spaces. While some cracks are harmless and caused by aging paint, others may signal deeper issues like moisture damage, structural movement, or poor workmanship. The key is knowing what type of crack you’re dealing with and repairing it before it grows. In this guide, you’ll learn what causes ceiling cracks, how to identify the severity, and the step-by-step methods to fix everything from fine surface lines to deep structural gaps.
How to Fix Crack in Ceiling?

Ceiling cracks are more than just cosmetic problems. They can indicate structural issues, lead to peeling paint, and even cause sections of the ceiling to crumble or sag if left untreated. That’s why understanding the cause of the crack and repairing it properly is essential.
What Causes Cracks in Your Ceiling?
Knowing why your ceiling is cracking helps you apply the correct repair method and prevent the issue from returning. Ceiling cracks can come from many different sources. Some cracks are superficial and only affect the paint, while others form in the plaster or drywall compound. Either way, they should be repaired before they grow and cause more damage.
If the crack is in a bathroom ceiling, it may be caused by humidity and steam from hot showers. In this case, make sure the bathroom has a working exhaust fan to remove moisture. “Related article: How to paint bathroom ceiling.”
Another common cause is water leakage from the floor above. Water damage usually comes with yellow stains, peeling paint, and weakened plaster—not just surface cracks.
Other possible reasons include structural movement, poor workmanship, foundation shifting, or natural settling in newer homes (often accompanied by wall cracks). Older homes can also develop cracks due to general wear and age.
Before repairing any ceiling crack, address the underlying cause to prevent it from returning. Also, remember that thin cracks and deep cracks require different repair methods. Here’s how to fix both:
How to Fix Superficial Ceiling Cracks
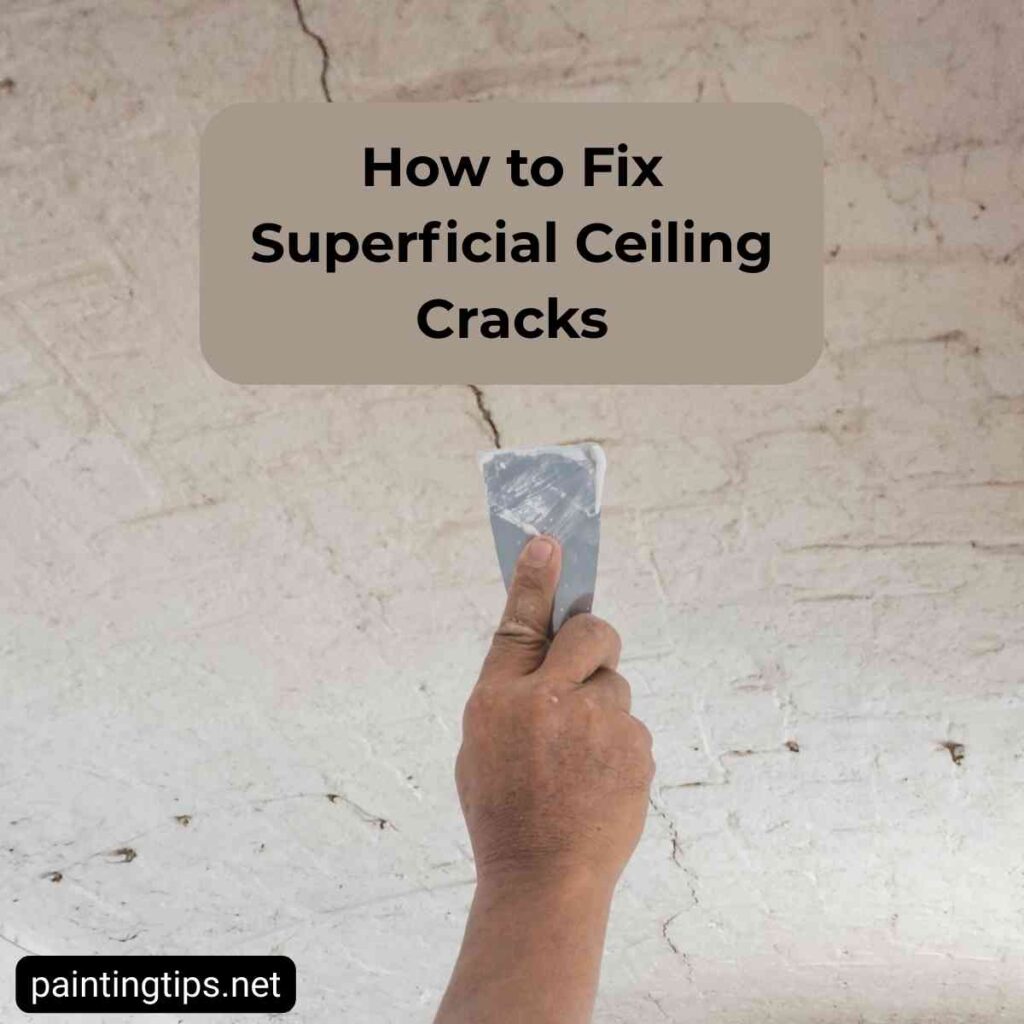
If the cracks on your ceiling are very fine, they may be caused by aging or failing paint. Before you start repairs, check that the crack is not coming from the plaster or drywall underneath.
For small, thin paint cracks, sanding, primer, and paint are usually enough. For wider paint cracks, apply a thin layer of lightweight joint compound (fine compound). Spread it with a putty knife, let it dry, sand it smooth, and then prime and paint.
One common issue is color mismatch between the old ceiling paint and the new touch-up. On colored ceilings, repairs are often visible. On white ceilings, this is less noticeable, but you need to match the sheen:
- If the ceiling was painted in flat/matte white, use flat white again.
- If it was painted in eggshell or semi-matte, use the same sheen to avoid visible patches. “Related article: Can i use wall paint on ceiling?”
For the best results, repainting the entire ceiling after the repair prevents flashing or uneven tones—especially if the existing ceiling paint is old.
How to Fix Deep Ceiling Cracks

Deep cracks usually develop in the plaster or drywall compound. Before repairing them, make sure the crack is no longer actively spreading—otherwise, the repair will fail. If your ceiling is drywall:
- Use Lightweight Joint Compound for smooth ceilings.
- Use All-Purpose Joint Compound for slightly textured ceilings.
Apply the compound into the crack with a putty knife, let it dry completely, sand with 180-grit, prime, and paint.
If your ceiling is plaster:
- Use Spackling Paste or Patching Compound to fill the crack.
- Once dry, sand, prime, and paint.
Make sure to follow proper drying times between each coat of compound, primer, and paint.
Fixing Large Gaps and Wide Ceiling Cracks
For very large gaps or long, deep cracks, you can also use polyurethane caulk. It’s especially useful on rough or uneven ceilings and provides a flexible, paintable repair that resists cracking. Steps:
- Clean the crack with a brush.
- Apply polyurethane caulk.
- Let it cure for 24 hours.
- Prime the repaired area (let dry 3 hours).
- Apply the first coat of paint.
- After 3 hours, apply the final coat of paint. “Related article: Best colors for ceiling.”
Warnings and Safety Tips
- If your ceiling has numerous cracks or looks unstable, call a professional. Ceiling repair often requires ladders and tools, and large repairs can be challenging.
- Make sure the crack is not still growing before repairing.
- If the issue is caused by a leak in the upper floor, fix the leak first—otherwise, the crack will return.
- Always follow drying times for compounds, primers, and paints. “Related article: Fixing wall cracks.”
What You’ll Need
- Ladder
- Putty knife / taping knife
- Sanding sponge or 180-grit sandpaper
- Lightweight joint compound
- All-purpose joint compound (if needed)
- Spackling paste or patching compound
- Polyurethane caulk (for large cracks)
- Primer
- Ceiling paint (flat or semi-matte)
- Paintbrush or roller
- Dust mask and safety glasses