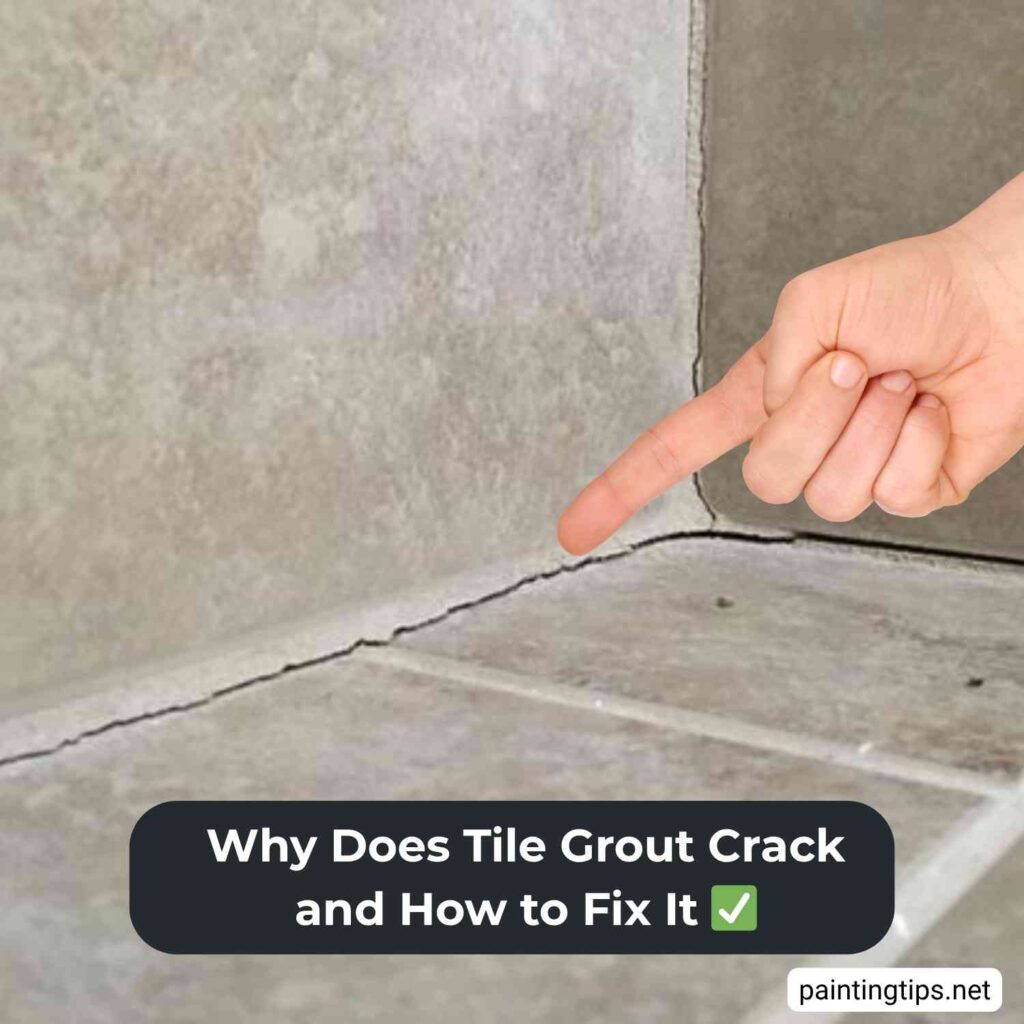
Tile grout plays a much bigger role than most people realize. It’s not just a filler between tiles — it keeps everything in place, prevents moisture from getting underneath, and gives floors and walls that clean, polished look. But when tile grout cracks, even the most beautiful tile installation can lose its charm. Cracked grout doesn’t just ruin the appearance; it can also lead to water damage, loose tiles, and costly repairs. Understanding why grout cracks and how to fix cracked grout properly is the key to maintaining long-lasting, flawless tile surfaces.
What Is Grout and Why Cracks Matter?
Grout is a finishing material applied between tiles, stones, or granite surfaces. It gives a smooth, polished look while helping tiles align properly and providing a bit of water resistance. However, even the most beautiful tiles will look unattractive if the grout is cracked or poorly applied. Tile grout cracks can lead to moisture problems and water leaks, especially in areas like bathrooms and kitchens. Recognizing the causes of grout failure is the first step to preventing it.
Why Does Tile Grout Crack?
One of the most common reasons tile grout cracks is walking on it before it fully dries. Like tile adhesive, grout needs time to harden. Stepping on tiles too soon can shift the soft grout underneath and cause cracks.
Another cause is using the wrong type of grout for the gap size. Standard grout is made for 3–5 mm joints. Wider gaps require special formulations; otherwise, the grout will eventually break apart. Always check the packaging to ensure it fits your joint width.
Loose or poorly installed tiles are another frequent culprit. When tiles move, the hardened grout cannot flex, and it cracks. Before grouting, make sure the tiles are firmly attached and the subfloor is stable.
Heavy weight or impacts over grout lines can also cause cracking. Placing furniture, cabinets, or bathroom vanities directly on grout lines may lead to fractures. Even strong grout can’t handle concentrated pressure on seams.
Environmental factors such as temperature and moisture changes are particularly significant in bathrooms and outdoor spaces. Cement-based grout expands and contracts with heat and humidity. Constant exposure to sunlight, standing water, or moisture causes it to weaken and split. Using epoxy or weather-resistant grout in these conditions helps prevent cracking.
Applying new grout over old grout or using harsh cleaning chemicals like bleach accelerates deterioration. Additionally, expired or improperly stored grout can lose bonding strength and crack soon after application. “Related article: How to clean grout between tiles.”
Lastly, incorrect mixing or application, including excess water in the grout or improper cleanup, can compromise durability and lead to tile grout cracks over time. “Related article: How to grout tile.”
How to Fix Cracked Grout
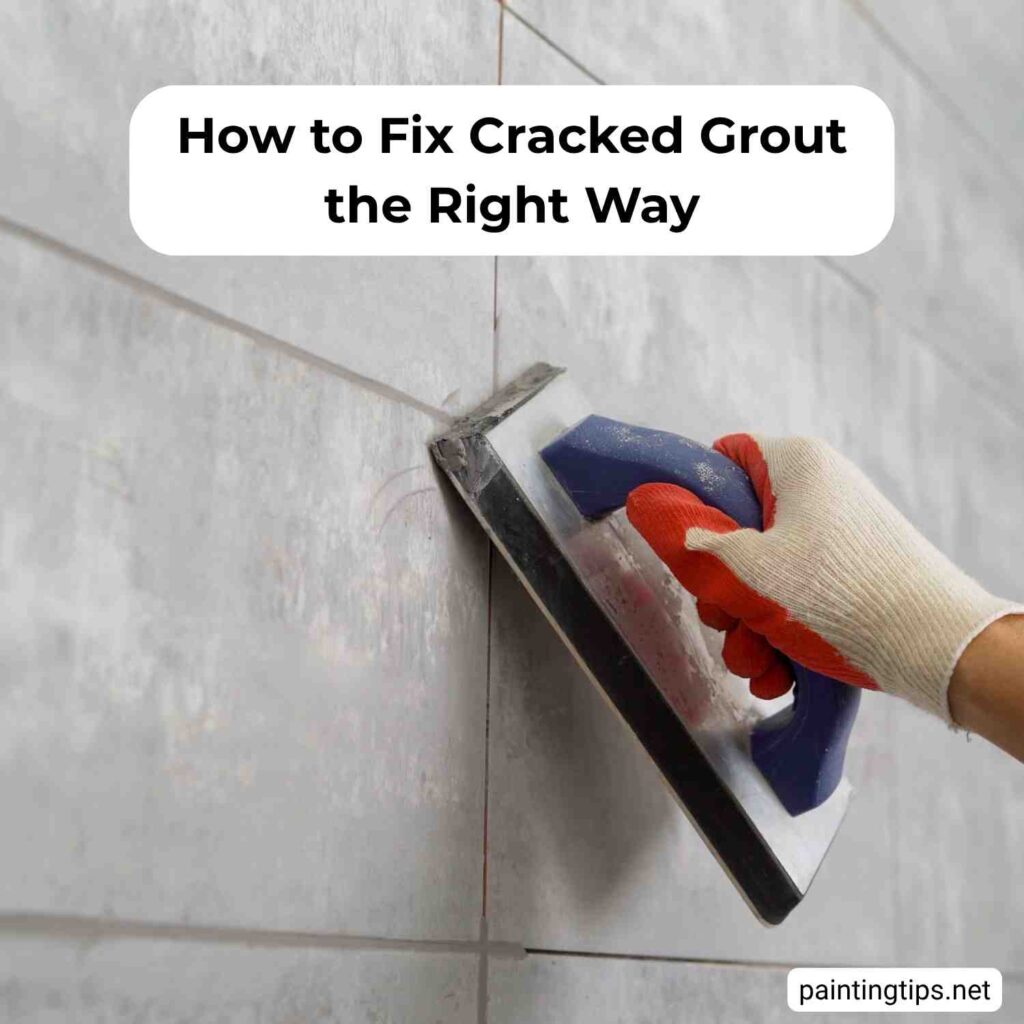
Repairing cracked grout depends on the severity. For minor surface cracks, remove loose pieces and apply a thin layer of fresh grout on top. Use a grout saw or utility knife to clear damaged sections, clean the area, then mix a new batch according to the instructions. Apply evenly with a rubber float and wipe excess with a damp sponge.
For deeper or widespread cracks, remove the old grout entirely using a grout removal tool or oscillating multi-tool. After clearing all debris, apply new grout and let it cure fully before sealing. A high-quality grout sealer protects against moisture and reduces the risk of future cracking.
Regular bathroom grout repair and maintenance are essential in wet areas. Check for loose tiles or movement in the subfloor, and reinforce them if needed. Using the correct grout type — flexible, polymer-modified, or epoxy — increases durability, especially in high-traffic areas like bathrooms, kitchens, and entryways.
How to Prevent Grout from Cracking
Preventing grout from cracking starts with proper installation. Ensure surfaces are stable, clean, and level. Movement in the subfloor or wall transfers stress to the grout lines, causing cracks. Using cement board or backer board beneath tiles in wet areas adds stability and moisture resistance.
Follow manufacturer ratios carefully when mixing grout. Too much water weakens the structure; too little prevents proper adhesion. Let the grout set completely before walking on it or letting water contact it.
Sealing grout lines with a high-quality sealer is crucial. It protects against moisture, temperature changes, mold, mildew, and staining. Choose the right grout for the job: sanded for wide joints, unsanded for narrow gaps, and epoxy for maximum flexibility in moisture-prone areas.
Combining proper preparation, careful application, and ongoing maintenance ensures your tile grout cracks remain minimal and repairable. Routine bathroom grout repair and sealing extend the life of your installation and keep it looking fresh for years.
Conclusion
Cracked grout is a common issue, but it’s entirely preventable. Whether in bathrooms, kitchens, or high-traffic areas, using the right materials, proper installation techniques, and regular maintenance will keep your grout strong, durable, and crack-free. By following these steps, your tiles will retain their polished look and functionality for years to come.