Tiled surfaces can completely shape the look of a kitchen or bathroom—but when they start to look outdated, replacing them isn’t your only option. Painting tiles has quickly become a go-to solution for homeowners who want a fresh, modern update without the cost of demolition or new tile installation. The process is easier than most people think, and with the right prep work, painted tiles can look surprisingly sleek and last for years. In this guide, you’ll learn the most effective products, the correct technique, and the key steps that make tile painting successful even on glossy, hard-to-paint surfaces.
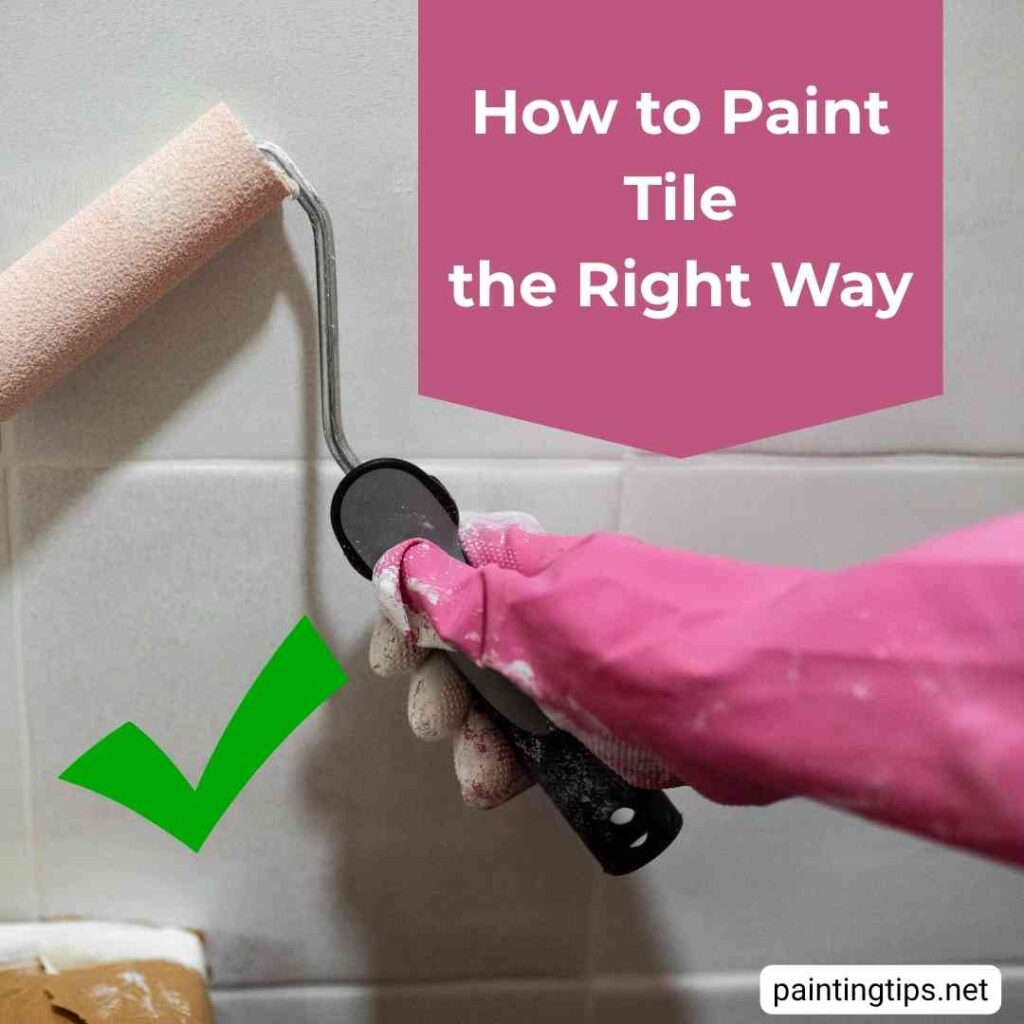
How to Paint Tile
Painting tiles is one of the simplest and most affordable ways to refresh your kitchen or bathroom without diving into a major renovation. By painting your tiles, you can bring your favorite color into the space and make your existing tiles blend better with your new furniture or overall style.
Tile painting may seem a bit risky at first. However, many people choose to paint their tiles instead of replacing them because it’s far less complicated and something you can easily do yourself. The biggest challenge when painting kitchen or bathroom tiles is getting the paint to properly adhere to the glossy tile surface. You may also wonder whether painted floor tiles will hold up well under constant foot traffic—and that’s a very reasonable concern.
Below, we explain a painting technique that will ease these concerns and help the paint bond strongly to tiles. This step-by-step guide will show you exactly how to paint tiles correctly. But first, let’s answer the most common questions people have about tile painting.
Is Painting Over Tiles a Good Idea?
Painting tiles is a more budget-friendly project than replacing them. But is painting over tiles always a good idea? When you decide to paint your tiles, there are a few challenges you should be aware of.
The first issue is that paint doesn’t adhere well to glossy tile surfaces. You can solve this problem by using a high-quality bonding primer designed for slick surfaces.
The second challenge is that floor tiles are more prone to wear and tear. Floors always have a higher risk of abrasion. If you plan to paint your floor tiles, you’ll need an extra layer of protection after painting. A water-based varnish can help, but an epoxy sealer is an even better option for long-lasting durability.
The third issue is high humidity. If you plan to paint bathroom tiles, remember that the paint will be exposed to heat and moisture. To prevent peeling or bubbling, make sure your bathroom is well-ventilated and that steam is quickly removed after showers. Ultimately, success depends on your painting experience and the quality of the primer and paint you use.
What Kind of Paint Do You Use on Tiles?
When painting tiles, it’s better to use a brush rather than spray paint. This allows the paint to be applied thicker and creates a more durable finish. It also gives you greater control over the painting process and coverage.
The best paints for tiles are specially formulated tile paints. After that, epoxy paints and multi-purpose acrylic paints are also excellent choices for tile surfaces. Here are some recommended options:
- Sherwin‑Williams: Extreme Bond Primer, Emerald Interior Acrylic Latex
- Benjamin Moore: INSL‑X STIX Waterborne Bonding Primer, Aura Bath & Spa, Ben® Interior Acrylic Paint & Primer
- Rust‑Oleum: Tub & Tile Refinishing Kit, Tub & Tile Aerosol Spray
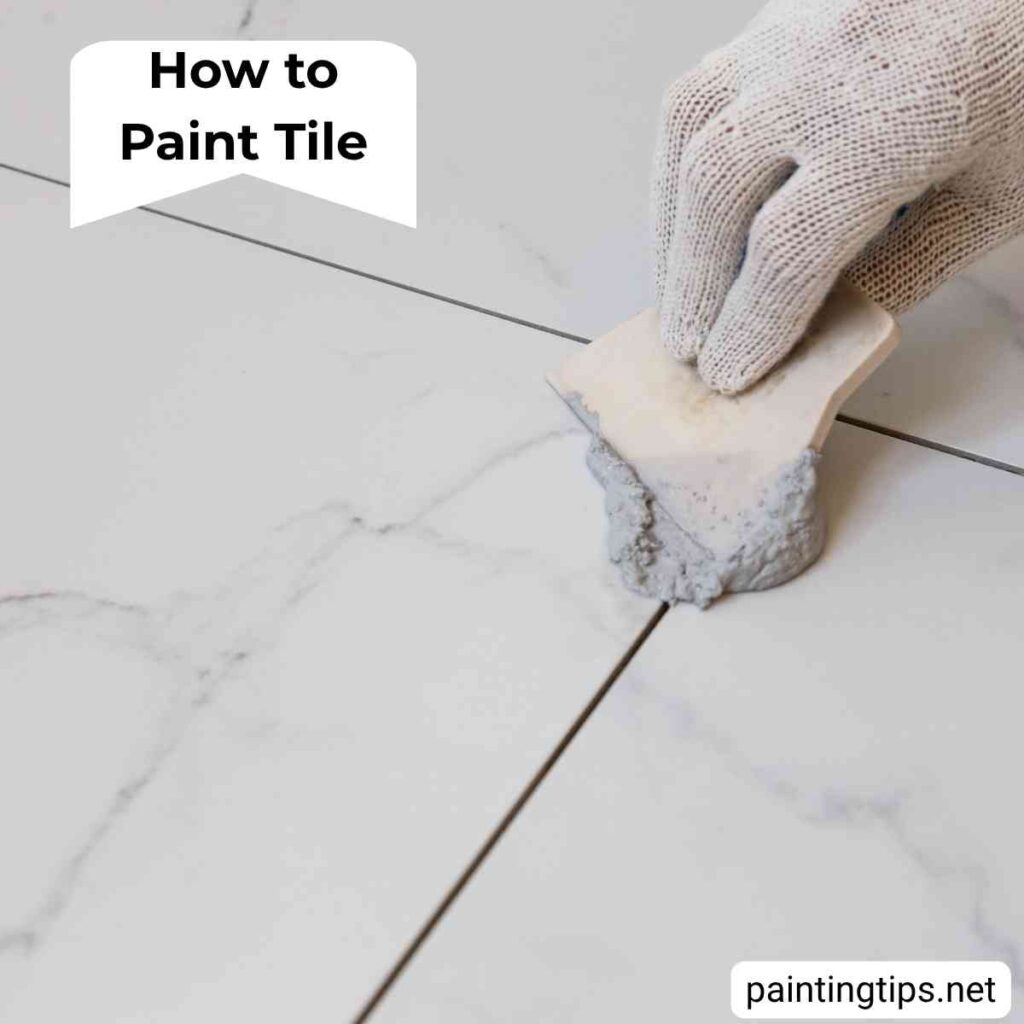
1-Repair The Holes or Cracks
Repair any holes or cracks on the tile surface and in the grout lines using grout filler. Make sure these repairs are fully dry before applying primer.
2-Clear All Items from the Tiles
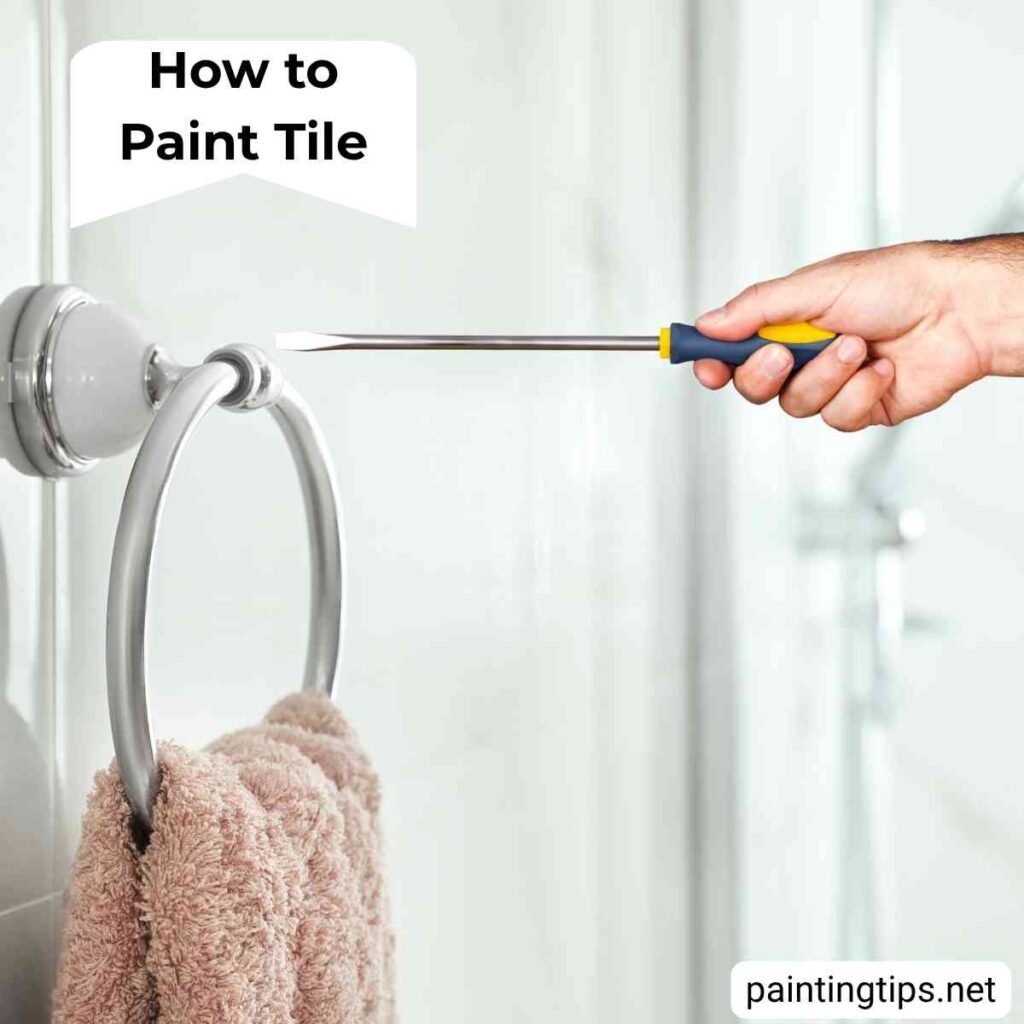
Before you start painting tiles, remove any items or accessories that could slow down or complicate the process. For wall tiles, temporarily take down soap holders, shampoo racks, hooks, and grab bars mounted on the tiles.
3-Clean The Tiles
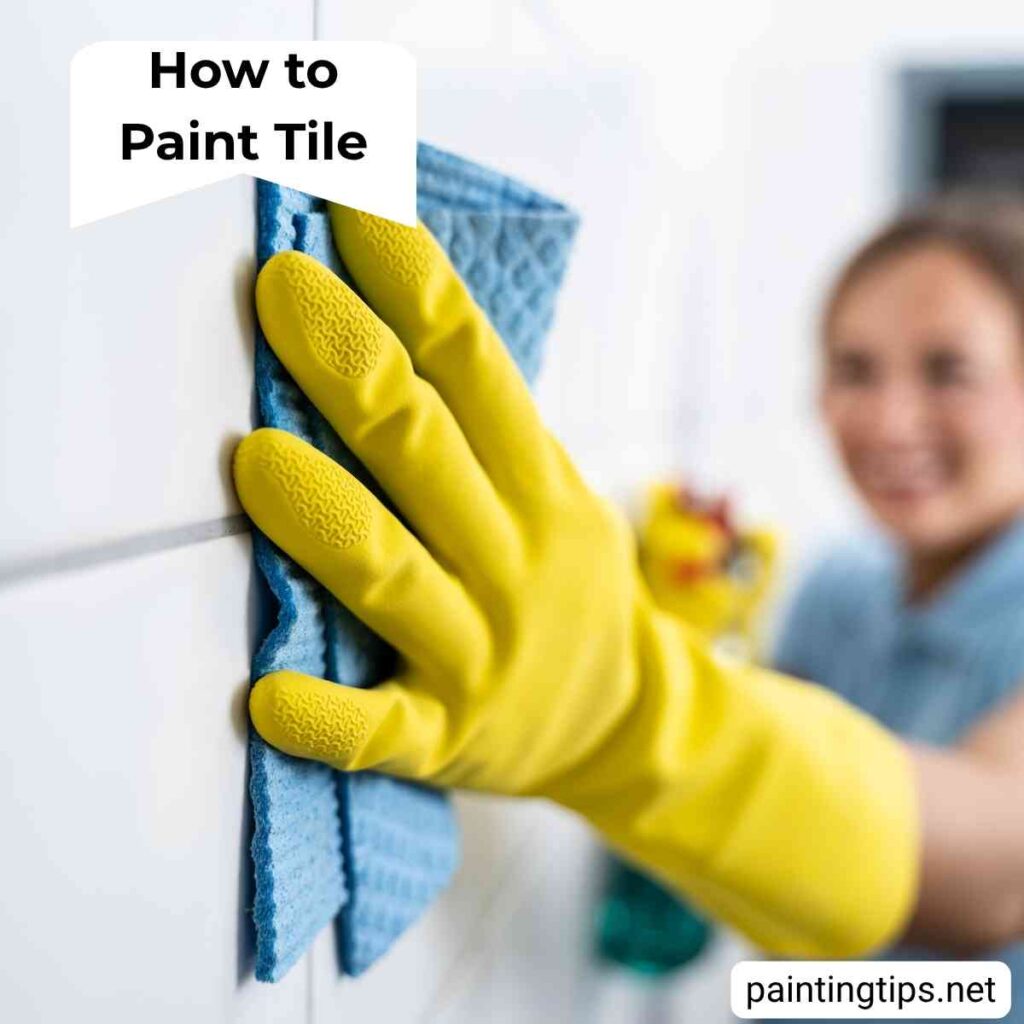
Tiles are often glossy and slippery, which makes it hard for paint to adhere. Paint also doesn’t stick well to dirty or damp tiles. Before painting, wipe the tiles with a mixture of vinegar and water, and allow them to dry for a few minutes. “Related article: How to clean grout between tiles.”
4-Prime or Sand

Tiles are not naturally ideal for paint adhesion. To ensure the paint sticks properly, you either need to lightly sand the surface or apply a primer. Generally, priming is the easier and more common method. This is one of the most important steps in tile painting.
You can use the primers included in tile painting kits, or a general-purpose bonding primer. These primers help the paint adhere to the tile and can also help cover dark-colored tiles. Usually, one coat of primer is enough, but if you have extra primer, you can apply a second coat after the first one dries completely.
5-Painting The Tiles
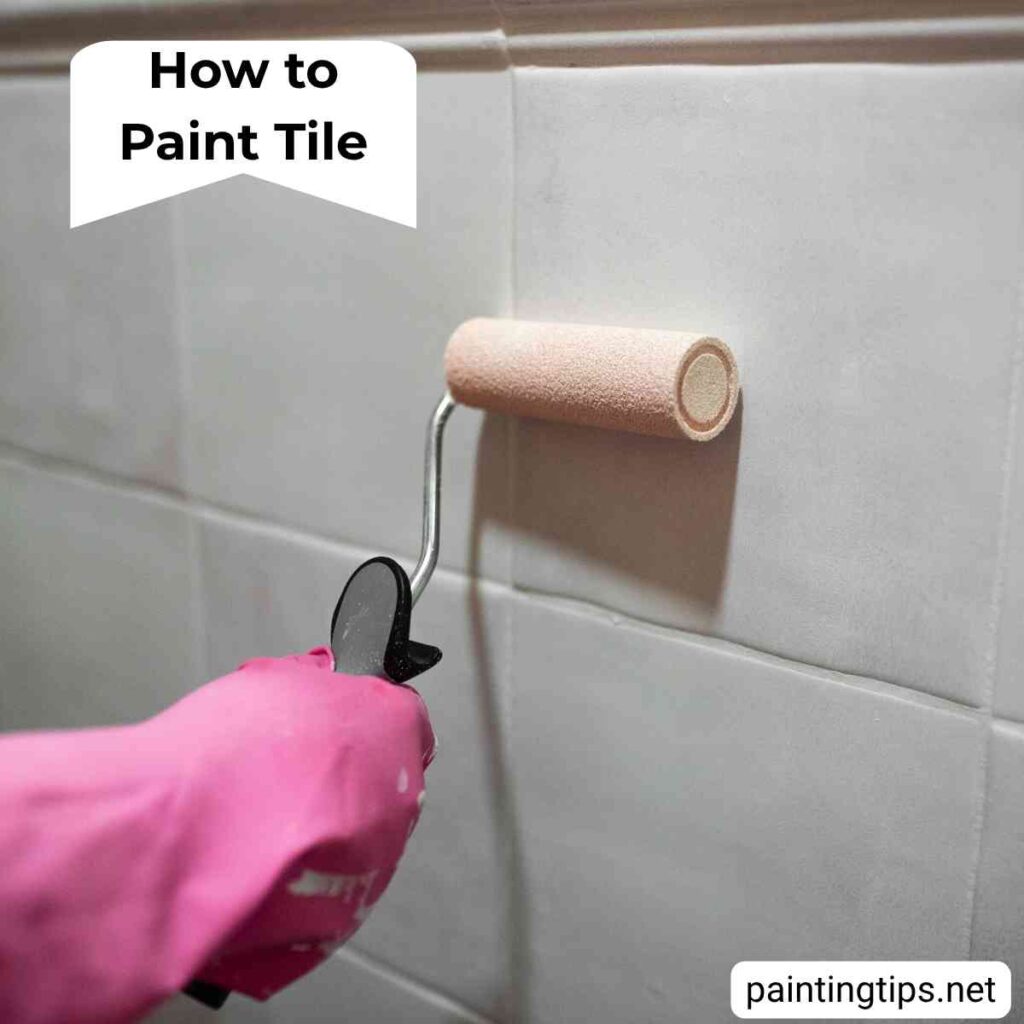
After priming, let the primer dry completely—typically about 5 hours. Then, using a high-quality short-nap roller, apply at least two coats of paint, waiting about 5 hours between coats. Always follow the drying times and application instructions on your paint label.
6-Sealing
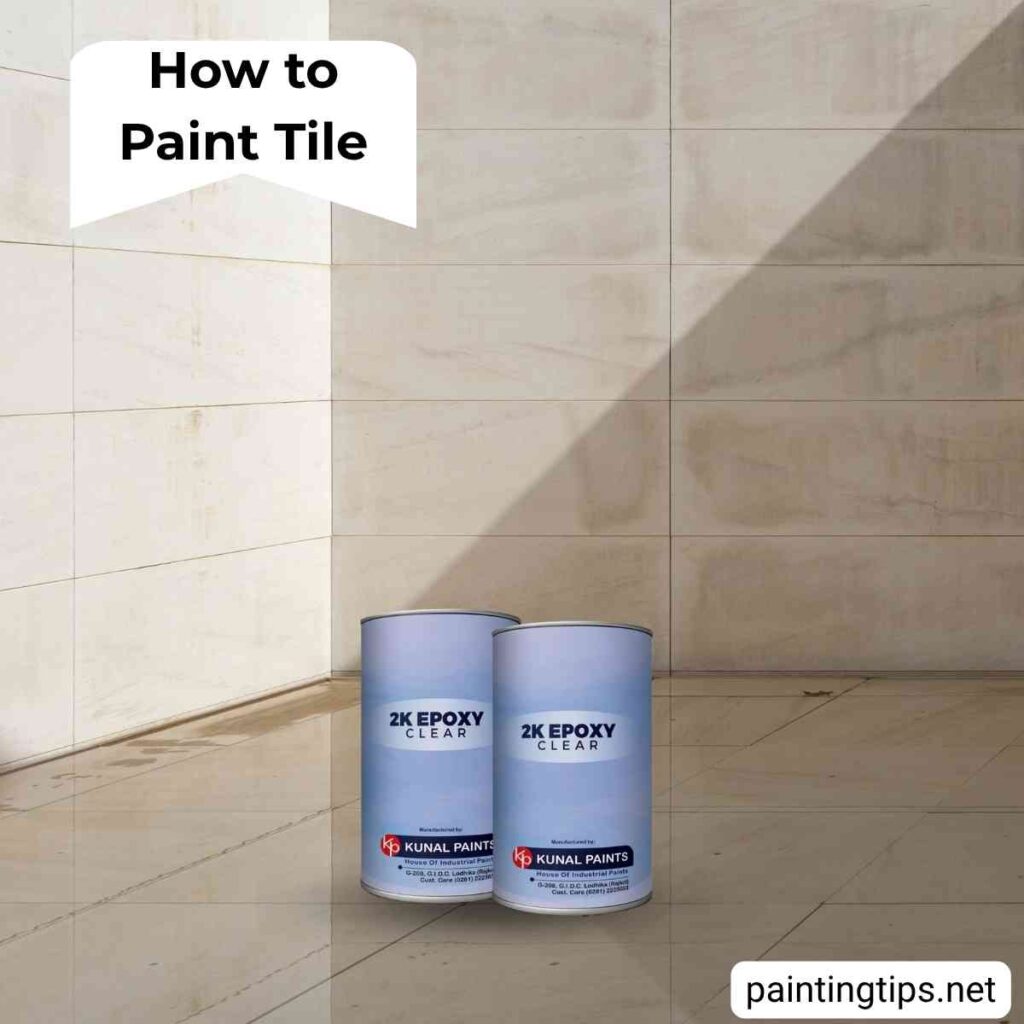
One of the most important steps in tile painting is sealing the paint. This is especially critical when painting floor tiles. If your tile painting kit doesn’t include a sealer, you can protect the painted surface with an epoxy sealer after the paint has dried. “You might also like: Can You wallpaper over tiles?”
Warnings and Precautions
- Set your expectations clearly—painting tiles may not be a long-term substitute for brand-new tiles. However, with the right paint and good workmanship, a painted tile surface can last for many years.
- After painting, the grout lines may still be visible. They usually appear as small recesses and won’t negatively affect the overall look. In fact, paint often adheres better to grout than to the tile surface itself.
- Be extra careful when painting floor tiles. Tiles in high-traffic areas are more prone to cracking, scratching, and peeling. Even when using epoxy or specialized tile paints, heavy wear can eventually damage the surface. As a precaution, you can check the floor every couple of years and reapply the epoxy coating if needed.
- With a little patience and the right techniques, you can give your bathroom or kitchen a completely refreshed look that lasts for years. Now it’s your turn—grab your brush and start the transformation!