Enamel paints are designed to create a smooth, polished finish. Most are glossy and can be either water-based or synthetic. The high gloss of enamel paints can make them a bit tricky to apply, especially with synthetic versions, which are more prone to leaving brush or roller marks. In this post, we’ll share some tips and tricks for applying enamel paint the easiest way possible.
How to Use Enamel Paint?

Enamel paints deliver a glossy, smooth finish and are popular for their durability on various surfaces. However, applying enamel paint can be more challenging compared to other types of paint. That’s why it’s essential to take extra care during the painting process and choose the right brush and roller.
The high gloss of enamel paints can make it difficult to achieve a perfect finish, as brush marks are more likely to appear. But with high-quality brushes and rollers, and by following the proper steps, you can achieve a flawless enamel paint application.
How to Apply Enamel Paint?

Enamel paints can be applied to a wide variety of surfaces, including metal, wood, walls, both painted and unpainted areas, as well as acrylic and other previously painted surfaces. Below, we’ll walk you through the general steps for using oil based enamel paint. And at the end of this post, we’ll answer some of the most common questions about enamel paints.
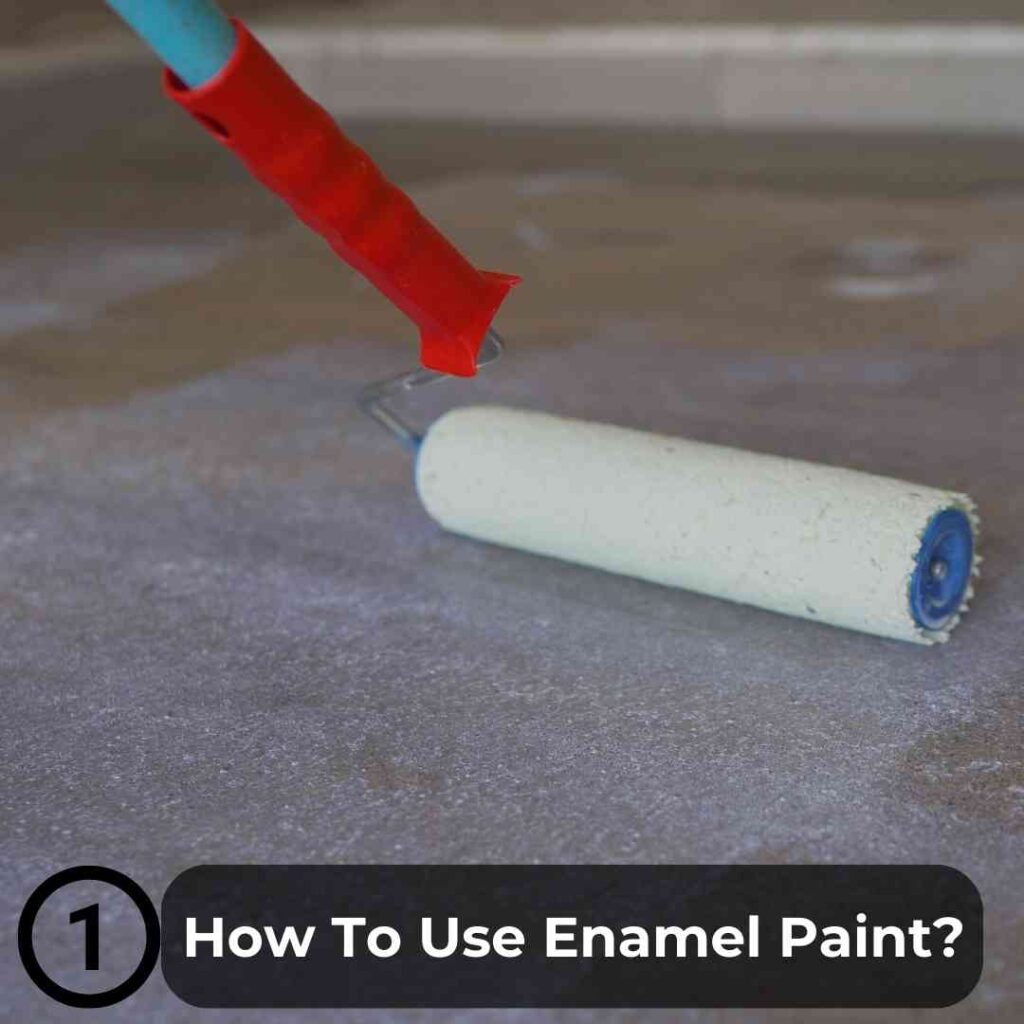
1-Apply Synthetic Primer

Enamel paints adhere well to many surfaces, but they bond even better when used with a primer. A primer also helps to easily cover any old colors on the surface. If you’re using enamel paint, it’s a good idea to apply a primer first. For water-based enamel paints, use a water-based primer; for synthetic enamel, go with a synthetic primer. “For more on this topic, check out our article: Is primer paint necessary.”
2-Wait for the Primer to Dry

If you’re using a water-based primer for enamel paint, allow at least four hours for it to dry. For synthetic primers, give it at least one full day. It’s crucial to ensure the primer is completely dry before applying enamel paint.
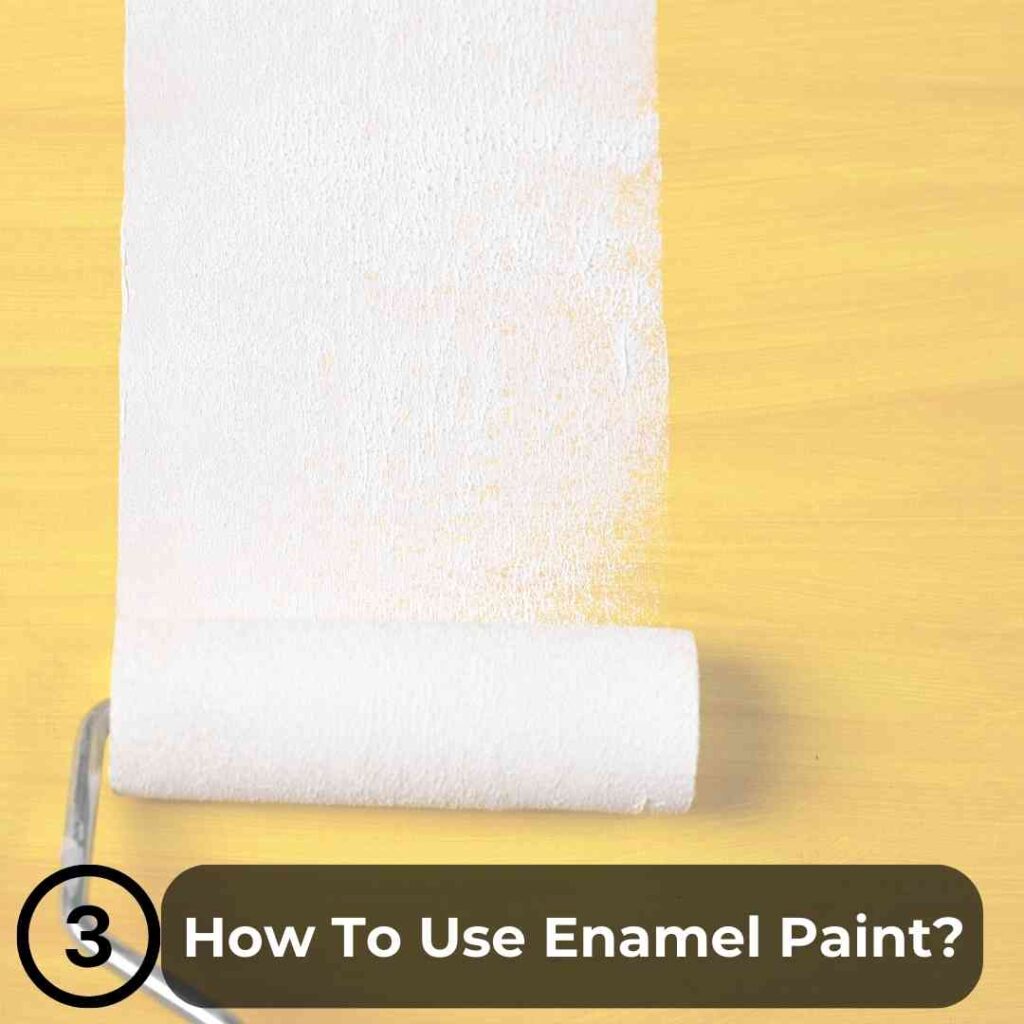
3-Apply the First Coat of Enamel Paint

Once the primer has dried, if the surface you’re painting is flat, use a short-nap roller for the best results. For oval or curved surfaces, it’s best to use a brush designed for synthetic paint to ensure smooth coverage.
4-Allow the First Coat to Dry

Synthetic enamel paints take longer to dry. While the surface may feel dry to the touch after a few hours, you’ll need to wait a full day for the first coat to properly dry. For water-based enamel paints, you should allow at least four hours for the first coat to dry before applying another.
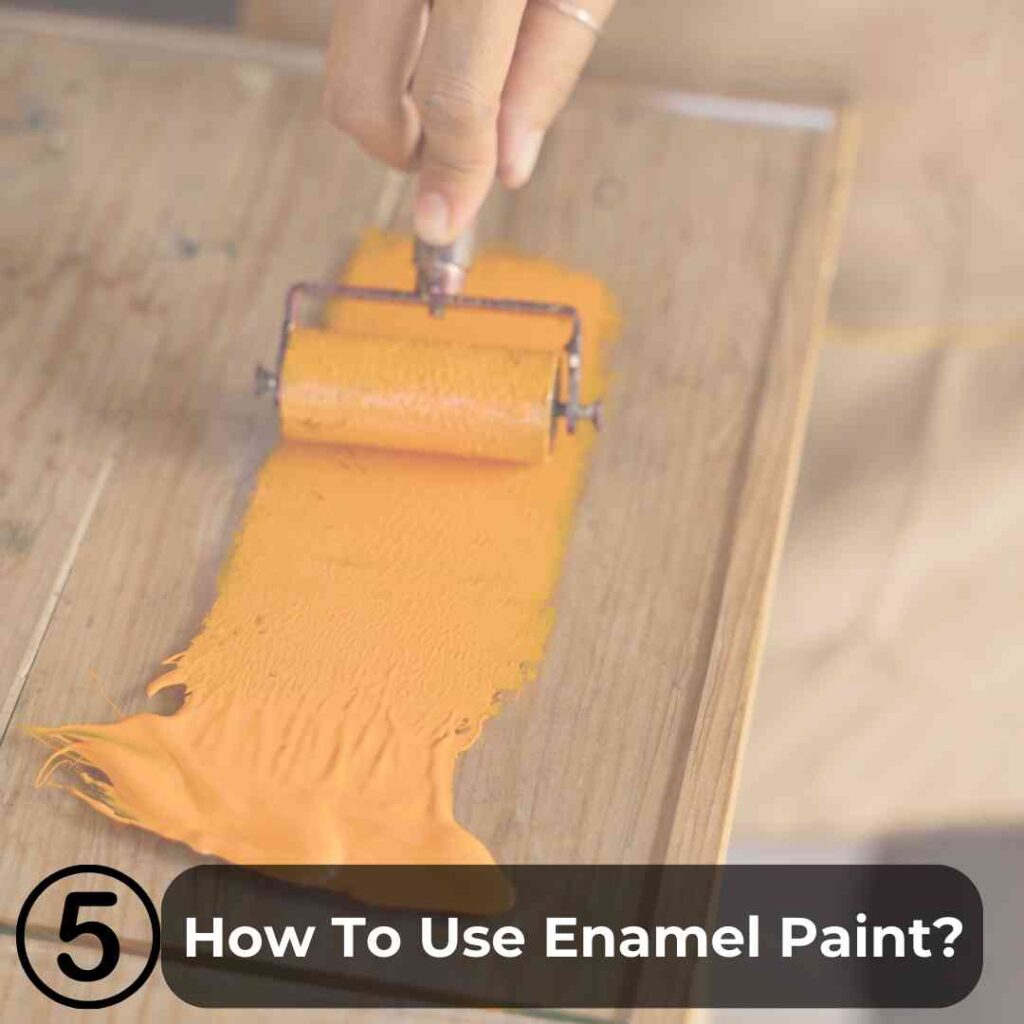
5-Apply the Second Coat of Enamel Paint

Once the first coat of enamel paint has dried thoroughly, you can apply the second coat. Be extra careful with the final layer to avoid roller marks on the surface. Using a paint tray can help make the process smoother and more efficient.
Final Thoughts and Precautions for Applying Enamel Paint
- When working with enamel paint, patience and attention to detail are key to achieving a flawless finish. Always wait for the primer to fully dry before applying your first coat of enamel paint—about four hours for water-based primers and at least a day for synthetic ones. Once you’ve applied the first coat, give it time to dry completely before moving on to the second coat. Rushing this step can significantly extend the overall drying time.
- For synthetic enamel paints, the surface may feel dry after a few hours, but it takes a full day for the first coat to dry and two days to become scratch-resistant. Water-based enamels dry faster, requiring about four hours between coats.
- When applying the second coat, especially on curved surfaces, use a suitable brush for synthetic paints and take extra care to avoid roller marks. A paint tray can help keep your application smooth and consistent.
- In colder months, drying times may be longer, so be sure to adjust your schedule accordingly. “Related article: Painting in cold weather.” By following these steps and using the right tools, you can achieve a durable, professional-quality enamel finish.