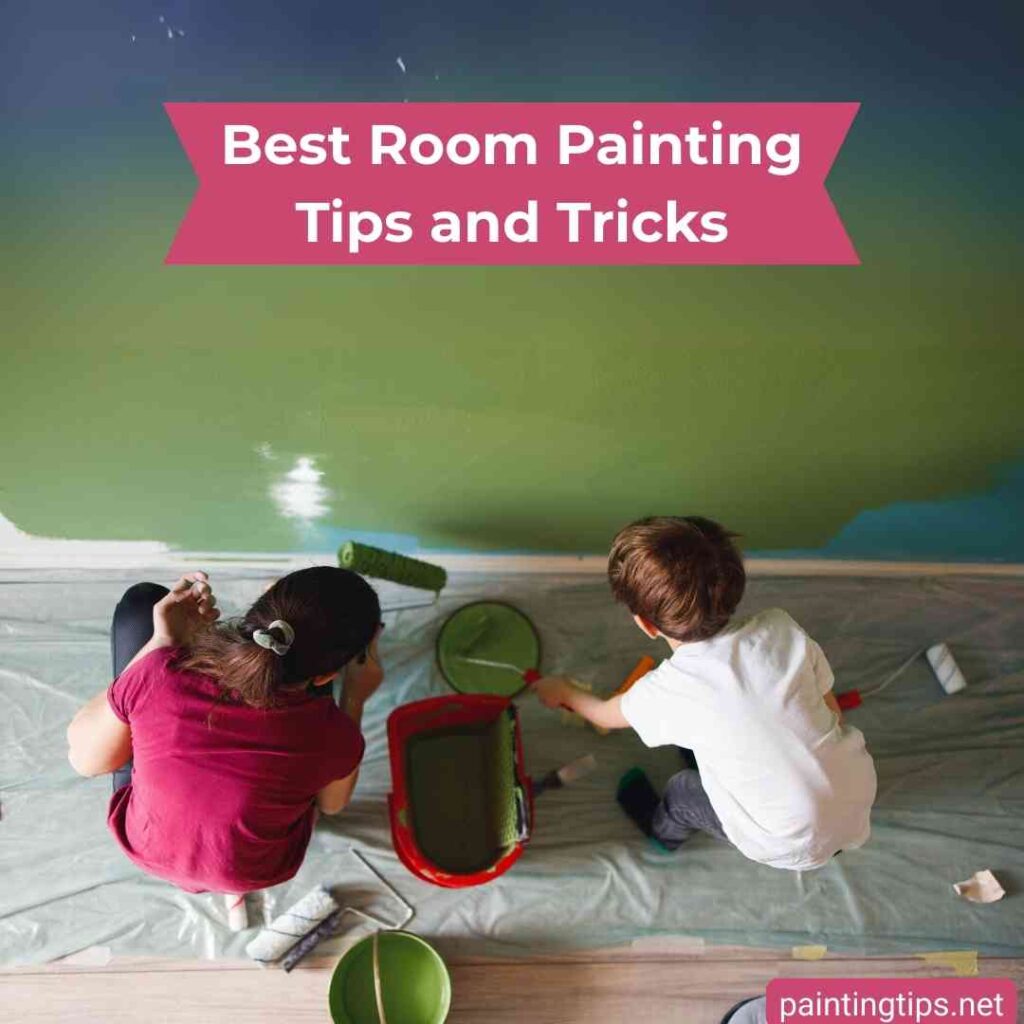
Painting a room may seem simple, but achieving a smooth, professional-looking finish takes more than just rolling paint on the walls. For beginners, it’s all about learning the right steps and using the right tools. With a bit of patience and attention to detail, you can transform any room into a fresh, beautifully painted space. In this guide, we’ll walk you through how to paint a room for beginners—covering everything from preparation and taping to cutting in and applying flawless coats of paint.
How to Paint a Room for Beginners
Professional painters have developed their painting techniques over time and with experience, learning how to paint both quickly and flawlessly. Yes, painting without mistakes requires experience. Skills like covering dark colors easily, painting without brush marks, using a roller without dripping, and cutting in edges cleanly are all abilities that come with practice.
However, you can still minimize or even eliminate mistakes with careful attention. It just takes a bit of patience. Whether you’re a professional or a beginner, there are certain rules to follow when painting. Using quality materials, preparing the surface properly, and paying attention to drying times are some of the most important ones.
If you’re new to painting or have never painted before, it’s best to start with a small room to gain some experience. Painting a small room is ideal for practice.
One of the most time-consuming and frustrating parts of painting a room is taping all the edges with painter’s tape. Still, this step is essential for beginners—it helps you paint the edges cleanly without smudging.
Painting the ceiling is the most tiring part of the job. It puts strain on your shoulders and can make you tired quickly. That’s why it’s important to take frequent breaks while painting the ceiling.
For beginners, the most challenging part is painting the walls without leaving roller marks. The key to a smooth, even finish is spreading the paint thoroughly on the wall. Use a high-quality roller and choose a flat (matte) paint to avoid roller marks. “Related article: How to fix paint streaks on walls.”
As you paint, the sections you completed a few minutes earlier will start to dry. The drying paint may change color slightly or appear streaky. Don’t worry about that—just keep painting steadily.
1-Choose Quality Paint, Rollers, and Brushes
The secret to a professional-looking paint job is using high-quality materials. A good brush and roller won’t shed bristles or leave streaks while painting a room. They also help reduce splatter. Choosing a high-coverage paint will make the process easier and cut down on the number of coats you need.
2-Preparation
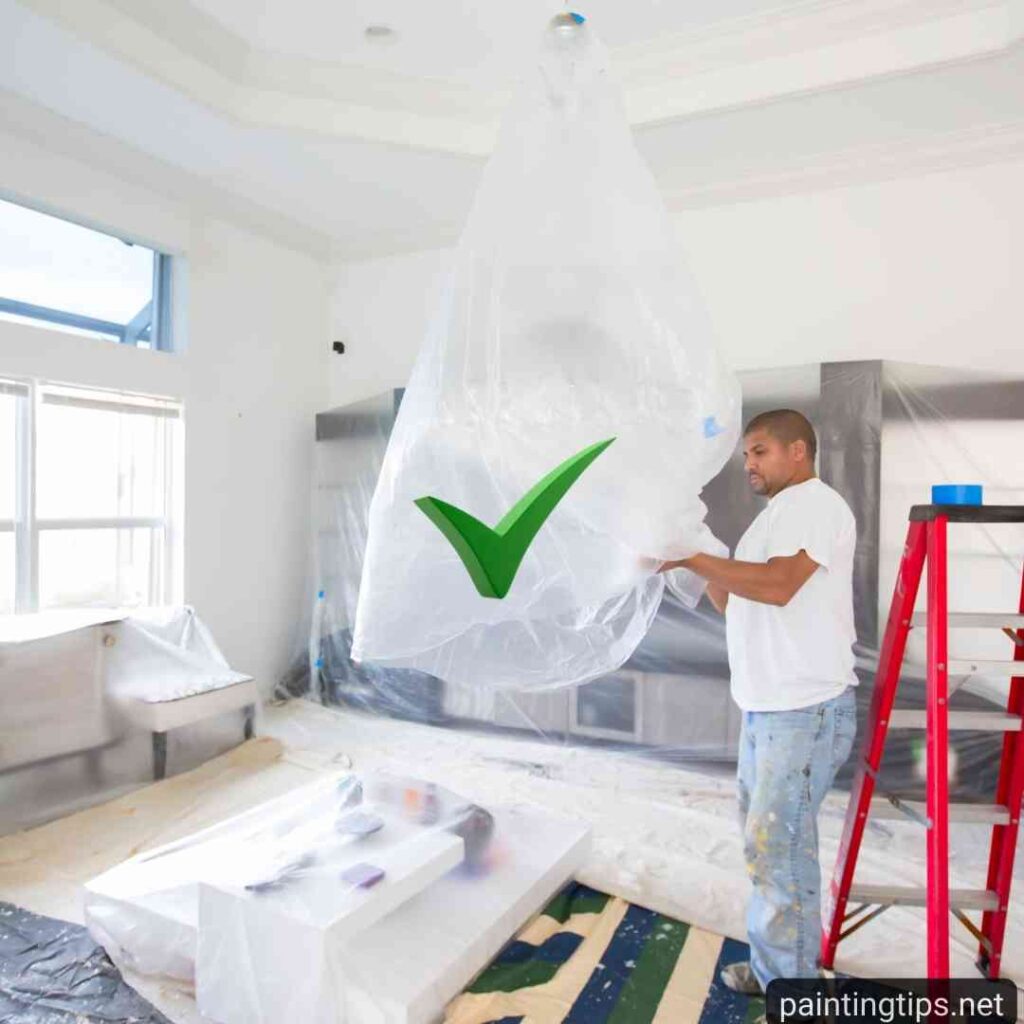
Remove the light fixture from the ceiling, or cover it with a drop cloth. Take down wall décor such as pictures, clocks, and mirrors. Cover radiators, doors, and trim with drop cloths. Move all furniture out of the room, or place it in the center and protect it with a drop cloth. Don’t skip this step—proper prep saves you hours of cleanup later.
3-Inspect and Repair the Walls Before Painting
Before you start painting the room, inspect all the walls carefully and fill any holes or cracks with lightweight joint compound. Allow the compound to dry completely, then sand the surface smooth using 180-grit sandpaper.
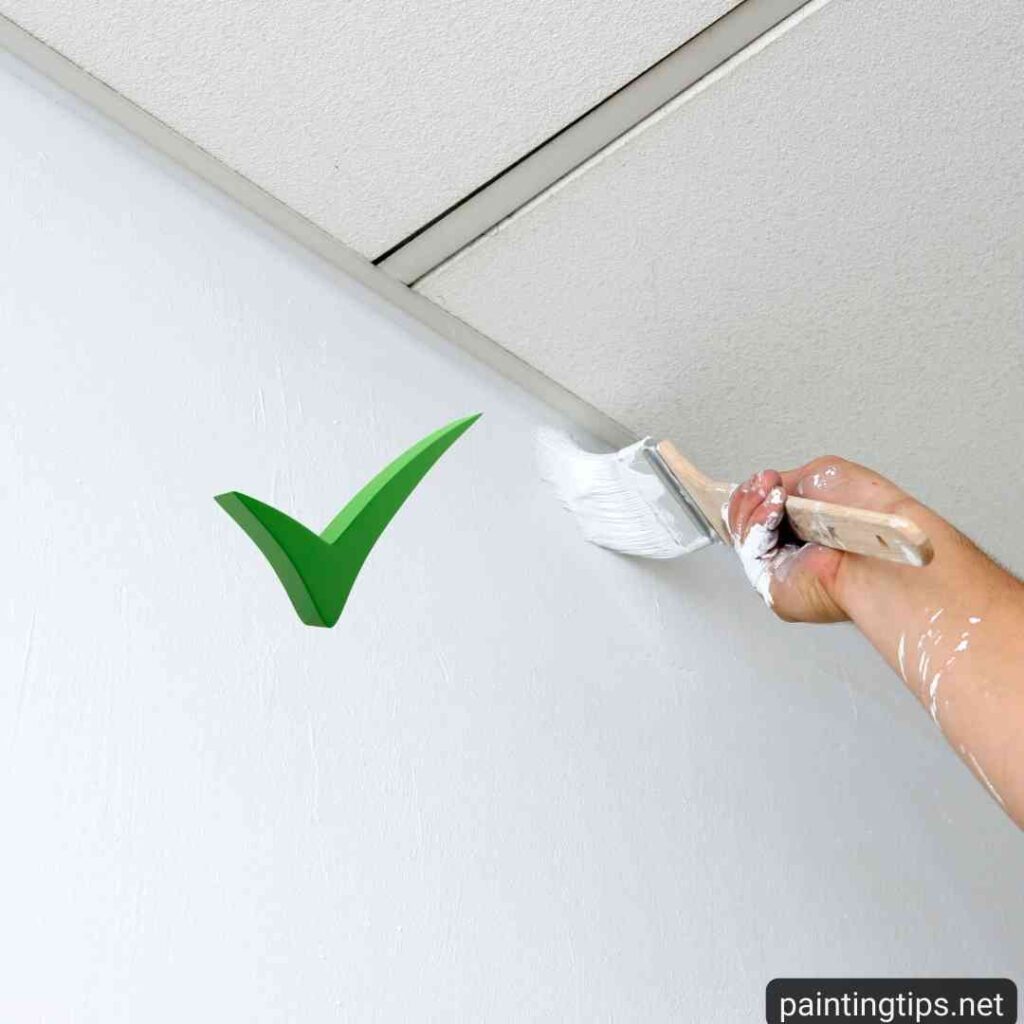
4-Start with the Ceiling
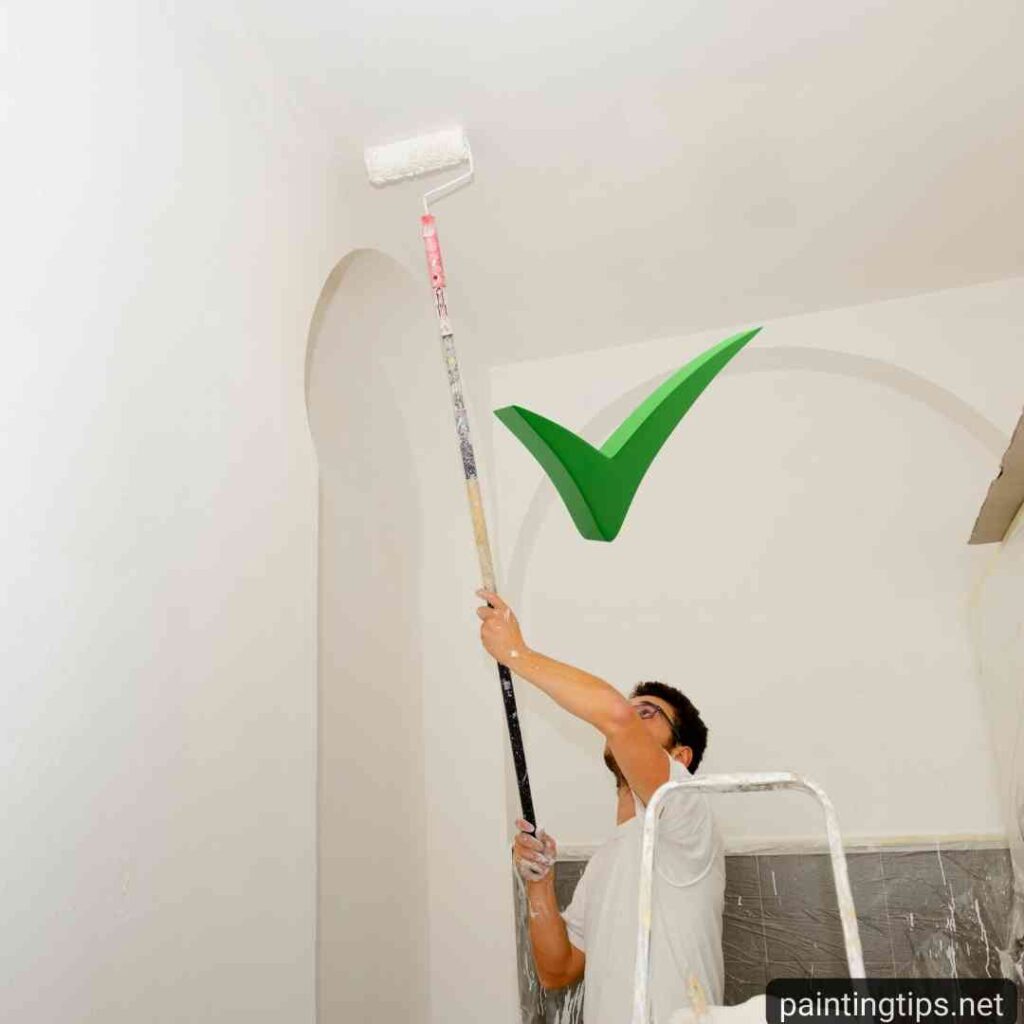
Always begin with the ceiling so you don’t drip paint onto freshly painted walls. Use a high-quality roller with an extension pole to reach the ceiling easily and reduce drips. Apply one coat in a single direction, let it dry for about 5 hours, then apply a second coat in the opposite direction for even coverage. “Related post: How to paint a bathroom ceiling“
5-Cut In Before Painting the Walls
When the ceiling is fully dry and painted, it’s time to start painting the room’s walls. Start with “cutting in,” which means painting the edges and corners with a brush. Use a 2-inch or 2.5-inch angled brush along window and door frames, as well as where the wall meets the ceiling. Apply two coats, waiting about 5 hours between them. If you notice brush marks, thin the paint with about 10% water (for water-based paint) or the appropriate thinner. “This post might be helpful: Painting edges without tape.”
6-How to Paint Room Walls
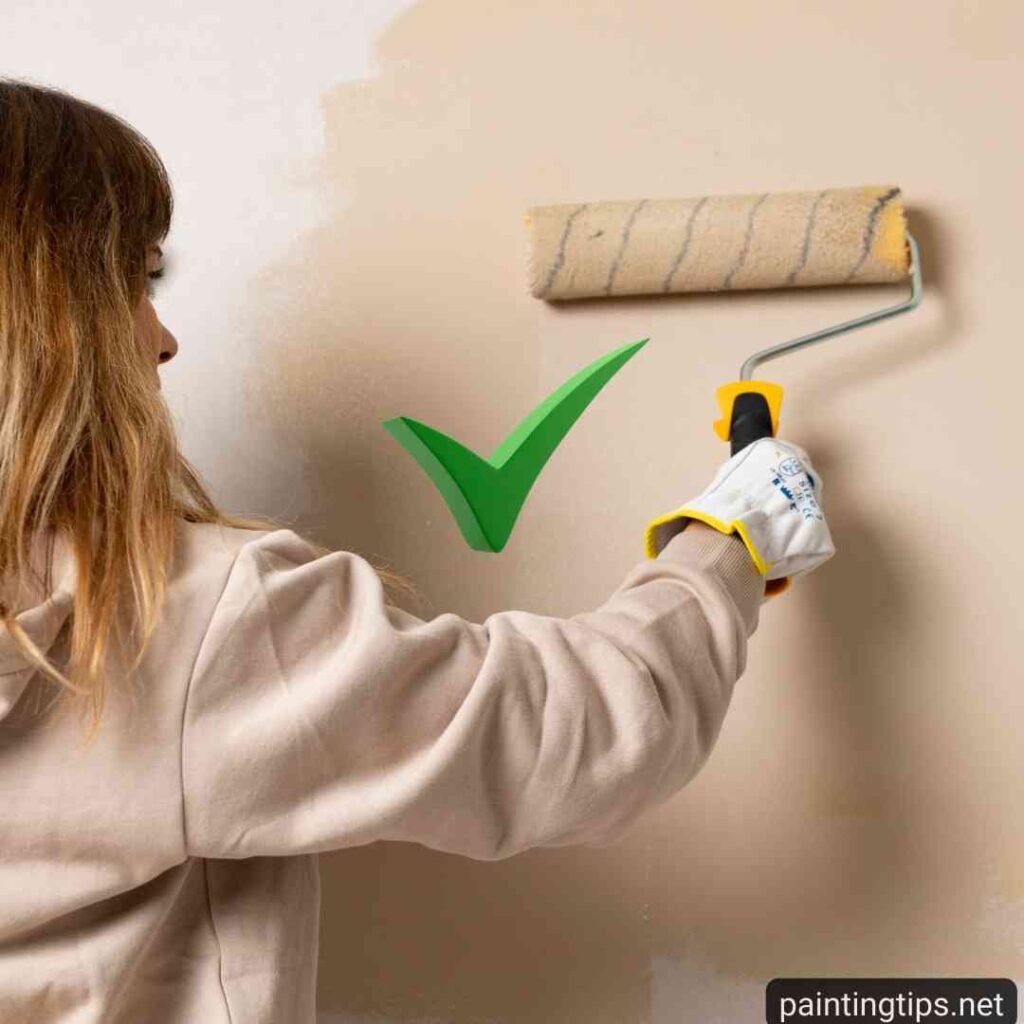
Now it’s time to paint the walls. 💡 Tip: Applying primer to dark walls before painting helps the new color go on smoother and cover better. Use a high-quality roller when painting the main wall areas of the room. Dip the roller into the tray, then roll off the excess. Begin room painting from a corner of the wall and continue across the surface. There are two common techniques:
- Make an “N” or “M” shape on the wall, then fill it in for even coverage.
- Roll in long vertical strokes from top to bottom in strips.
If your roller runs out of paint mid-stroke, reload it and continue where you left off. After finishing a few sections, gently roll over the area again without adding more paint to even out the finish. This method ensures a smooth, streak-free finish when painting a room. Paint the entire room this way, applying at least two coats for the best finish.
7-Final Touches
Once the second coat is completely dry, check the entire room carefully before taking off the painter’s tape and drop cloths. If paint has dripped onto trim, doors, or radiators, wipe it gently with a damp cloth. For stubborn spots, wipe gently with a warm, damp cloth—or use a small amount of paint thinner if needed. “This post might also interest you: When to take paint tape off?”
What You’ll Need to Paint a Room
To paint a room like a pro, make sure you have the right tools and materials before getting started. Having everything ready will save you time and help you achieve a clean, professional finish.
- Interior wall paint (choose high-quality paint for better coverage)
- Primer (especially for dark walls or stained surfaces)
- Paint rollers and roller covers for smooth wall painting
- Extension pole for painting ceilings easily
- Angled brushes (2-inch or 2.5-inch) for cutting in corners and edges
- Painter’s tape to protect trims and create clean lines
- Paint tray and liners for loading your roller evenly
- Drop cloths or plastic covers to protect floors and furniture
- Lightweight joint compound to fill holes and cracks
- Putty knife for applying compound smoothly
- Sandpaper (180-grit) or sanding sponge for surface preparation
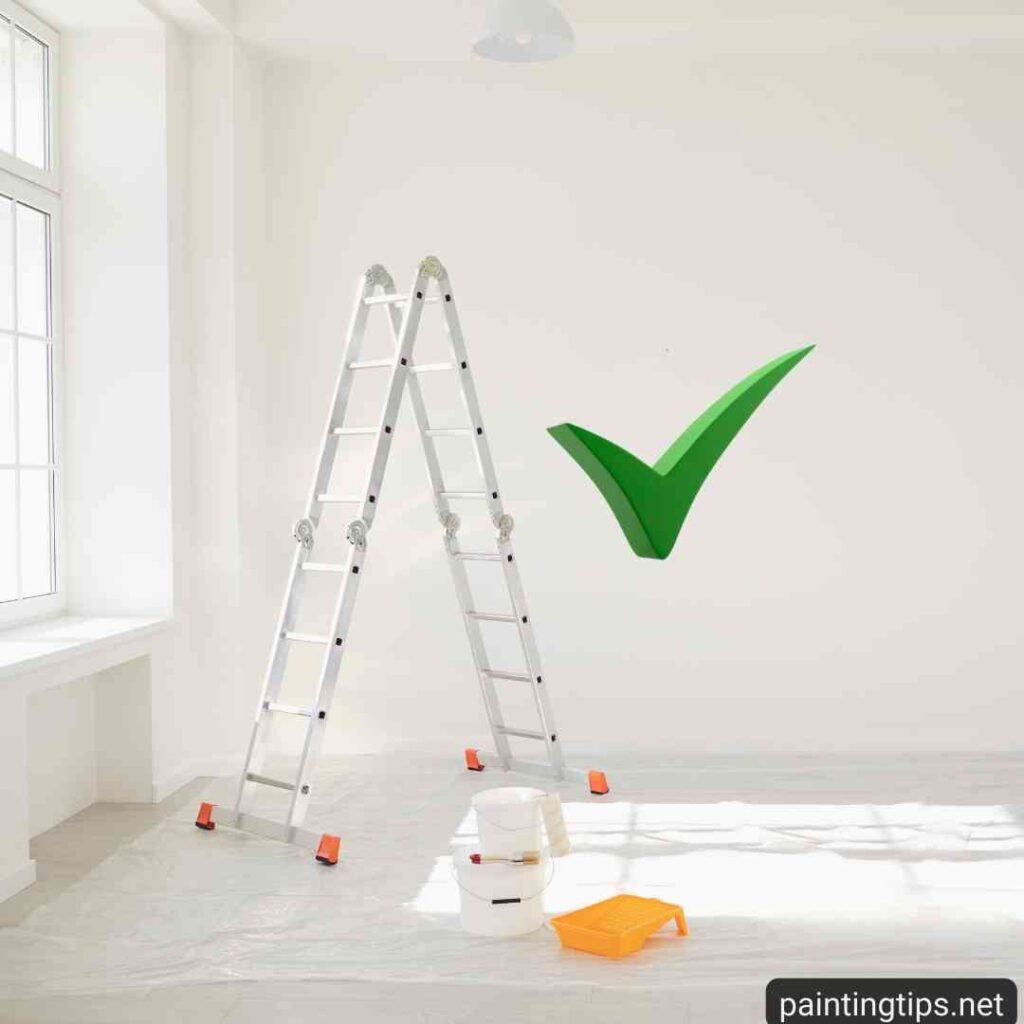
- Step ladder or sturdy stool for reaching high areas
- Damp cloths or paper towels for wiping drips and splatters
- Stir sticks and paint can opener to mix and open paint easily