A bathroom ceiling looks like the easiest painting job in the house. It’s small, it’s flat, and it shouldn’t take more than an afternoon. But that small surface takes a beating from steam, humidity, and temperature swings every single day, and a ceiling that isn’t prepped or painted correctly will show it within a year — peeling, bubbling, or streaking in ways a bedroom ceiling never would. Here’s what actually makes painting bathroom ceiling surfaces different from any other room in the house, and how to get a finish that lasts.
How to Paint Bathroom Ceiling
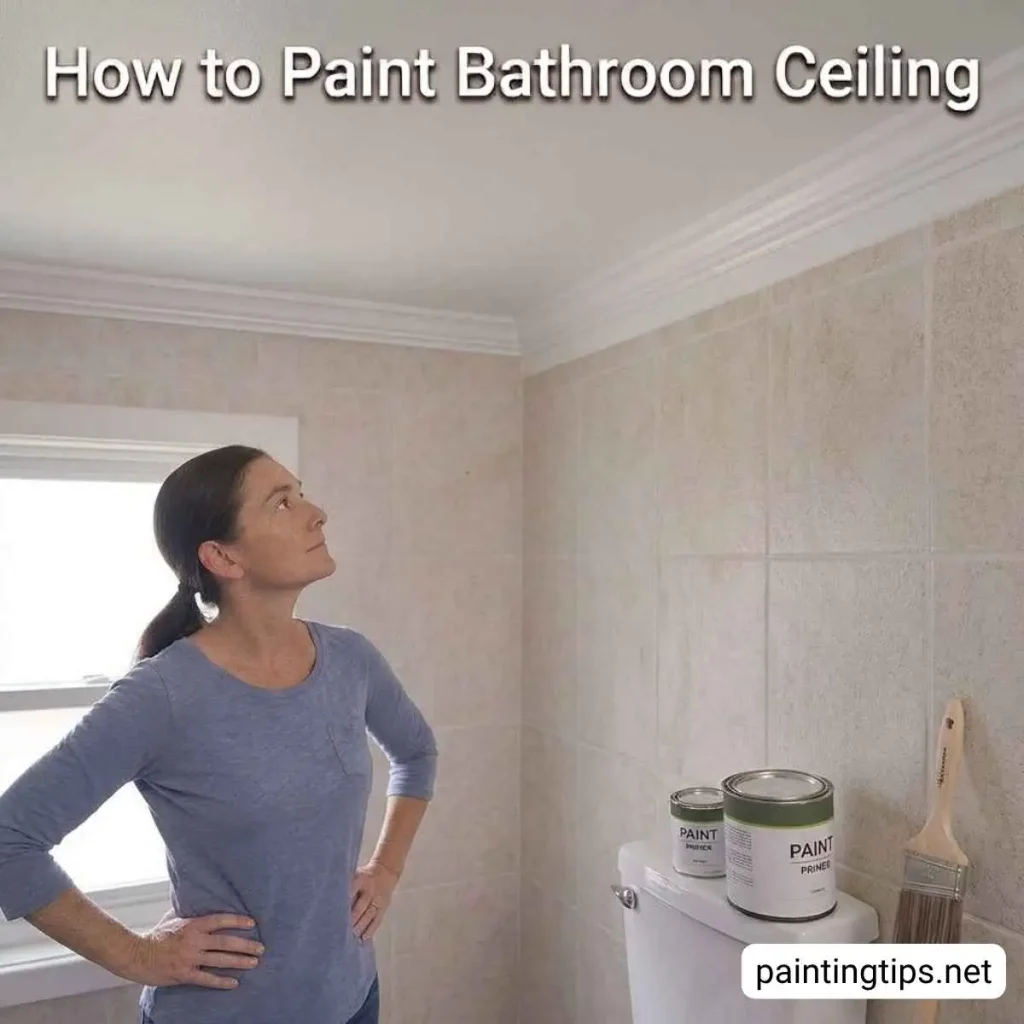
Warm, moist air from every shower and bath rises straight up, and the ceiling is usually the coolest surface it hits. That’s where the moisture condenses first. Standard flat ceiling paint just isn’t built for repeated condensation like that. Give it a few months and it starts to soften, lose its grip on the surface, and bubble or flake in exactly the spots that see the most steam.
That’s why priming matters so much more here than on any other ceiling in the house. Most rooms don’t need a primer coat at all, but a bathroom does, because the topcoat needs something solid to bond to if it’s going to survive daily exposure to hot steam. Once any repairs are handled, priming first is usually what separates a ceiling that lasts for years from one that needs redoing within twelve months.
None of that matters, though, if the ceiling isn’t checked over properly before any paint touches it — and that’s where the real work starts.
1. Start By Inspecting the Ceiling
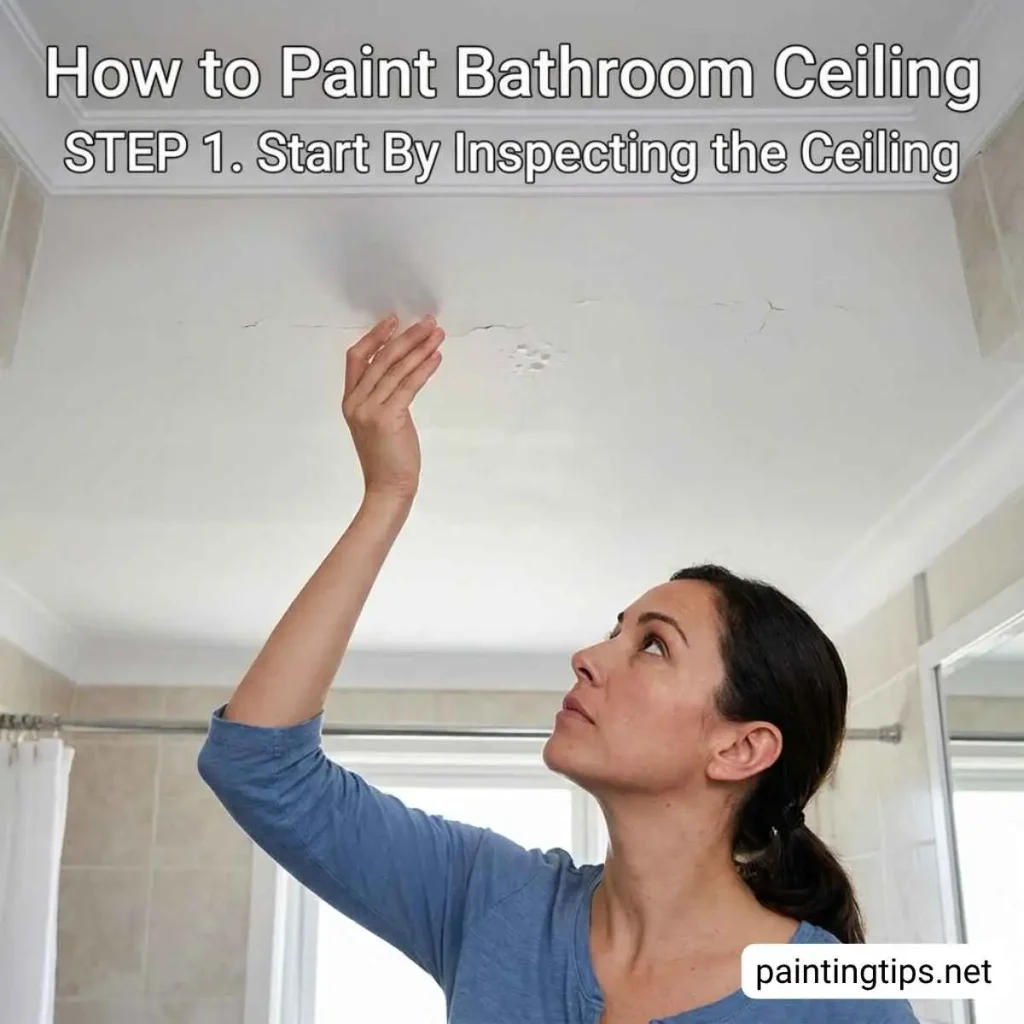
This is the step people skip, and it’s the one that matters most. Before opening a single can of paint, press or lightly tap the ceiling surface with your fingers — moisture can weaken paint from underneath even when everything looks fine on the surface. Look closely for cracking, peeling, or bubbling, and pay attention to any yellow or brown discoloration, since that’s usually a sign of past or ongoing water damage. If water is actively coming from a bathroom above, hold off on painting until that’s fixed. Painting over a damp or soft ceiling never ends well; the new coat will fail in the same spot within months.
Where the old paint is peeling, patch it with a thin layer of lightweight spackle or patching plaster, give it a full 24 hours to dry, then sand it smooth. Cracks and small holes get the same treatment before you move any further. If the peeling turns out to be more widespread than expected, our guide on how to fix peeling paint in bathroom walks through what’s usually causing it and how to stop it from coming back.
2. Protect What You’re Not Painting
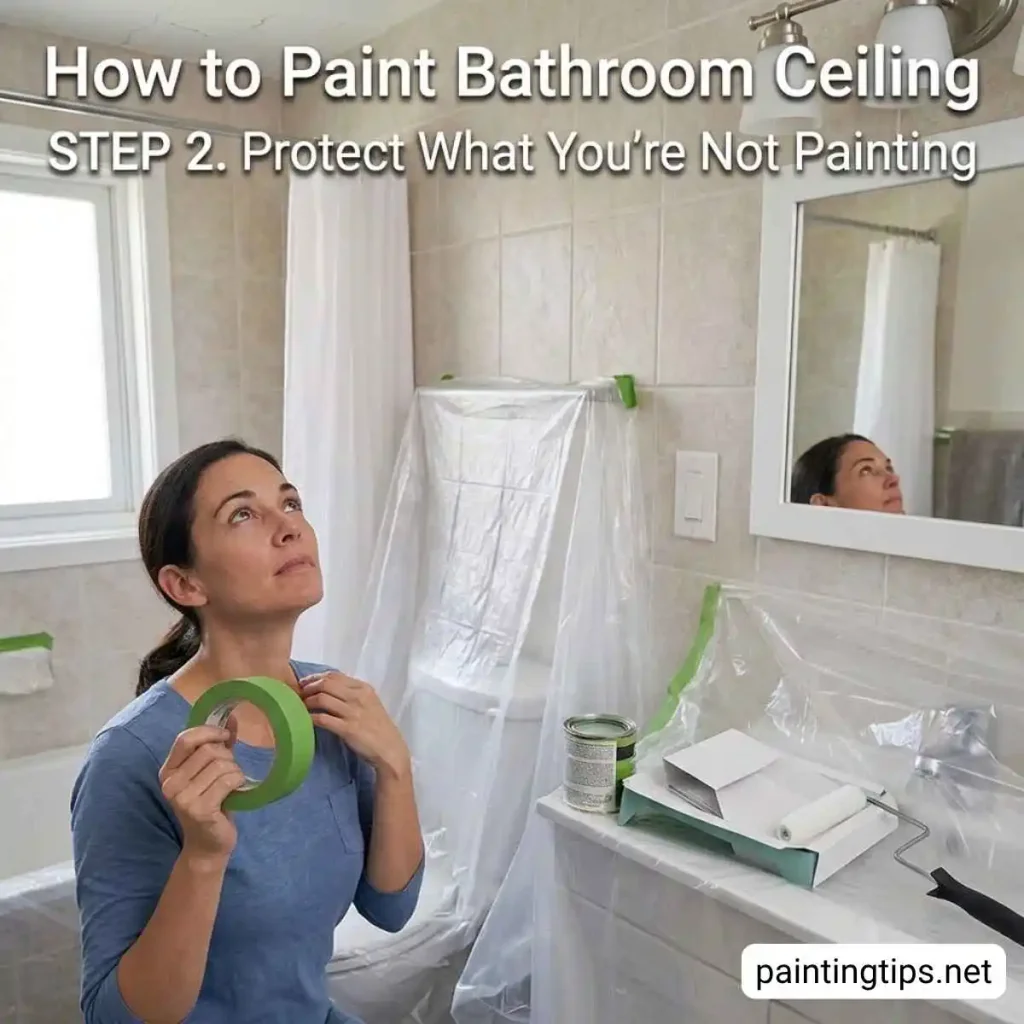
Pull mirrors and shelves off the wall if you can — it’s a lot easier than working around them. Anything that can’t come down, like towel bars, soap holders, or light switches, should get covered with painter’s tape or plastic. The toilet, sink, and floor deserve a drop cloth too. If you’d rather skip covering the tile, just stay on top of any drips and wipe them before they dry; it’s a much easier cleanup than waiting. If you’re tackling the vanity as part of the same refresh, our guide on How to Paint Bathroom Vanity covers the prep and finish that hold up best next to a sink.
3. Choosing the Right Paint
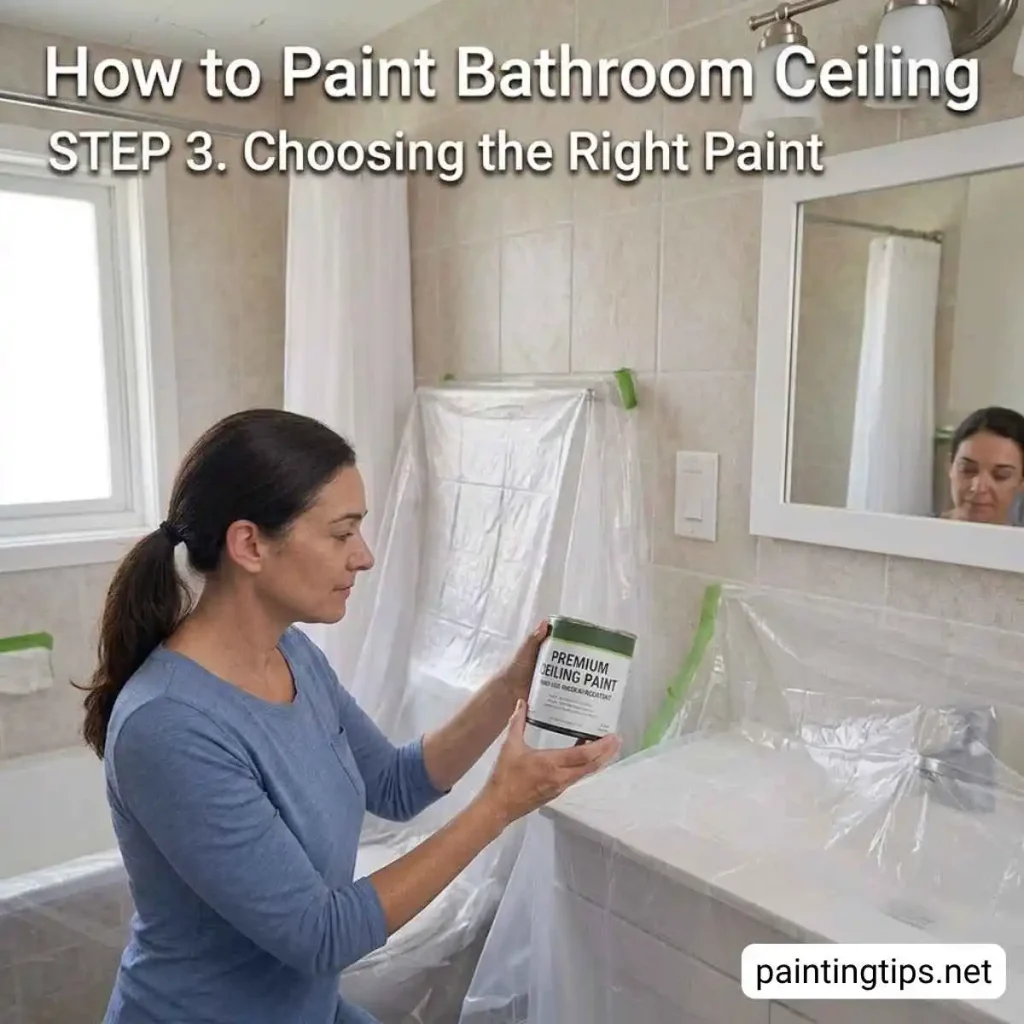
The wrong paint is the fastest route to blistering under bathroom humidity. Look for a ceiling paint that’s specifically rated mold- and mildew-resistant — that’s the single biggest factor in whether the job lasts. A dedicated ceiling paint is ideal, but a premium bathroom-rated wall paint works as a backup if that’s not available locally. Steer clear of anything loaded with silicone or heavy additives, since those tend to invite mold issues down the line rather than prevent them. If mold is already an issue on your ceiling or walls, it’s worth handling that first — our guide on how to remove mold from bathroom covers how to clear it properly before any paint goes on.
4. Picking a Color That Works With Low Light
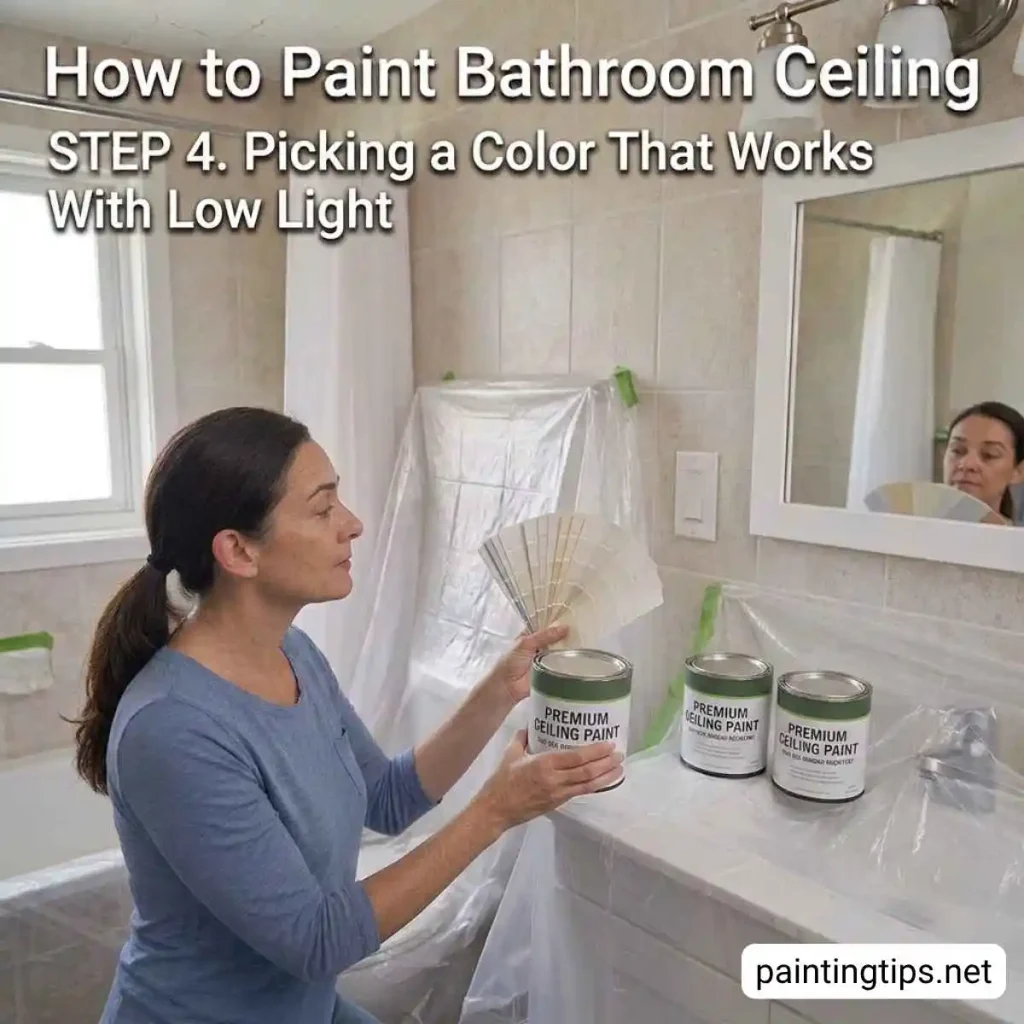
Bathrooms are usually short on natural light, so the ceiling color does more work than people expect. White and off-white shades reflect artificial light well and make a small bathroom feel noticeably bigger and cleaner. It’s a small decision that has an outsized effect on how the room actually feels once the lights are on. For more direction on shade and finish, our guide on the best paint color for small bathroom breaks down what tends to work and why.
5. Matching the Roller to Your Ceiling
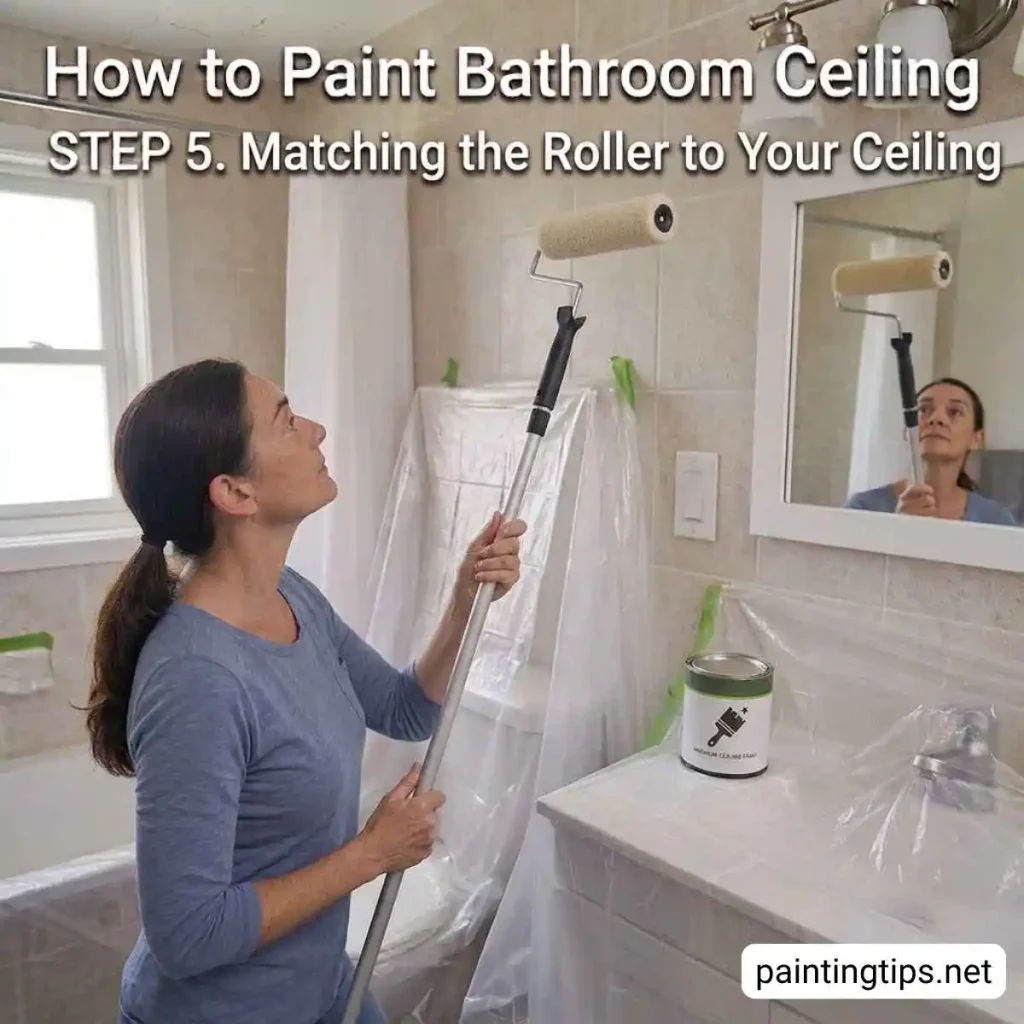
A smooth ceiling calls for a short-nap roller and nothing fancier. A textured ceiling needs a longer nap so the roller can actually get into the grooves and dips instead of skipping over them. Using the wrong nap length is a common reason people end up with patchy, uneven coverage even with good paint.
6. Painting the Ceiling
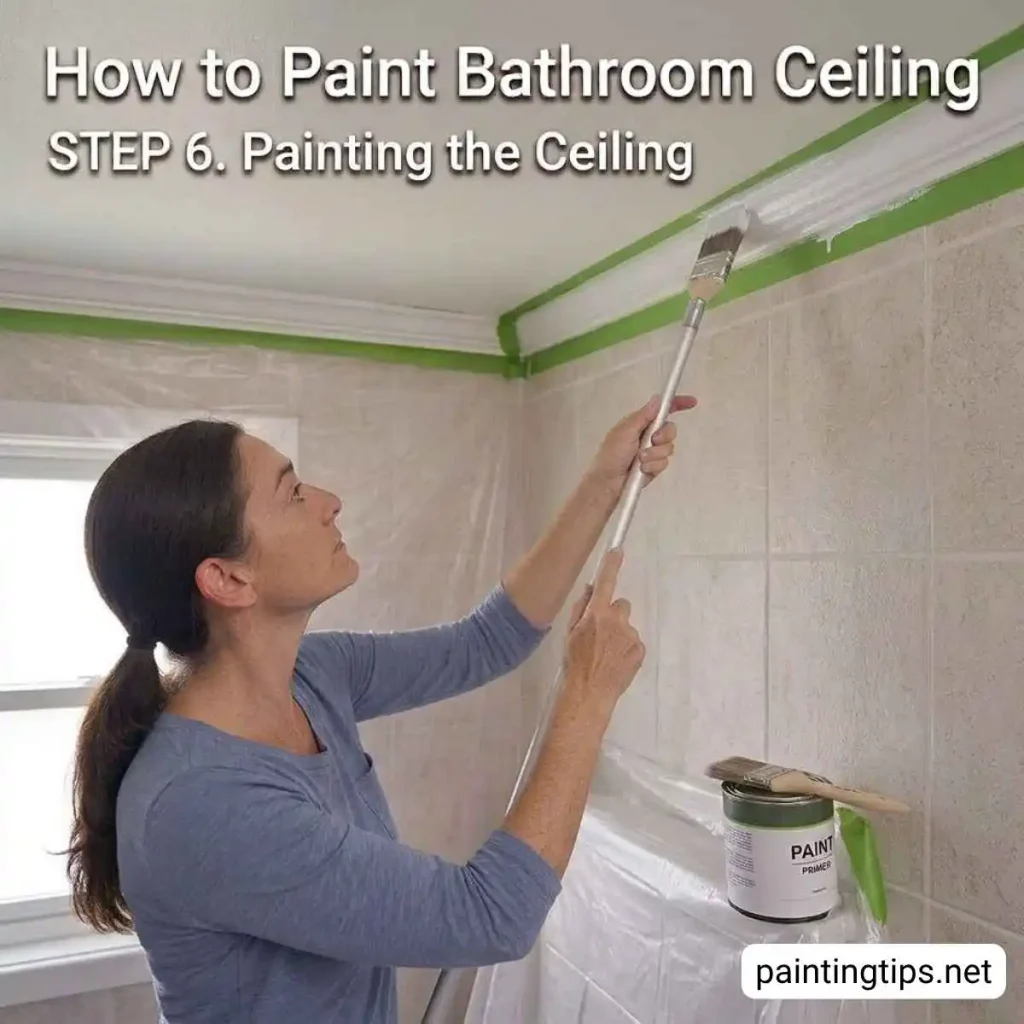
Before any paint goes on, the ceiling needs to be clean, dry, and fully prepped — a hair dryer can speed along any stubborn damp spots. Mask off the wall edges and corners with painter’s tape, then cut in around the perimeter with a 3-inch angled brush before rolling. Work the roller in smooth, overlapping strokes for even coverage, and give the first coat a good three hours to dry before laying down a second. Darker or heavily stained ceilings will usually need either a primer coat or an extra pass to fully cover.
7. Clean-up: Removing Tape and Protection
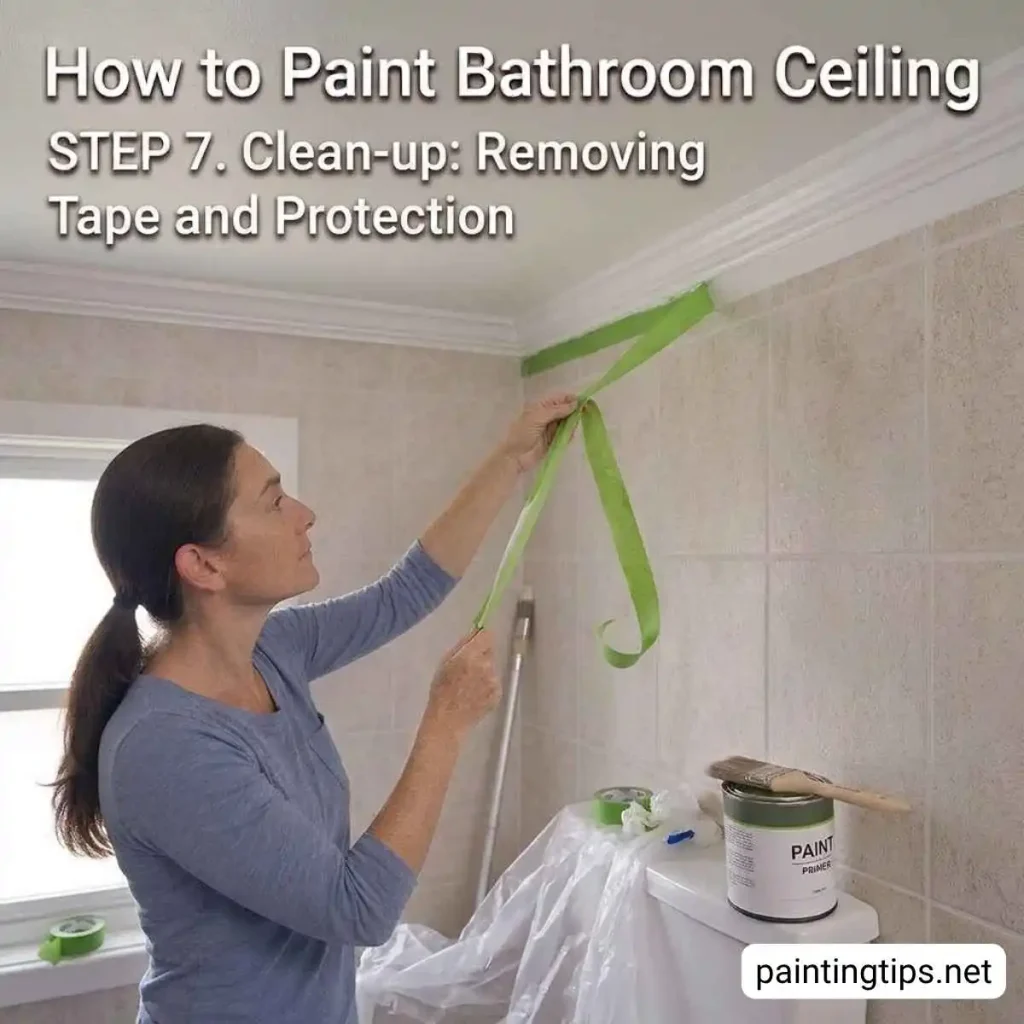
Peel the painter’s tape off while the paint is still slightly wet — this one habit prevents far more peeling than people realize. For the next day or two, keep steam out of the bathroom by holding off on hot showers, and let the paint cure fully before it faces any real humidity. If bubbles show up later anyway, that’s fixable rather than a sign you need to start over. Once the ceiling’s done, some homeowners look at finishing touches like the sink or fixtures too — our guide on how to paint a bathroom sink covers that if you want the whole room to match.
A Few Things Worth Keeping In Mind

Stick with paint made for ceilings, or a matte finish without silicone in it. Scrape away any old or failing paint before you start, so it doesn’t peel off with the roller, and patch those spots with joint compound first. Run the exhaust fan and keep steam exposure short in the days after painting to protect the finish while it cures. And if the walls are also getting painted, do the ceiling first — it saves you from splattering fresh wall paint. If you’re weighing wallpaper instead of paint for the walls, our guide on can you put wallpaper in the bathroom covers what actually holds up in a humid room.
What You’ll Need:
- Ceiling paint (mildew- and moisture-resistant)
- Painter’s tape
- 3-inch angled brush
- Roller (short or long nap, depending on ceiling texture)
- Plastic drop cloths or painter’s plastic
- Joint compound (for patching)
- Sandpaper
- Ladder or step stool
- Paint tray
- Screwdriver (for removing fixtures)
- Hair dryer (optional, for drying damp spots)
