Acrylic paint is the easiest way to turn a plain stone into a small piece of art, and it’s the material we recommend most often for anyone starting a stone painting project. It dries fast, holds color well, and works on almost any stone surface once the basic prep is done. Below, we’ll walk through why acrylic works so well on stone, how to prepare and paint your stones the right way, and the questions we hear most from beginners.
How to Paint Stones with Acrylic Paint
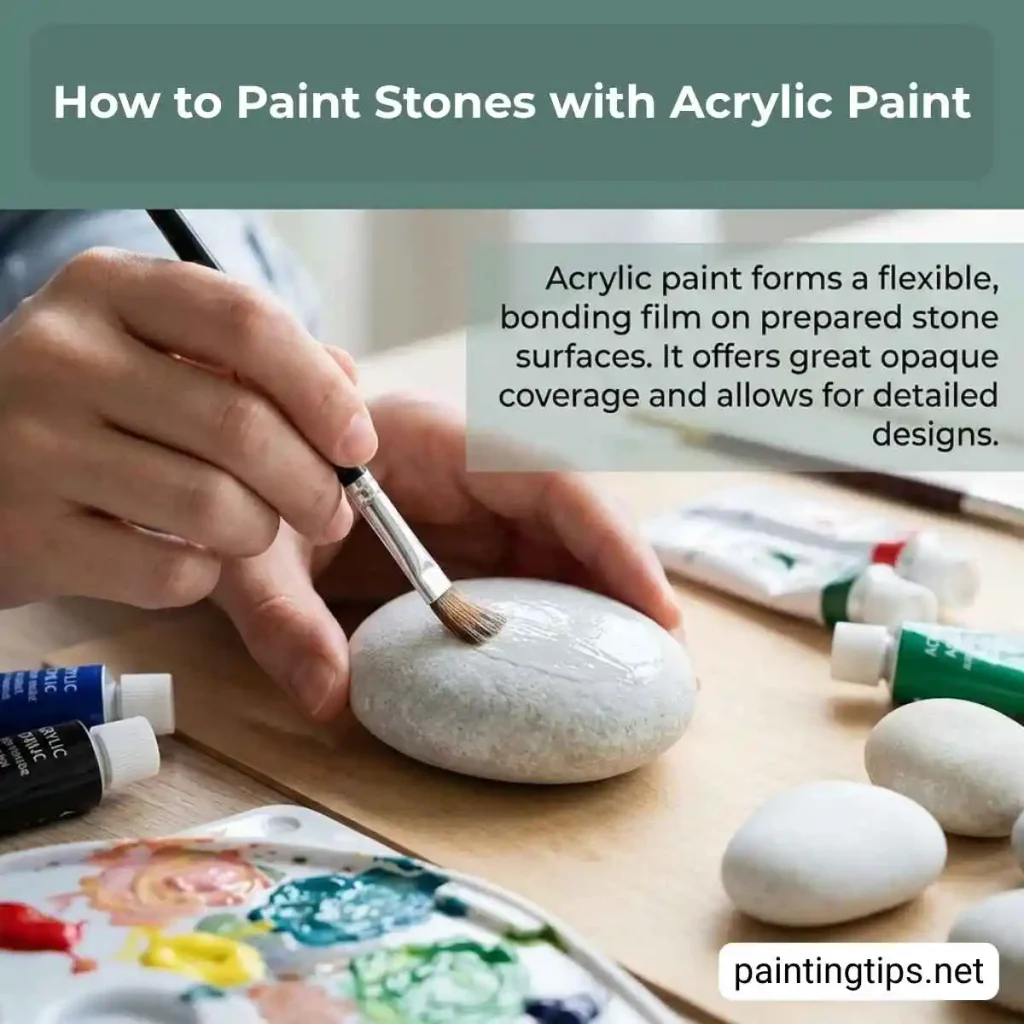
Stones aren’t naturally absorbent, so paint doesn’t always want to grip the surface on its own. Acrylic gets around that problem better than most alternatives because it forms a flexible film as it dries instead of soaking in, and that film bonds to a clean, primed stone and stays put through regular handling.
It also gives you more control than a lot of other paints. Because it’s thick and opaque, acrylic covers dark or uneven stone in a coat or two and holds crisp lines for lettering or small details, which is part of why it shows up in so many other craft projects too, as we covered in our guide on what is acrylic used for?
1. Clean the Stone
Cleaning comes first, and it matters more than most people expect. Scrub the stone with a stiff brush and water to remove dust, dirt, and any residue sitting in its pores.
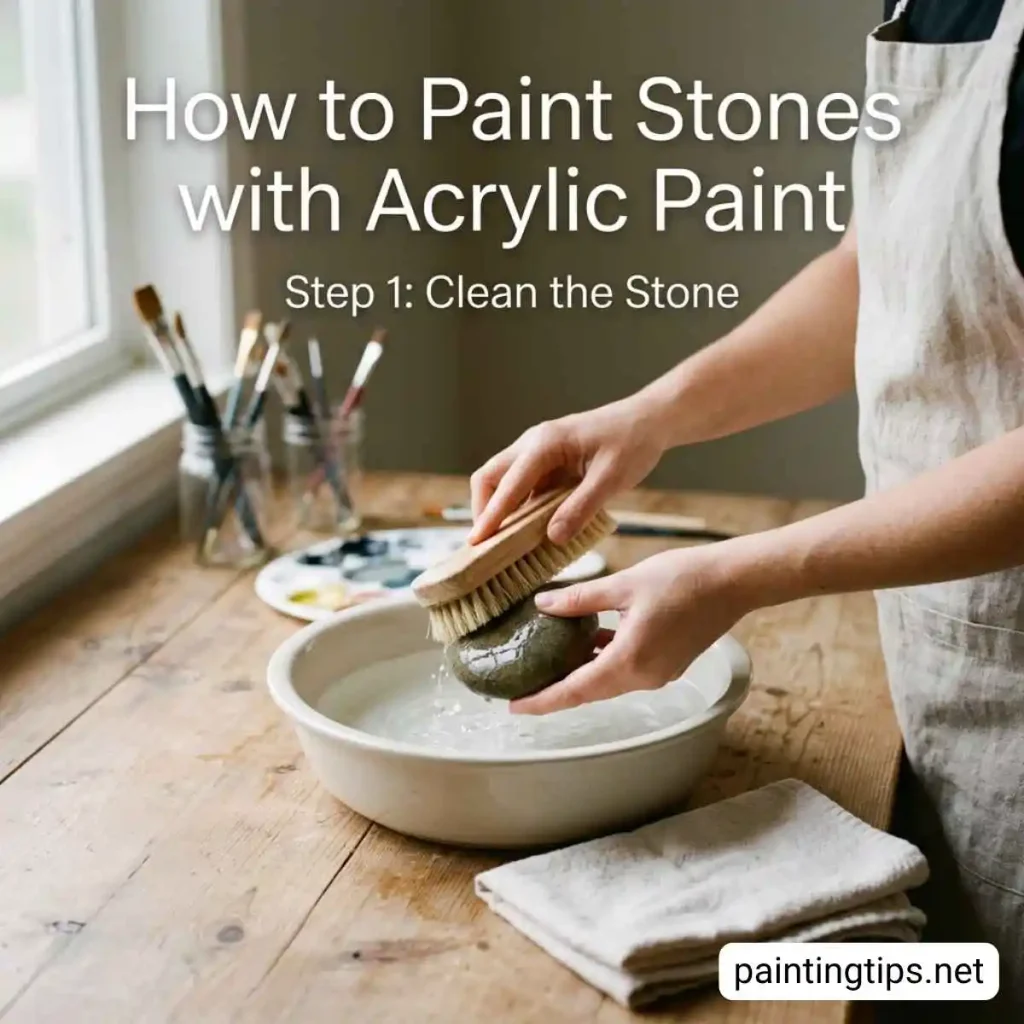
Then set it aside until it’s fully dry. Any leftover moisture will weaken how well the acrylic bonds, so it’s worth giving larger or more porous rocks extra time to air dry before moving on.
2. Prime the Surface
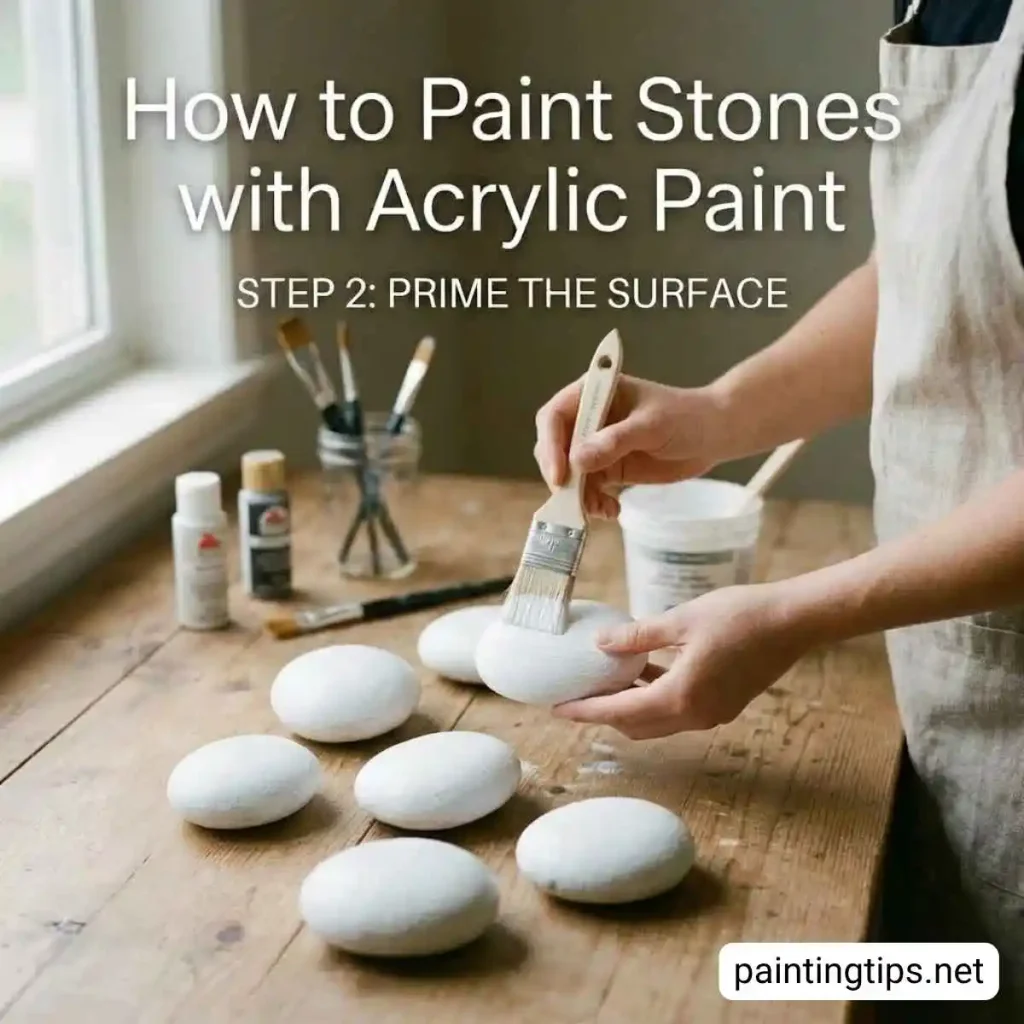
Priming is the step most beginners skip, and it’s the one that ends up mattering the most. A basic acrylic or multi-surface primer works fine for small craft stones staying indoors, while stones headed outside do better with an exterior-grade primer. One coat is usually enough. Give it about four to five hours to dry before you pick up any paint.
3. Apply the Acrylic Paint
Once the stone is primed, work in thin layers rather than one heavy coat. A soft brush handles base colors well, and a smaller detail brush is better for outlines, patterns, or lettering.
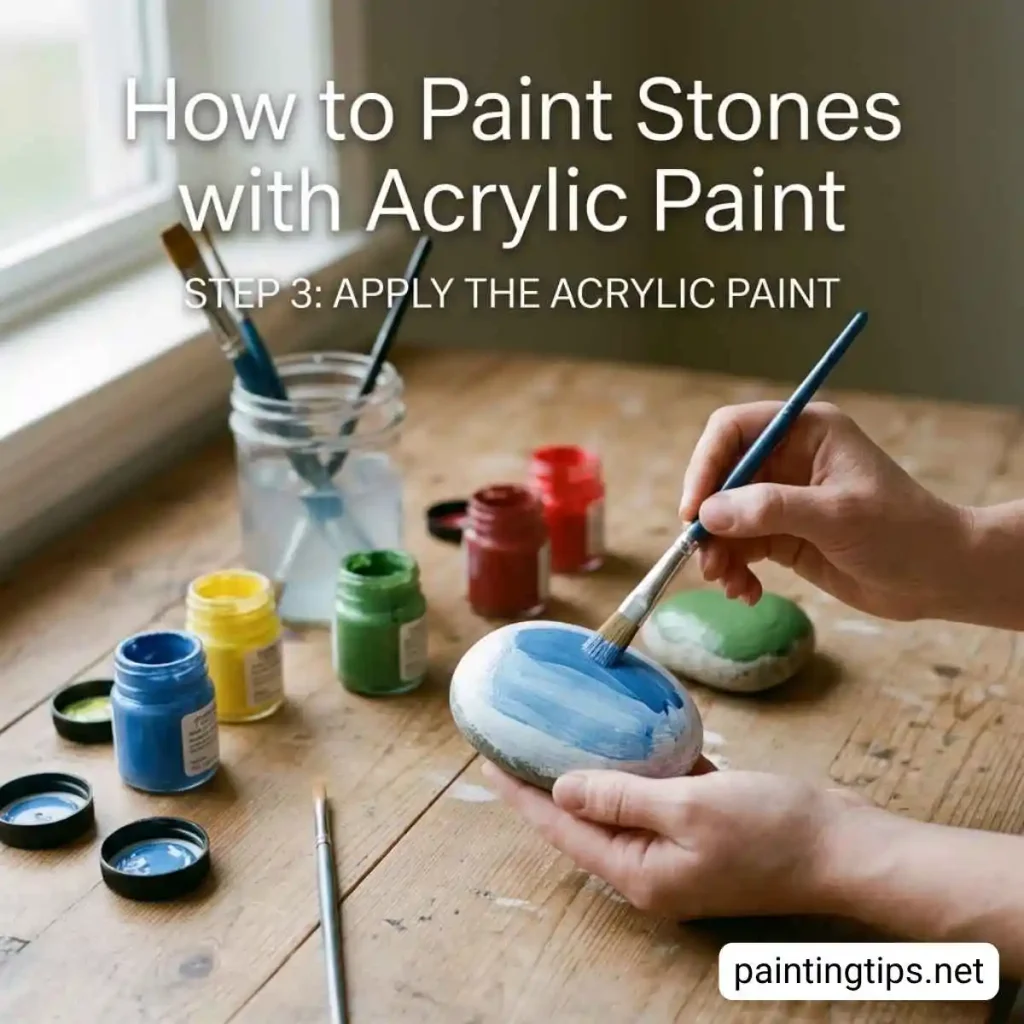
Two coats almost always look better than one, since the first tends to show streaks or thin spots that the second evens out. Give each layer roughly four hours before adding the next, and if you’re working on a darker stone, a white base coat underneath your main colors will keep them from looking muted.
4. Seal the Finish
Sealing is what separates a stone that fades in a season from one that holds its color for years. Wait about 24 hours after your final coat, then apply a water-based acrylic varnish or a clear spray sealer made for outdoor use.
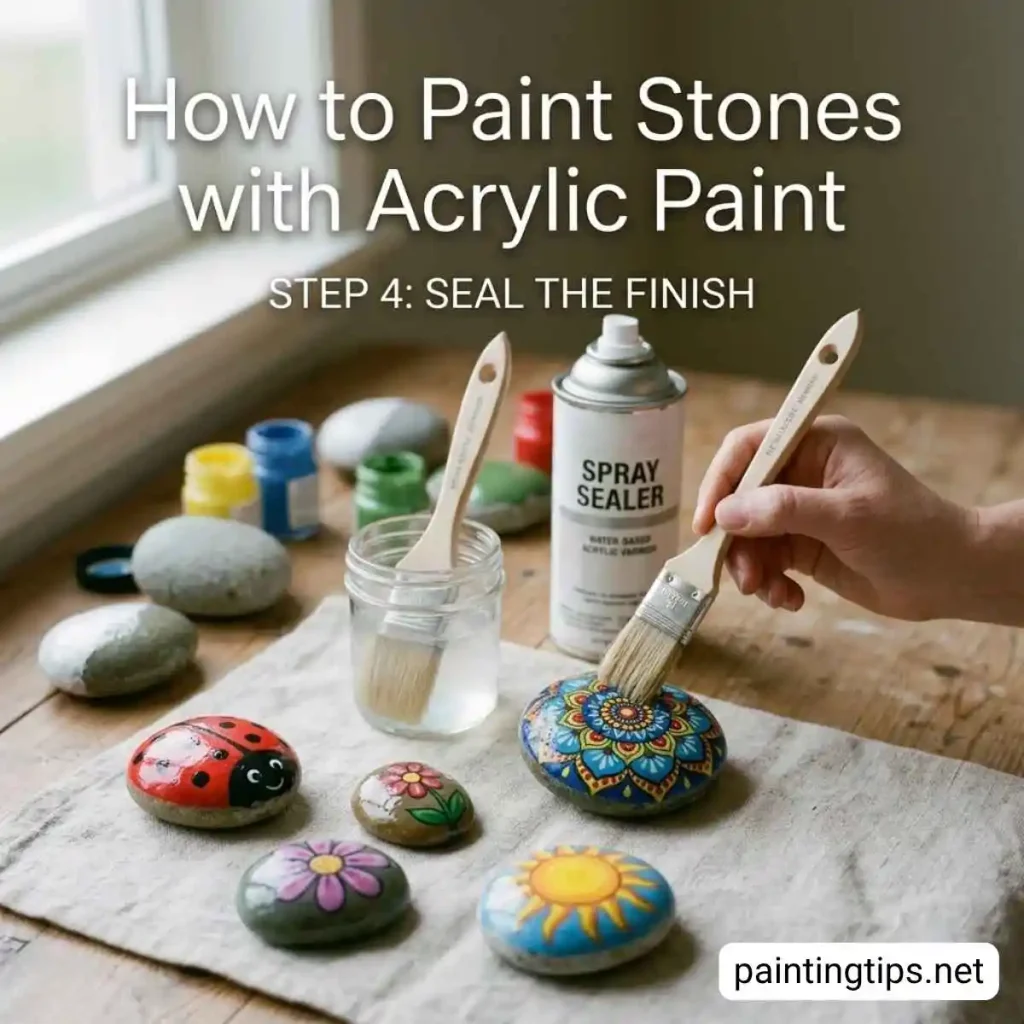
This layer protects the paint from moisture, sunlight, and general wear. It matters most for garden stones or plant markers, less so for anything that’s just sitting on a shelf indoors.
Can I Paint Rocks With Acrylic Paint?
Yes, and it’s one of the most common choices for rock painting projects. Acrylic works on nearly any rock surface as long as it’s clean, dry, and free of loose debris.
It’s forgiving for beginners, cleans up easily with water before it dries, and comes in enough colors and finishes to cover almost any design idea, from simple painted pebbles to detailed garden rocks.
Will Acrylic Paint Stick To Stone?
It will, but only if the stone is prepared first. Acrylic bonds well to a clean, dry, primed surface, but it can peel or flake off stone that’s still dusty, damp, or left unprimed.
That’s why cleaning and priming aren’t optional, even though it’s tempting to skip straight to painting. A properly prepped stone gives acrylic something to hold onto, which is what separates a design that lasts from one that chips within days.
How Do I Paint Rocks As A Beginner?
Start with a small, smooth stone rather than a large or heavily textured one, since it’s easier to control your brush and see your progress as you go. Clean and dry the stone, prime it lightly, and let that dry fully before touching any color.
Sketch your design in pencil first if you’re not confident freehanding it, then build up your acrylic in thin layers instead of one thick coat. Keeping the first few designs simple, dots, stripes, basic shapes, tends to get better results than jumping straight into detailed patterns.
How to Make Acrylic Paint Look Like Stone?
This comes up often with people who want a faux-stone finish on something other than an actual rock, like a planter or a decorative object. The trick is layering neutral tones, grays, tans, off-whites, in uneven patches rather than one flat color.
Once that base layer dries, dab a slightly darker shade into the crevices or low points, then add a light dry-brush pass in pale gray or white over the raised areas. That contrast is what reads as stone texture instead of flat painted plastic or resin.
If you enjoy working with acrylic on unconventional surfaces, a couple of related guides are worth a look. We’ve covered a similar layering approach for how to paint marble with acrylic paint, and if you’re working over an existing coat, can i paint acrylic over oil? walks through what to expect when mixing mediums. For a different material entirely, can you paint glass with acrylic paint? covers how acrylic behaves on a non-porous surface like glass.
With the right prep, acrylic turns stone painting into one of the simplest crafts to pick up, whether you’re making a few decorative pebbles for a shelf or garden markers meant to sit outside for years.
