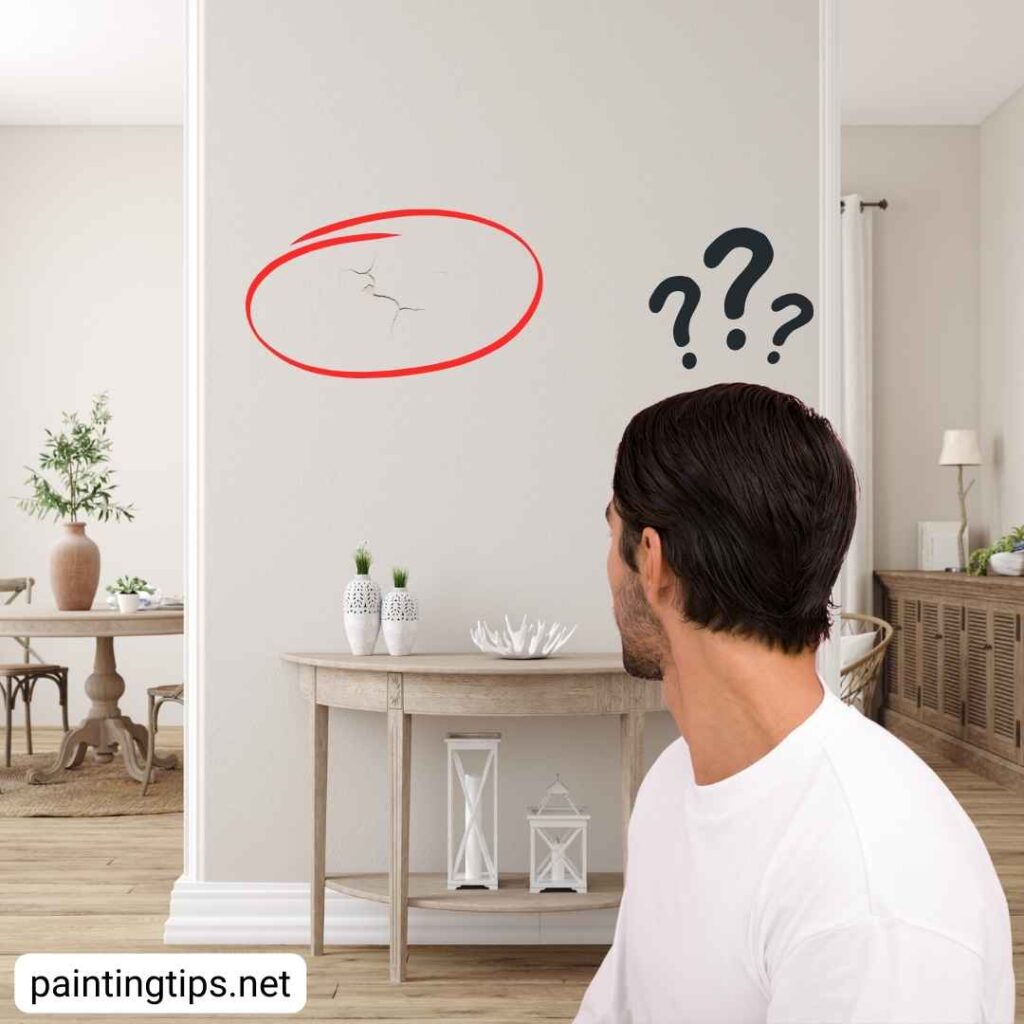
Chipped paint on walls can be a frustrating issue, but with the right tools and techniques, it’s easy to fix. Whether you’re dealing with minor chips or larger cracks, this step-by-step guide will help you restore your walls to their original condition. From scraping off loose paint to applying the perfect coat of paint, we’ll cover everything you need to know. With just a few materials, like spackle, primer, and a metal spatula, you can achieve a smooth, seamless repair. Let’s dive into how to fix chipped paint on walls, so you can make your space look like new again.
How to Fix Paint Chips on Wall
Repairing chipped paint on a wall generally involves the filling and painting stages. However, using the right materials and applying them correctly is crucial. Without this, the paint could peel again, or the repaired area might leave noticeable marks. Here’s how to fix peeled paint on a wall using the correct materials and methods for a flawless repair.
1-Scrape Off Loose Paint
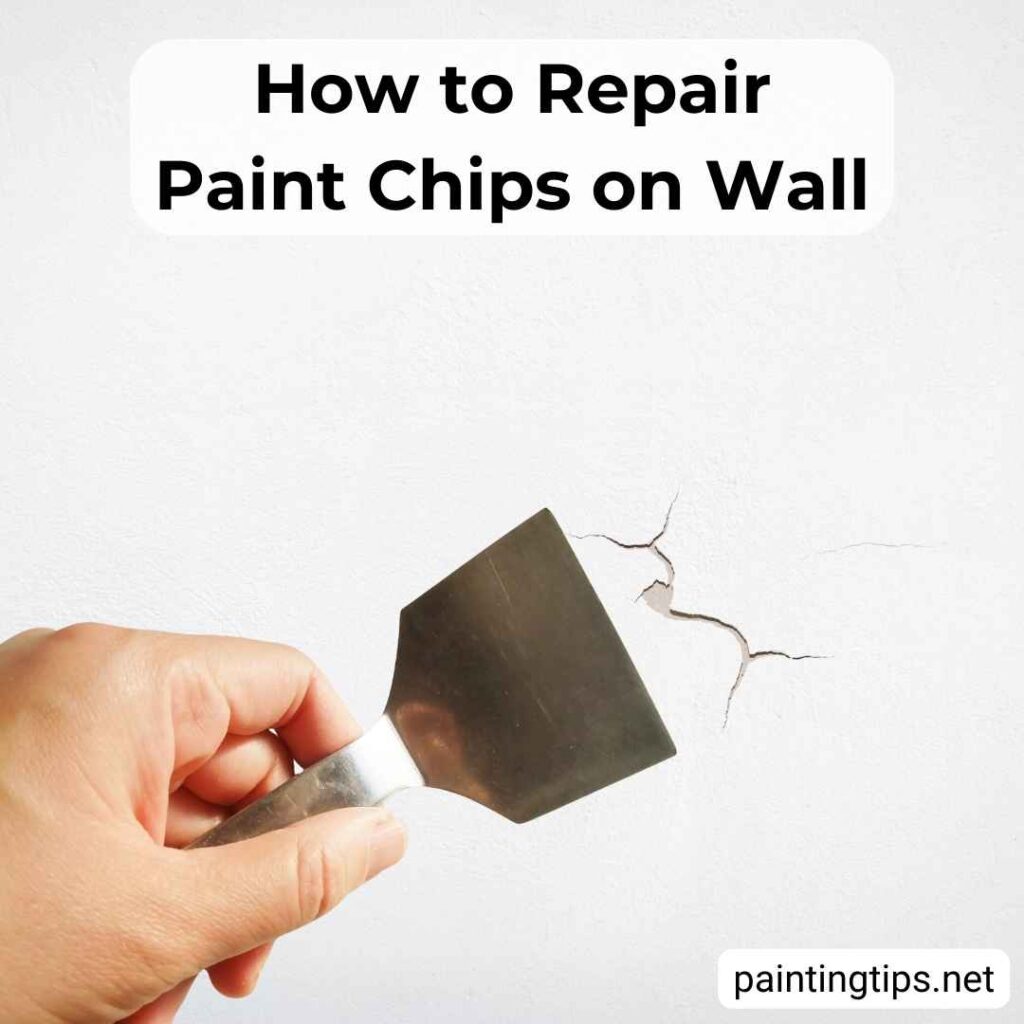
Check the wall around the chipped paint for any loose edges. Use a metal spatula to gently scrape off any peeling or loose paint to prevent further damage. Ensuring a clean surface is key to achieving a smooth repair.
2-Fill the Chipped Area
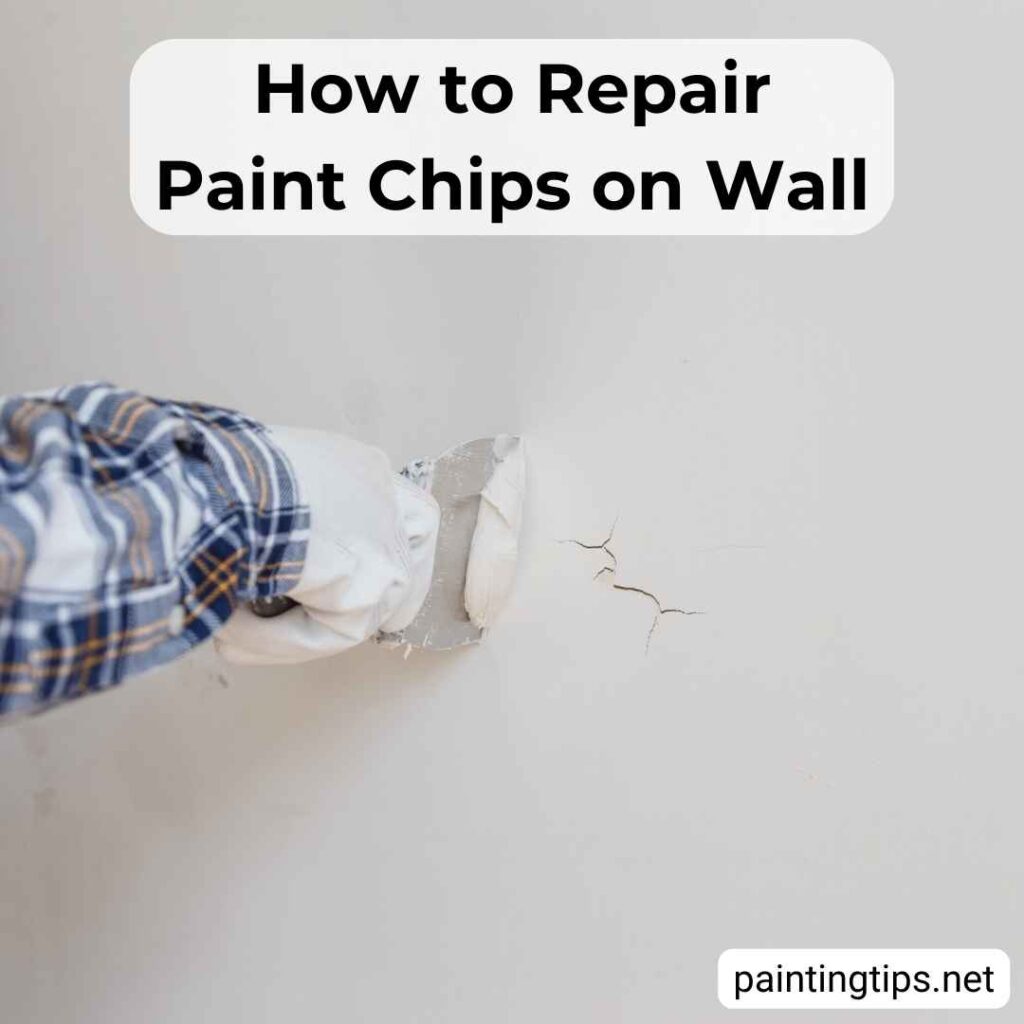
To fill the damaged area, use pre-mixed wall spackle for small chips or joint compound for larger areas. Apply the spackle or joint compound over the chipped area using a metal spatula, spreading it evenly to a thickness just slightly above the wall’s surface. Smooth out the excess to prepare the surface for sanding.
3-Allow the Filler to Dry
Once the chipped area is filled, allow the spackle or joint compound to dry completely. Drying time depends on the depth of the chip or hole. For shallow chips, it may take 20-30 minutes, while deeper repairs could require several hours to fully dry. Shallow chips may dry within minutes, while deeper repairs could take hours. You can tell the filler has dried when it changes color.
4-Sand the Surface
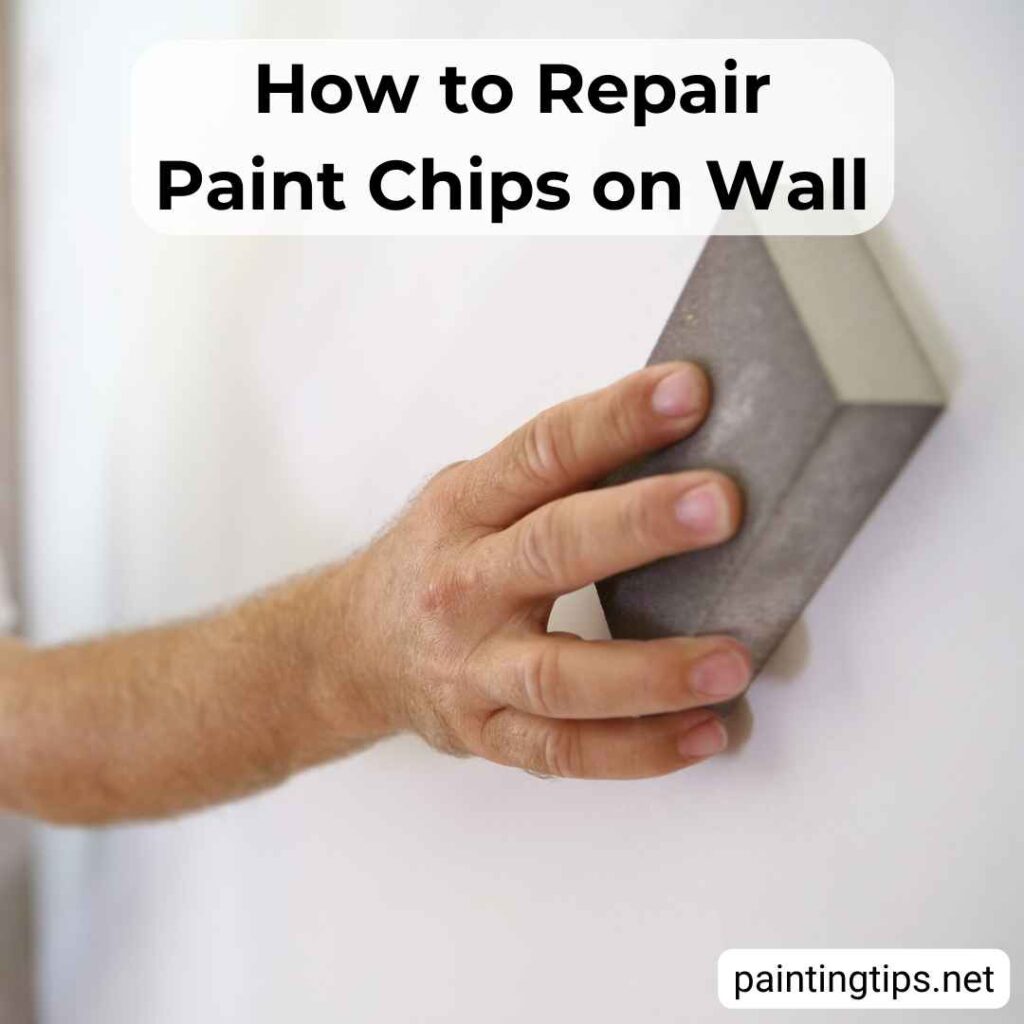
After the filler has dried, sand the area using 200-220 grit sandpaper to create a smooth, even surface. For textured walls, start with coarser sandpaper (e.g., 150 grit) and finish with finer grit. Thorough sanding helps the repaired area blend smoothly with the surrounding wall for a flawless finish.
5-Apply Primer
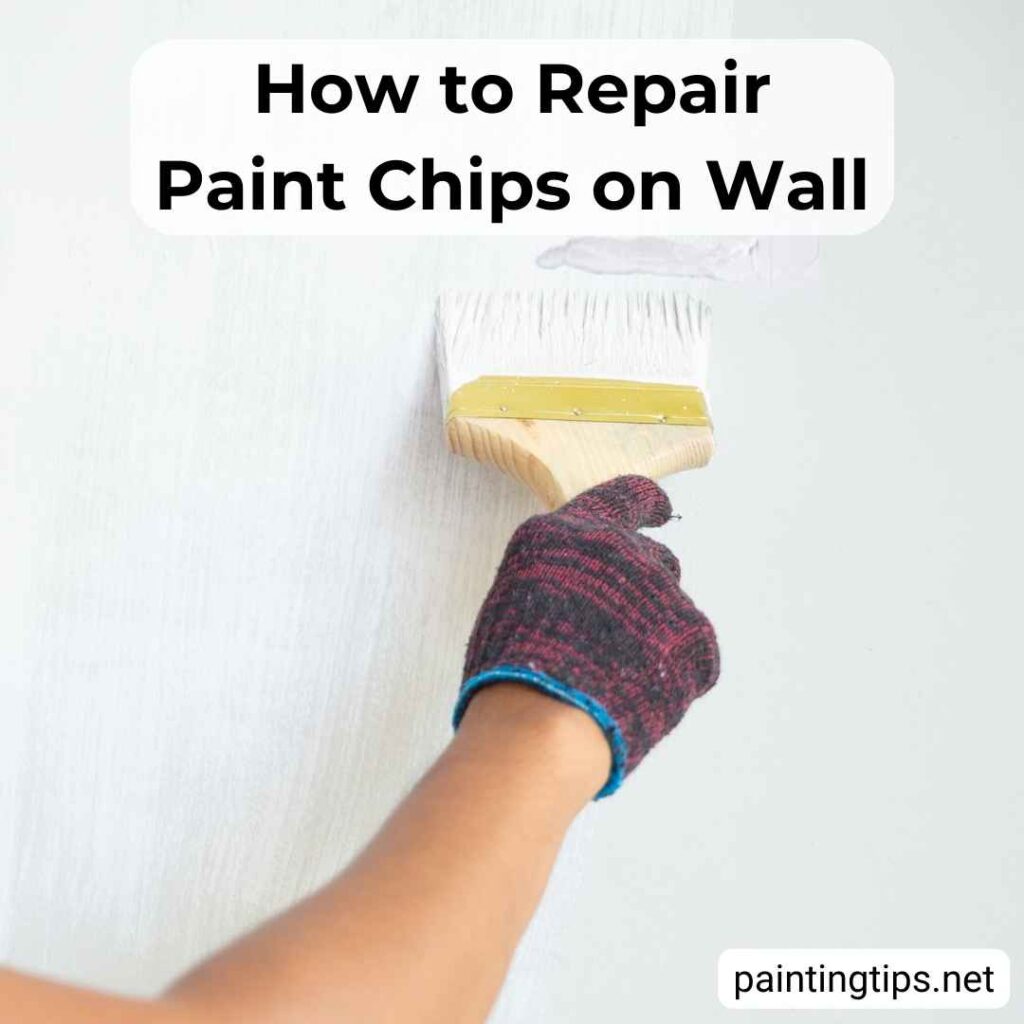
Before painting, wipe away dust with a dry cloth and apply a coat of primer to the repaired area. Primer improves paint adhesion and helps prevent future peeling. Usually, a single coat of primer is enough.
6-Paint the Repaired Area
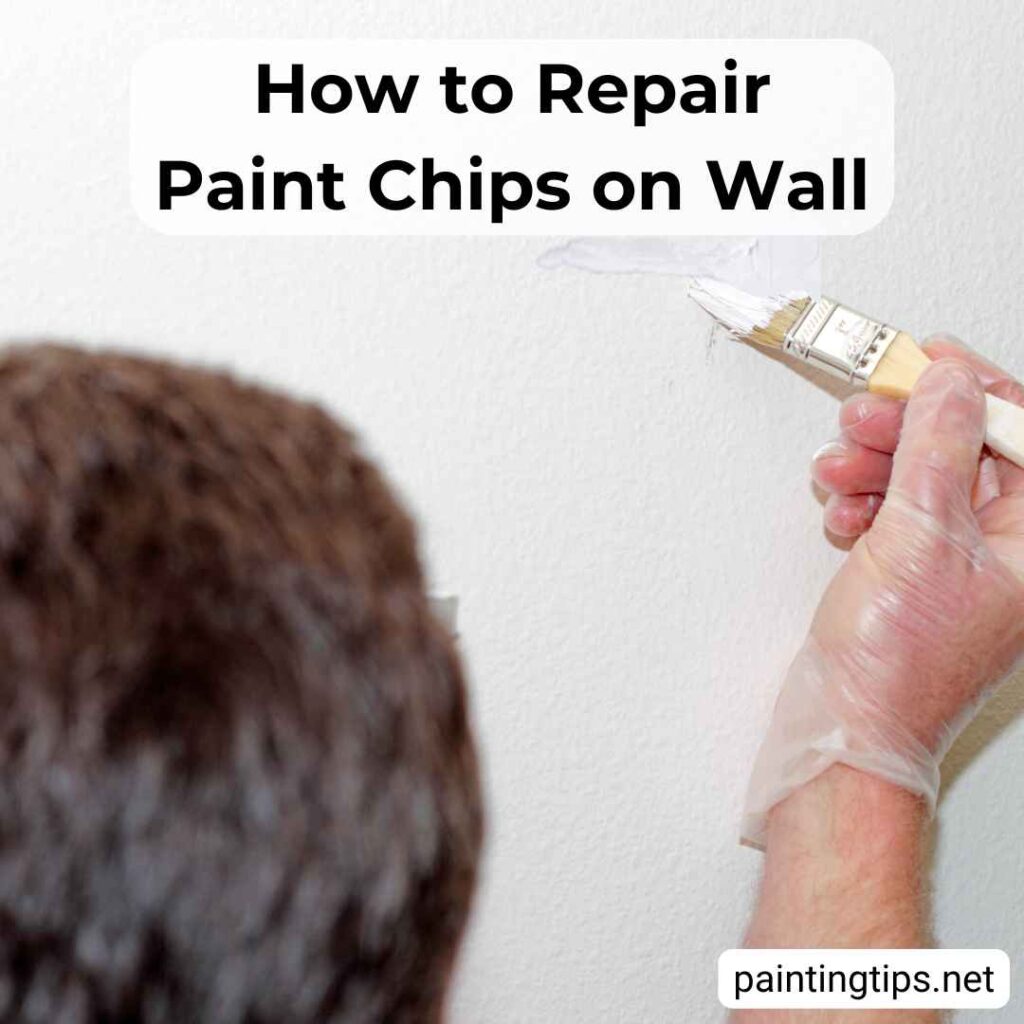
Once the primer is dry (usually after 4-5 hours), paint the repaired area using a matching wall color. Apply one thin coat of paint, let it dry, and follow with a second coat if needed. Use a small brush or roller to blend the edges with the surrounding wall. “Want to speed up your next paint job? Here’s how to paint a room fast and effortlessly.”
Tools and Materials Needed
- Sandpaper (200 or 220 grit)
- Metal spatula
- Spackle
- Primer
- Paint
How to Prevent Wall Paint Chipping and Peeling
Most paint chipping and peeling issues arise from poor preparation and improper application.
- If the wall has a glossy paint like synthetic paint, lightly sand it with fine-grit sandpaper or apply a primer. “Related: Do you need to primer before painting?”
- Before painting, ensure the wall is clean.
- Make sure the surface is fully dry before applying paint.
- Allow at least 4 hours of drying time between coats of paint. If using oil-based paint, allow 24 hours to pass before applying a second coat.
- To protect the paint from impacts, avoid placing furniture like chairs, sofas, and tables directly against the wall.
Additional Tips
- Quick Fix for Minor Chips: For small chips, you can skip the spackle and directly sand the area before touching it up with a small paintbrush. However, this method might leave a noticeable mark if the chip is deep.
- Choosing the Right Sandpaper: Start with coarse sandpaper and gradually move to finer grits to ensure a smooth finish.
- Matching Paint Colors: Even if you use the exact same paint color, older wall paint may have faded, resulting in a slight mismatch. If this happens, consider repainting the entire wall for a uniform look.
Frequently Asked Questions
Peeling paint on the wall is a very common issue. We have answered the questions you might have below. Feel free to leave a comment if you have any other questions. “Related post: How to fix a peeling bathtub“
Can You Fix Chipped Paint on a Wall?
Yes, you can fix chipped paint on a wall by using the right tools and techniques. Start by scraping off loose paint, then fill the chipped area with spackle or joint compound. After the filler dries, sand the surface smooth, apply primer, and paint over the repair. Proper preparation and drying time will help ensure a long-lasting fix, preventing further peeling.
Can I Just Paint Over Chipped Paint?
It’s not recommended to simply paint over chipped paint. The damaged area should be properly prepared first to ensure the new paint adheres well and lasts longer. You’ll need to remove any loose paint, fill the chipped area, sand it smooth, apply primer, and then paint over it. Skipping these steps could lead to uneven results and may cause the paint to peel again.
How to Repair a Paint Chip?
To repair a paint chip, scrape off loose paint, fill the chip with spackle, and let it dry. Sand the area smooth, apply primer, and then paint over the repair. This ensures a seamless and durable fix.
How to Touch-Up Paint on Walls Without it Showing?
To touch up paint on walls without the repair showing, start by using the exact same paint color and finish as the original surface. It’s important to match both to ensure a seamless look. When applying, feather the edges of the touched-up area gently with a small brush or roller to blend it smoothly into the surrounding paint. Use thin coats of paint, allowing each layer to dry completely before adding the next, which helps avoid noticeable buildup. If your wall has a textured finish, replicate this texture by using a textured roller or a sponge to match the existing surface. Following these steps will help your touch-up work blend in naturally and keep your walls looking flawless.
How to Fix a Spot Where Paint Peeled off?
To fix a spot where paint has peeled off, begin by scraping away any loose or flaking paint around the damaged area to create a stable surface. Next, clean the spot thoroughly to remove dust and debris, ensuring good adhesion for the repair. Then, apply spackle or joint compound to fill the bare patch, smoothing it out evenly. Once the filler is completely dry, sand the area so it blends seamlessly with the surrounding wall. Finally, apply a coat of primer to prepare the surface, let it dry fully, and finish by painting over the repaired spot with matching paint for a flawless result.
What Happens if You Don’t Fix Paint Chips?
If you don’t fix paint chips, the damage can worsen over time. Moisture can seep into the exposed areas, leading to peeling, cracking, or even mold growth. The chipped areas will become more noticeable, and the paint may continue to deteriorate. Repairing chips early helps maintain the appearance and integrity of your walls, preventing further damage.
Can I Wrap Over Chipped Paint?
It’s not ideal to wrap over chipped paint. The damaged areas could cause the wrapping material to not adhere properly, leading to wrinkles or peeling. For a smooth, long-lasting finish, it’s best to repair the chipped paint before wrapping. This ensures a clean surface for better adhesion and a more polished look.
How to Hide Peeling Paint on a Wall?
To hide peeling paint on the wall, you can touch it up with a small brush or conceal it by placing artwork, a chair, table, or sofa close to the damaged area. However, it’s important to repair chipped paint in a timely manner, as it may worsen over time.
How Do You Touch Up Cracked Paint?
You can touch up the cracks on the wall with a small brush and the same color paint. However, before touching up, fill the cracks with filler, wait for it to dry, and then sand the area.