Painting textured walls and ceilings can be challenging, especially if you’re used to working on smooth, skim-coated surfaces. The uneven texture absorbs more paint, makes it harder to achieve full coverage, and reveals mistakes more easily. In this guide, you’ll learn how to paint textured walls and ceilings the right way—what type of paint to use, the tools you need, and the step-by-step process for getting an even, professional-looking finish.
How to Paint Textured Walls
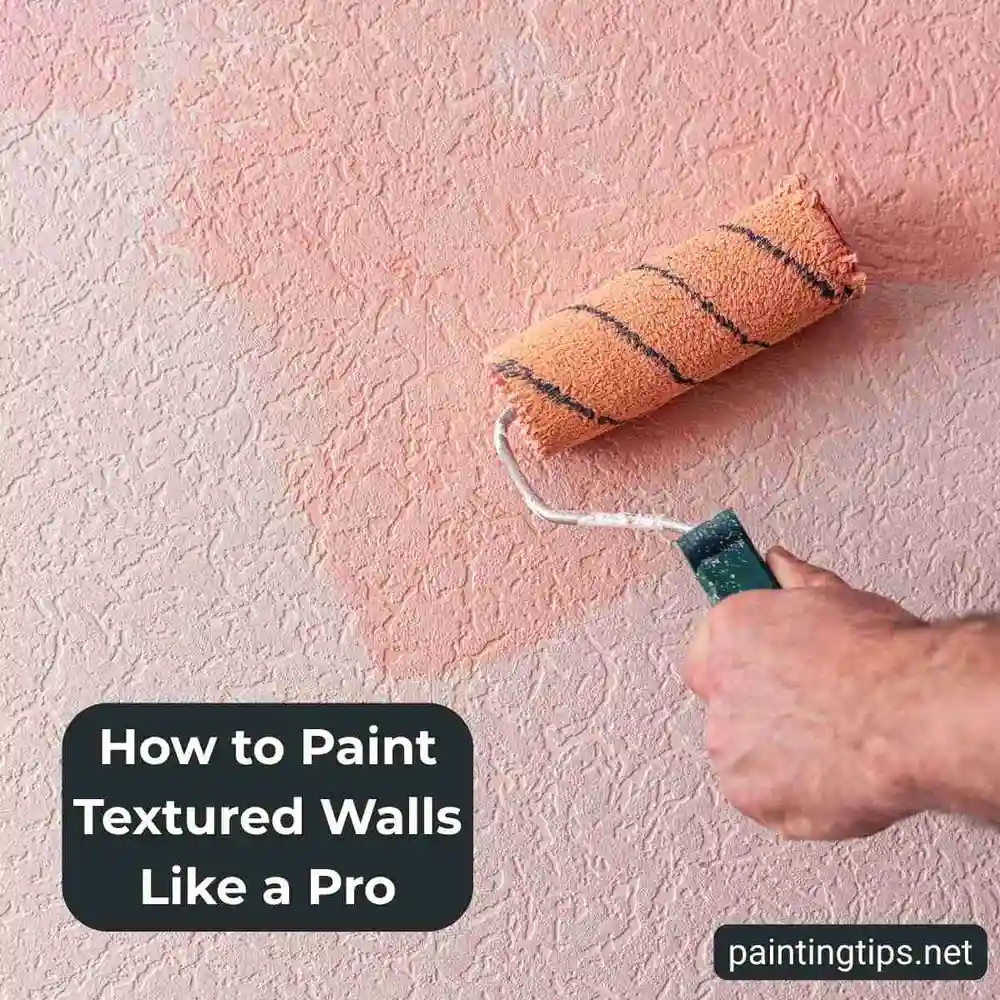
Painting a textured wall is noticeably harder than painting a smooth, skim-coated surface. The rough texture absorbs more paint, creates more drag on your roller, and makes it harder to achieve an even finish. If the wrong paint sheen is used, the uneven surface can look blotchy, shiny, or wavy—especially under strong lighting.
If your wall has never been skim coated, it may not be suitable for every paint type. High-sheen finishes like satin, semi-gloss, or even eggshell tend to highlight imperfections, roller marks, and uneven sections of textured walls. While these paints may adhere well, they easily reveal flaws in surfaces that are rough, curved, or poorly finished.
For this reason, flat (matte) paint is the best choice for textured walls. Flat finishes hide irregularities, soften shadows, and help mask application mistakes—making them far more forgiving on surfaces that aren’t perfectly smooth. “Read this for more information about matte and glossy paints: Flat vs gloss paint.”
Painting Textured Walls
As mentioned above, flat paint is the most suitable option for textured surfaces. It helps conceal dips, bumps, and application inconsistencies. However, be prepared to use more paint than usual. Textured walls—whether previously painted or not—absorb considerably more paint than smooth, skim-coated surfaces. Buying a little extra paint upfront is always a smart precaution.
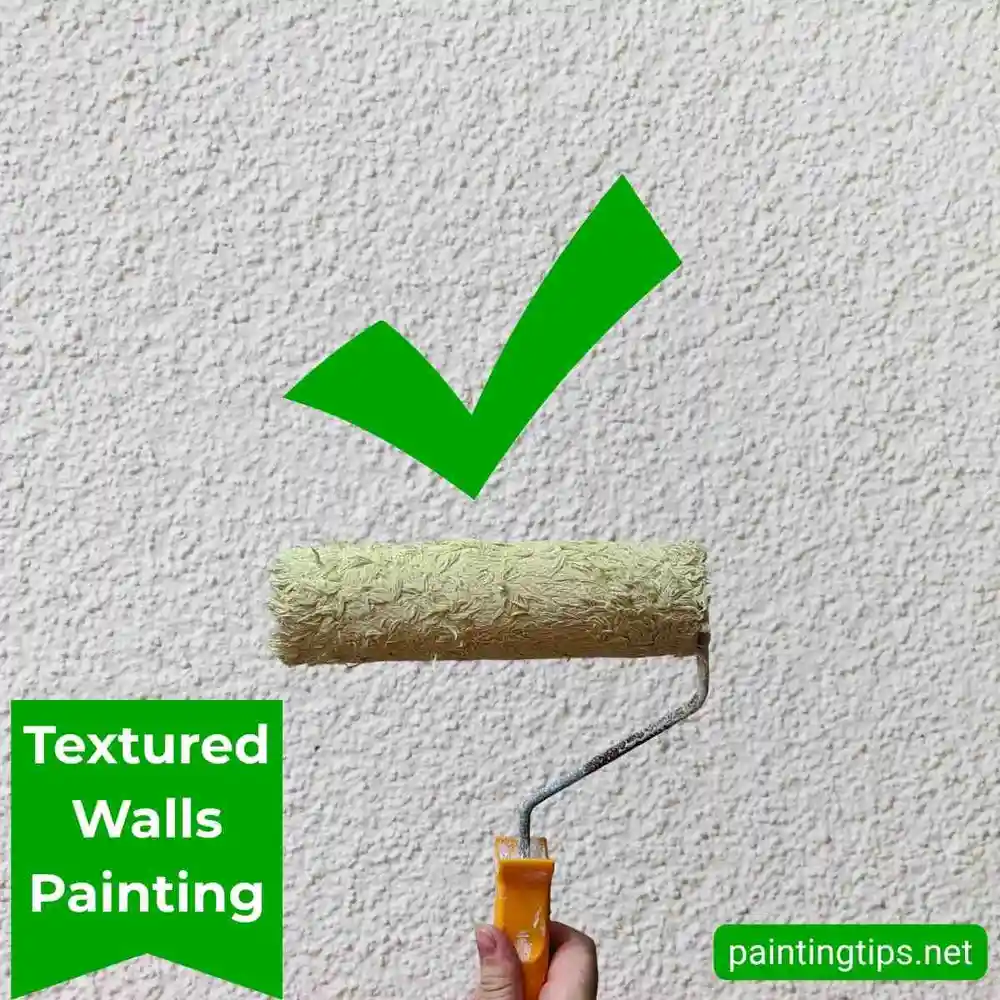
Roller choice is equally important. To reach into all the grooves, pits, and raised areas of a textured wall, you’ll need a long-nap roller cover. This allows the paint to penetrate deeper into the texture without excessive repetition. Here’s a step-by-step guide to painting textured walls:
1-Fill Holes and Cracks
Even textured walls should be repaired before painting. Use a patching compound or joint compound and apply it with a metal putty knife or taping knife. Once it dries, sand it lightly with fine-grit sandpaper (200–300 grit) to blend the repair into the surrounding texture as much as possible.
2-Prime the Wall
Priming is especially important for textured surfaces because they absorb so much paint. A quality primer helps reduce paint consumption and ensures better adhesion. Allow the primer to dry completely before painting.
3-Start Painting
When painting textured walls, traditional painter’s tape often doesn’t work as expected. The paint can seep under the tape because of the uneven surface, leaving messy edges. For clean, precise lines, skip the tape and use a high-quality, soft 3-inch angled brush. Carefully cut in along edges, corners, and around trim to achieve smooth, professional-looking results. Once the primer is dry, cut in around edges and corners. Then roll the wall using a long-nap roller cover. Apply at least two coats, waiting about 5 hours between coats for most water-based paints. If you’re using an oil-based paint, allow 24 hours between coats.
Key Takeaways
Painting textured walls and ceilings doesn’t have to be difficult if you follow the right steps. Use flat paint to hide imperfections, a long-nap roller to reach grooves, and proper prep work to ensure even coverage. Pay attention to filling holes and cracks, priming correctly, and allowing enough drying time between coats—these small details make a big difference in achieving a professional, long-lasting finish. “Check out our guide on [wallpapering textured walls] to learn how to transform your walls with style.” If your textured walls are on the exterior or made of brick, this guide may also be helpful: [How to Paint an Exterior Brick House].
What You’ll Need
- Interior wall paint (flat/matte finish recommended for textured walls)
- Primer (stain-blocking or general-purpose)
- Long-nap roller cover (3/4″ to 1″)
- Roller frame
- Extension pole
- Angled paintbrush (3″–3.5″)
- Paint tray and tray liner
- Painter’s tape
- Drop cloths or plastic sheeting
- Spackling compound or joint compound
- Putty knife or drywall taping knife
- Fine-grit sandpaper (200–300 grit)
- Cleaning cloths or tack cloth
- Ladder or step stool
- Mixing stick
- Gloves (optional)
How to Paint Textured Ceilings
If you are painting both textured walls and ceilings, always start with the ceiling first. This prevents drips and splatters from landing on freshly painted walls, making the process cleaner and more efficient. Use a long-nap roller and work in small sections to ensure even coverage on the textured ceiling before moving on to the walls. Textured ceilings follow the same principles as textured walls, but working overhead requires a bit more care:
- Repair holes, cracks, or gaps using a lightweight patching compound. Let it dry fully.
- Apply one coat of primer and allow it to dry for about 5 hours.
- Use a long-nap roller cover to apply at least two coats of paint, waiting between coats as recommended by the manufacturer.
Painting a textured ceiling can be tiring, but using the right tools—especially an extension pole and long-nap roller—helps you achieve consistent coverage with fewer streaks. “Learn more about [textured ceiling removal] and the best methods to prep your ceiling for a flawless finish.”