Textured walls made sense at some point—they hid imperfections, added visual interest, and required less prep work to finish. But tastes change, and if you’re staring at a bumpy, uneven surface wondering how to get back to something smooth, sanding is usually the most direct route. The catch is that not all textured walls sand the same way, and using the wrong approach—or the wrong sandpaper grit—can create more work than it saves. This guide covers everything you need to know before you pick up a sander.
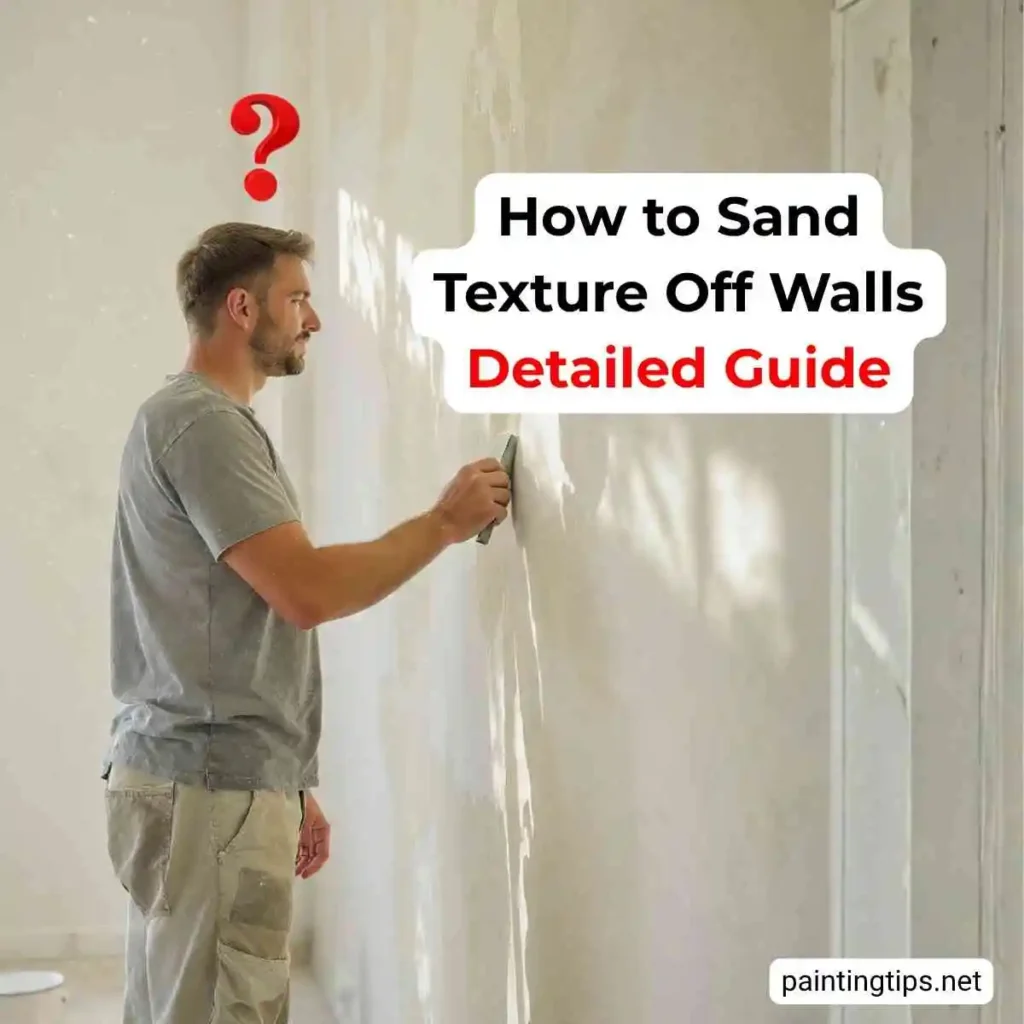
How to Sand Texture Off Walls
The first thing to establish is what your wall is actually made of. Drywall with a skim coat or texture compound, plaster walls, and concrete all respond very differently to sanding—and what works cleanly on one can damage another or simply not work at all.
On drywall, texture is typically applied as a layer of joint compound over the paper surface. That compound sands relatively easily once it’s fully dry and cured. The risk with drywall is going too deep—sand through the compound and you’re into the paper face of the drywall itself, which is difficult to repair cleanly and will show through paint.
Plaster walls are more forgiving in some ways. The base material is harder and more durable than drywall, which means you have more margin before causing damage. But the texture on a plaster wall is often part of the plaster itself rather than a separately applied layer, which means more material to remove and more physical effort required.
Concrete walls are the most demanding. Concrete texture isn’t a surface coating—it’s the wall itself. Sanding concrete by hand is impractical for anything beyond the smallest area. A sanding machine, specifically an angle grinder with a diamond cup wheel or a floor grinder for larger surfaces, is the only realistic approach. Even then, expect significant dust and a surface that will need further finishing before it’s ready to paint. For concrete walls, a skim coat of finish plaster applied over the surface is often a faster and cleaner alternative to mechanical sanding—it fills the texture rather than removing it. “If you’re also dealing with concrete walls and wallpaper, our guide on can you put wallpaper on cement walls covers what actually sticks and what doesn’t.”
Can You Sand Texture Off Walls?
Yes—on drywall and plaster walls, sanding is a legitimate and widely used method for texture removal. Whether it’s the right method for your situation depends on how much texture you’re dealing with and what’s underneath it.
Light or medium texture—the kind that was applied as a thin skim of joint compound—sands off relatively quickly with the right equipment. Heavy texture, like a thick knockdown or deep skip-trowel finish, takes significantly more time and effort and produces a substantial amount of dust. For heavy texture on drywall, wet scraping followed by light sanding is often faster than trying to sand through the full depth of the texture.
The other consideration is what you plan to do with the wall afterward. If the goal is to paint, the surface needs to be primed after sanding to seal the raw compound and create a uniform base—sanding exposes compound that absorbs paint unevenly if left unprimed. “Our guide on how to prepare painted walls for repainting covers the priming and prep steps that apply here as well.”
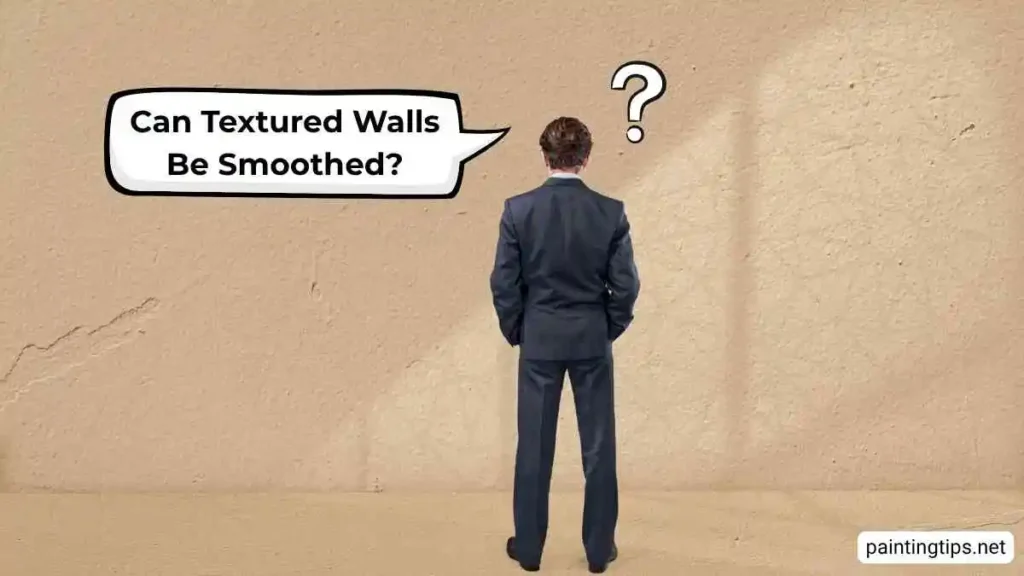
Can Textured Walls Be Smoothed?
Sanding is one option, but it’s not always the most practical one—particularly for walls with heavy or deeply embedded texture. There are three realistic approaches to smoothing a textured wall, and the right choice depends on the wall type, the texture depth, and how smooth you need the final surface to be.
Sanding works best on light to medium texture on drywall or plaster. It removes the texture mechanically and, when done correctly, leaves a surface that’s ready to prime and paint with minimal additional work. The downside is dust—sanding texture generates a significant amount of fine particulate that settles on every surface in the room.
Skim coating is the alternative that professional plasterers often recommend over sanding for heavier texture. Instead of removing the texture, you apply a thin layer of finish plaster or joint compound over the existing surface and trowel it smooth. Once it cures and is sanded lightly, the result is a flat, smooth surface that’s often better than what sanding alone would produce. Skim coating works on drywall, plaster, and—with the right primer—on concrete. It’s more skill-dependent than sanding but produces a more consistently smooth result, especially on walls where the texture is deep or uneven.
Covering with new drywall or wall panels is the most labor-intensive option but sometimes the right call when the existing wall is in poor condition beyond just the texture. “If you’re considering wallpaper as a covering option, our guide on Can You Put Wallpaper on Textured Walls explains what actually works and when it’s likely to fail.”
What Grit Sandpaper to Remove Textured Walls?
Sandpaper grit selection is where a lot of DIY texture removal jobs go wrong. Starting too fine means you’re barely cutting the surface. Starting too coarse on drywall risks damaging the paper face. Here’s how to think about it:
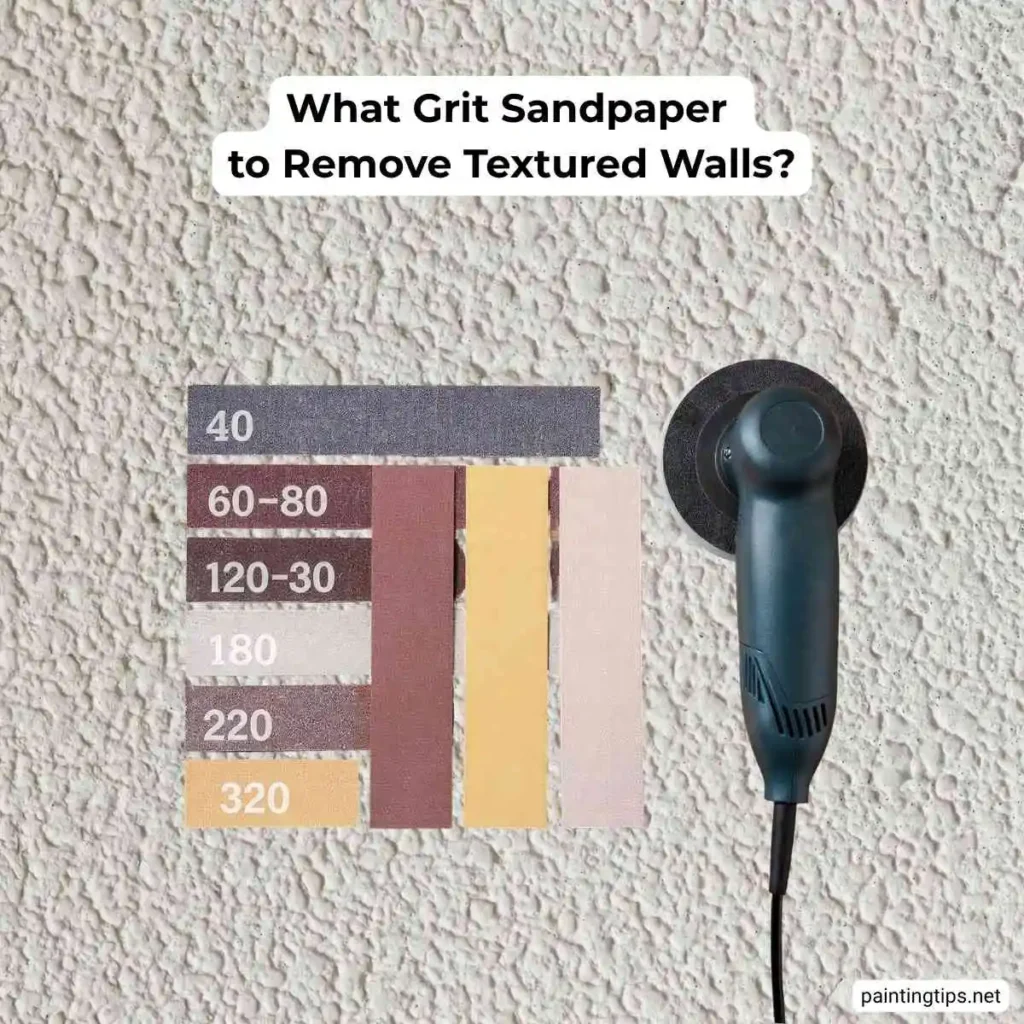
For drywall with light texture, start with 80–100 grit to break down the bulk of the texture, then follow with 120–150 grit to refine the surface before priming. Finishing with 180 grit before primer produces the smoothest result.
For plaster walls with moderate texture, start with 60–80 grit if the texture is substantial, moving to 100–120 grit once the main texture is removed. Plaster can handle more aggressive initial sanding than drywall without the same risk of surface damage.
For heavy texture on plaster, 40–60 grit may be necessary to start. Work down through the grits progressively—jumping from 40 grit to 180 grit skips the intermediate work and leaves scratch marks that show through paint. The rule is always coarse to fine, removing the previous grit’s scratch marks with each successive pass.
For concrete, standard sandpaper is largely ineffective. Diamond sanding pads or an angle grinder with a diamond cup attachment are the appropriate tools. These are available for rental if the project doesn’t justify purchasing them.
A pole sander or orbital sander significantly reduces the physical effort on larger wall areas. Hand sanding is practical for small sections, corners, and detail work, but attempting to sand an entire room by hand is exhausting and produces less consistent results than using a machine.
One more thing on dust: wet sanding is sometimes suggested as a dust-free alternative. If furniture can’t be moved, it reduces airborne particulate—but it’s not recommended for walls you plan to prime and paint afterward. Water introduced into drywall compound affects primer adhesion and can raise the paper grain. Use it as a last resort, not standard practice, and let the wall dry completely before applying anything over it.
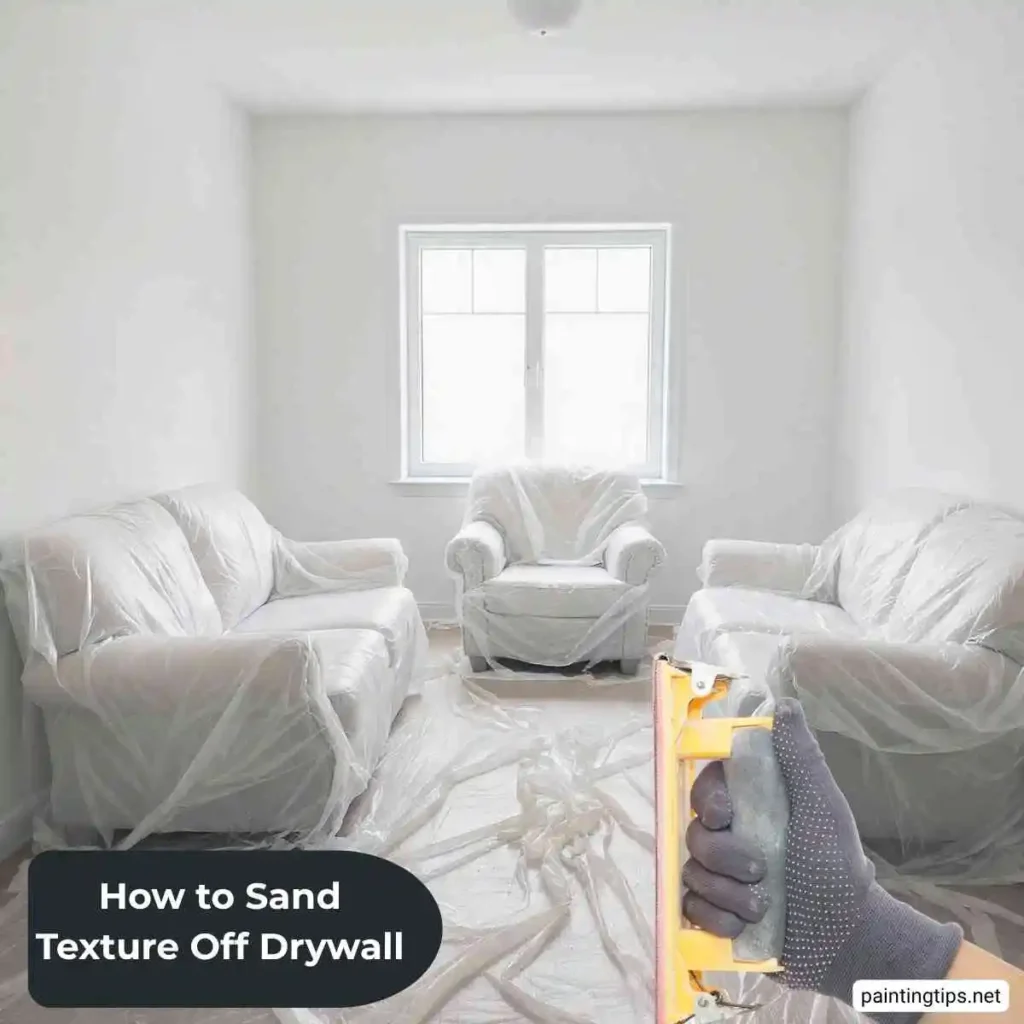
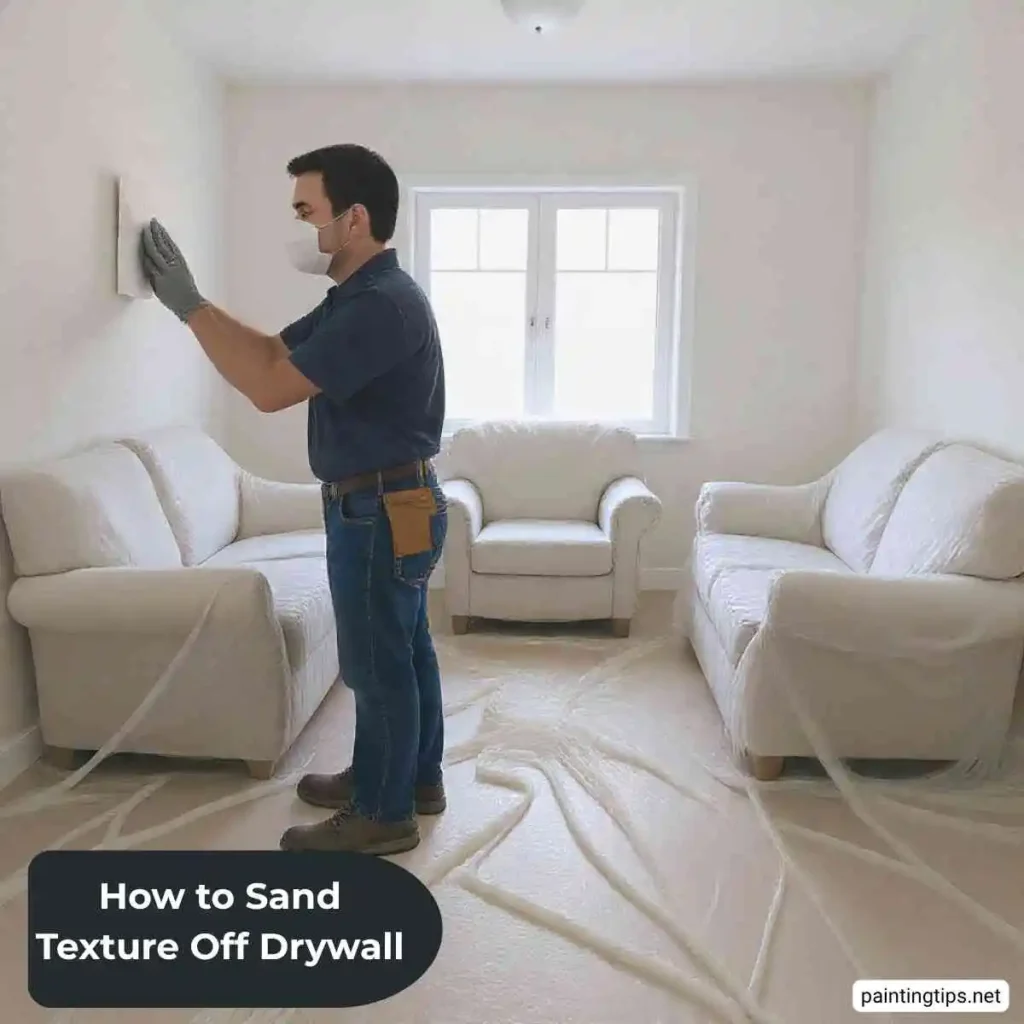
How to Sand Texture Off Drywall: Step by Step
Step 1: Prepare the room and protect yourself. Remove furniture or cover it completely with plastic sheeting. Tape plastic over doorways to contain dust, and cover electrical outlets and light switches. Wear a P2/N95 respirator throughout—not a basic dust mask—and safety glasses. Texture sanding produces far more dust than most people expect, and thorough preparation now saves significant cleanup time later. If the wall was painted before 1978, test for lead paint before sanding. Lead-safe practices or a professional contractor are required if the test comes back positive. If the test comes back positive, our lead paint removal guide explains exactly what you’re dealing with and how to handle it safely.
Step 2: Score or dampen the texture if needed. For thick texture, lightly scoring the surface with a putty knife or dampening it with a spray bottle of water can make initial sanding faster. Don’t over-wet drywall—moisture damages the paper face and the gypsum core.
Step 3: Sand with the appropriate grit. Start with 80–100 grit for light texture, coarser for heavier applications. Work in sections, using a pole sander on flat areas and hand sanding for edges, corners, and around trim. Keep the sander moving—dwelling in one spot removes too much material unevenly.
Step 4: Progress through grits. Move to 120–150 grit once the bulk of the texture is removed, then 180 grit for a final smooth pass. Between grits, wipe the wall with a dry cloth to remove dust and assess the surface—imperfections are easier to spot on a clean surface.
Step 5: Fill and repair. Once the texture is removed, you’ll likely find low spots, tool marks, and areas that need filling. Apply a thin skim of joint compound, allow it to dry, and sand smooth with 180–220 grit. Repeat as needed.
Step 6: Prime before painting. Raw joint compound and sanded drywall paper absorb paint unevenly. A coat of drywall primer seals the surface and creates a uniform base for your topcoat. “Our guide on painting textured walls covers what to expect when painting over a wall that had texture, including how primer choice affects the final result.”
What Is the Easiest Way to Remove Texture from Walls?
For most homeowners, wet scraping followed by light sanding is the easiest method for standard drywall texture. Mist the wall with warm water, wait 5–10 minutes for the compound to soften, and scrape with a wide-blade drywall knife. The softened texture comes off in sheets rather than requiring the same mechanical effort as dry sanding. Follow up with light sanding to smooth the surface.
Skim coating is the easiest path to a smooth finish on walls with heavy or uneven texture where scraping and sanding would require multiple passes and significant effort. It’s more skill-dependent than sanding but faster on heavily textured surfaces and produces a more consistently smooth result.
For textured ceilings specifically, the process and considerations are different from walls. “Our guides on how to get rid of textured ceiling and how to cover up popcorn ceiling cover both removal and covering options for overhead texture.”