Hanging the boards is the easy part. The job only starts to look like a finished wall once you mud drywall seams, bed the tape, and sand everything flat. Plenty of first-timers worry about this stage, and the worry is mostly about the mess and the waiting, not the skill. Once you understand what each coat does, taping and mudding becomes a routine you can repeat on any wall. Below we go through the full process from the first screw to the last pass of the sanding sponge, and then answer the questions people ask most about joint compound, mesh, paper tape, and corners.
How Do You Mud and Tape Drywall
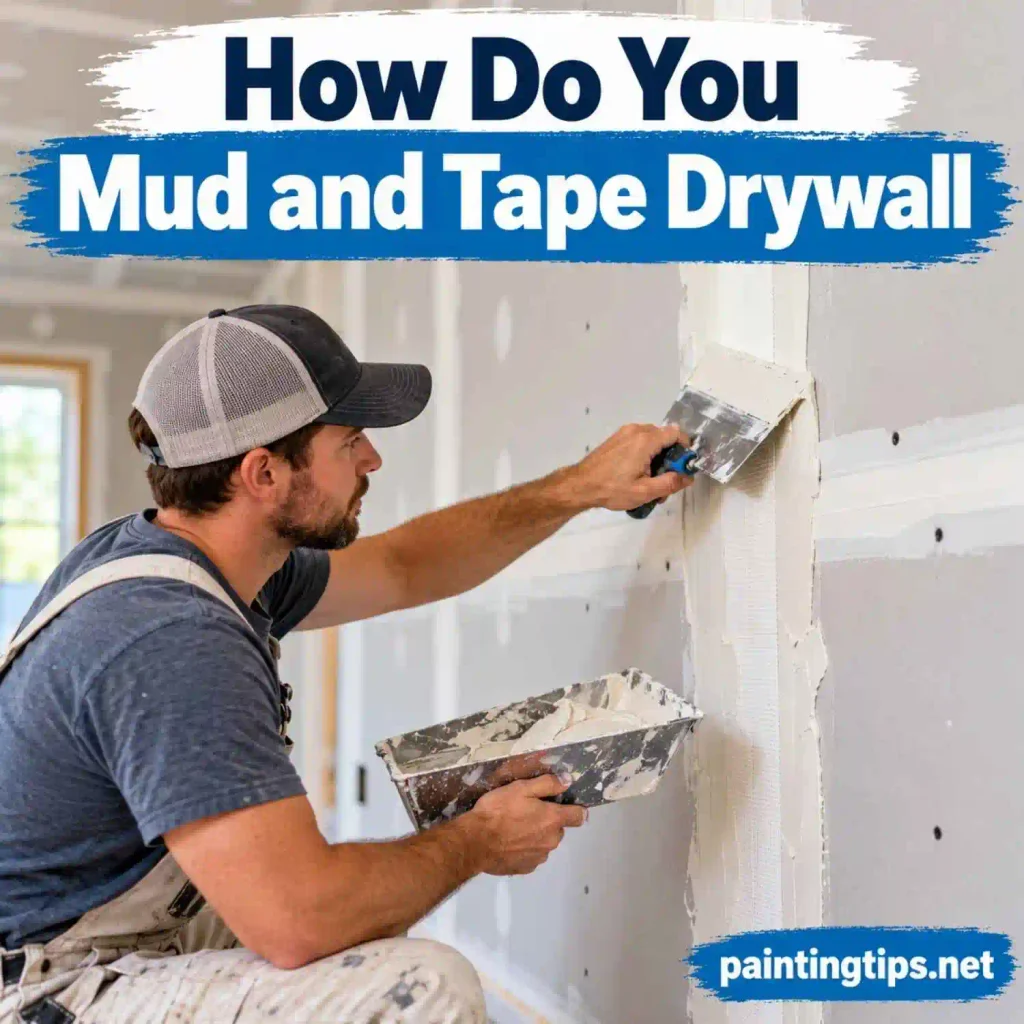
You hide every seam and screw head under joint compound, bury tape in the seams so the boards stay tied together, and build the surface up in thin layers until the wall reads as one flat sheet. Whether you call it drywall, sheetrock, or plasterboard, the work is the same. When you joint plasterboard, the tape does the structural job and the mud handles the looks.
A few rules cover nearly every situation. Thin coats beat thick ones, because a heavy layer shrinks, cracks, and takes days to dry. Each coat should reach a little farther out than the one before it. Pros call this feathering, and it’s what makes a joint disappear under paint. And no coat goes on until the one underneath is dry, however tempting it is to hurry.
Your materials matter too. Joint compound comes as all-purpose, lightweight, or setting-type, and tape comes as drywall paper tape or fiberglass mesh. Most walls end up with three coats, and the room should stay at 55°F or warmer while the mud cures.
1. Gather Your Tools and Materials
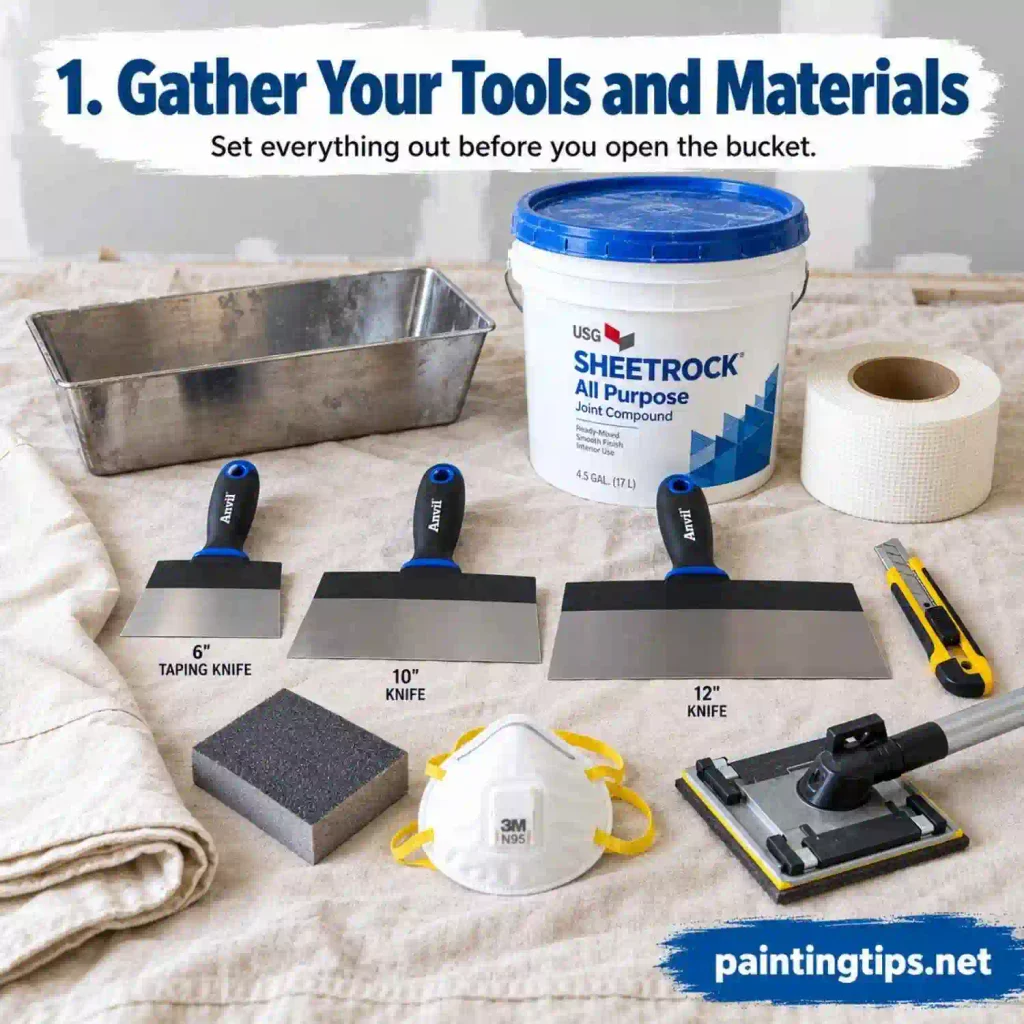
Set everything out before you open the bucket. A mud pan, a 6-inch taping knife, a 10-inch knife, and a 12-inch knife are the core of the kit. Add a utility knife, a sanding sponge or pole sander, a respirator or dust mask, a drop cloth, and your compound and tape. Keep the knives clean and straight. A knife with a nicked edge will leave a line in every coat you lay down.
2. Prep the Drywall Surface
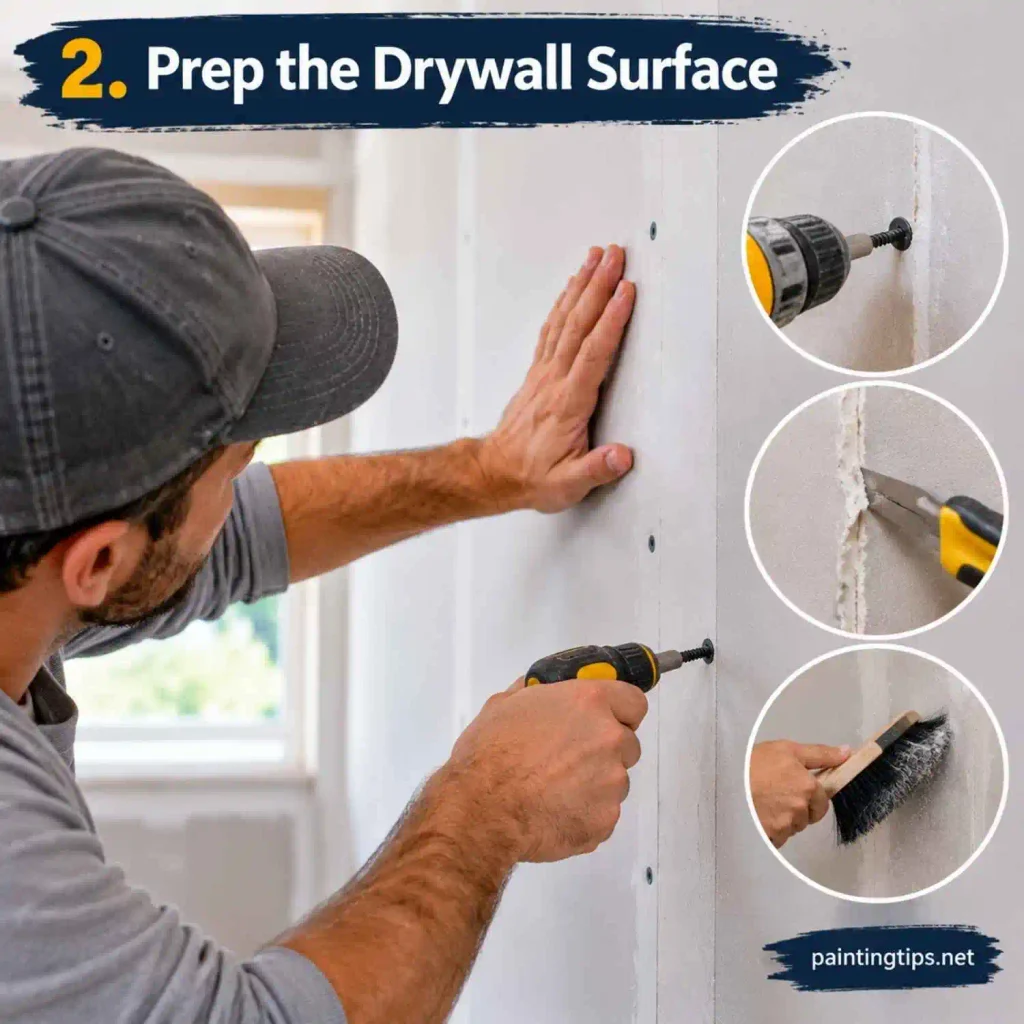
Slide your palm over the wall and feel for screws that stand proud. Drive them in just below the surface, but stop before the head tears the paper. Trim any loose paper or ragged edges with the utility knife and brush off the dust.
Look over the seams while you’re at it. Factory tapered edges are easy to finish. Butt joints sit higher and need to be feathered out much wider before they disappear.
3. Prepare the Joint Compound
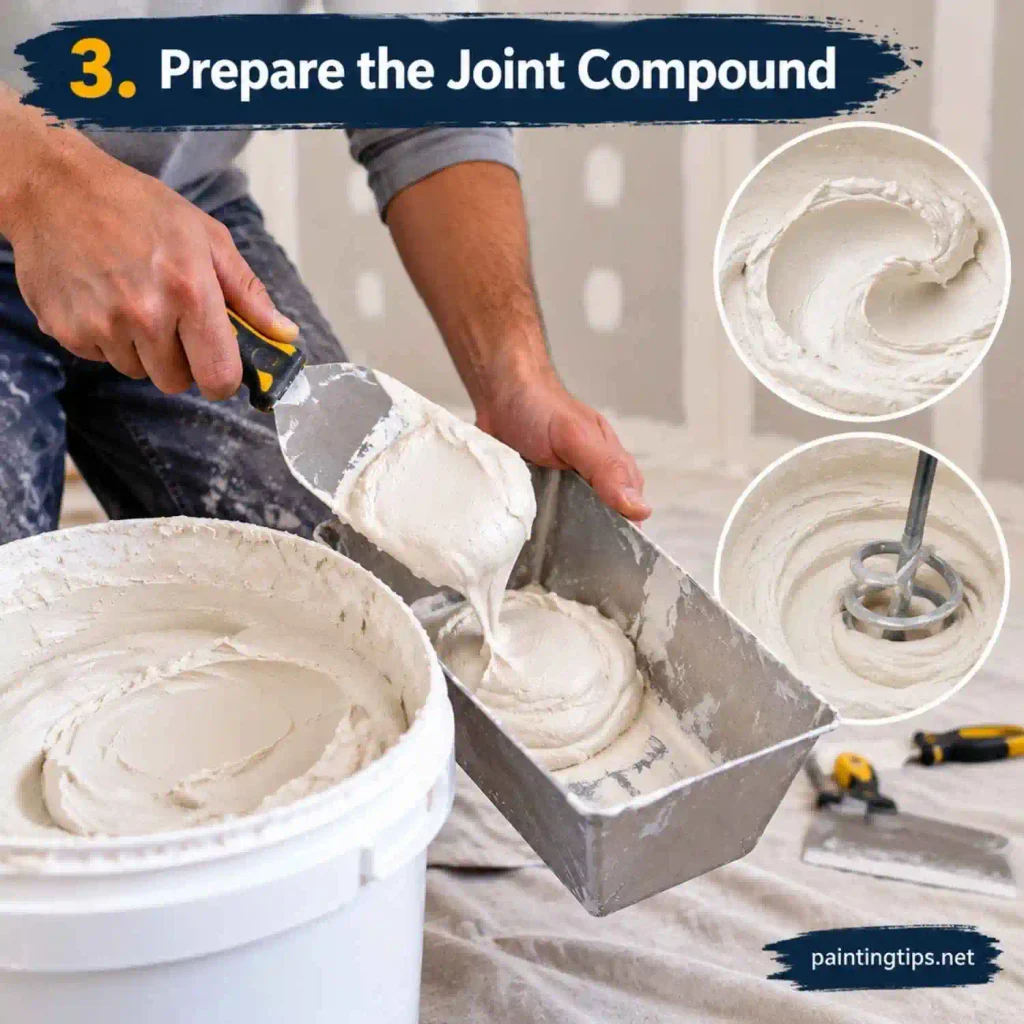
Premixed compound is ready out of the bucket, but stir it well and scoop some into your pan so the rest stays sealed. You want a smooth, creamy texture, close to thick yogurt. Powdered setting compound is mixed with clean water instead, and it starts to harden on a timer, usually 20, 45, or 90 minutes depending on the type.
4. Fill the Screw Heads
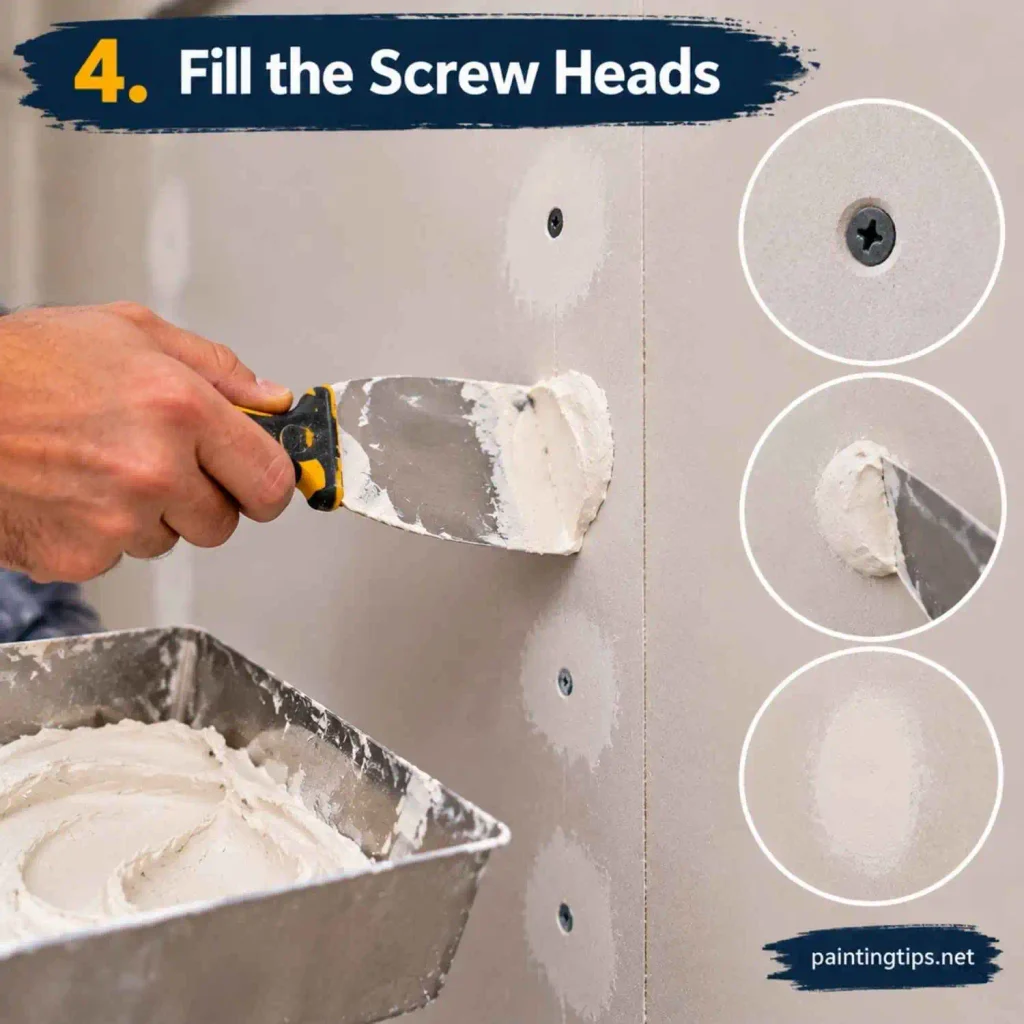
Screws go first because they’re quick. Press a dab of mud over each dimple and wipe the knife across in a single pass so the mud ends up flush with the wall. Each screw head will need two or three coats in the end.
5. Embed the Tape in the Joints
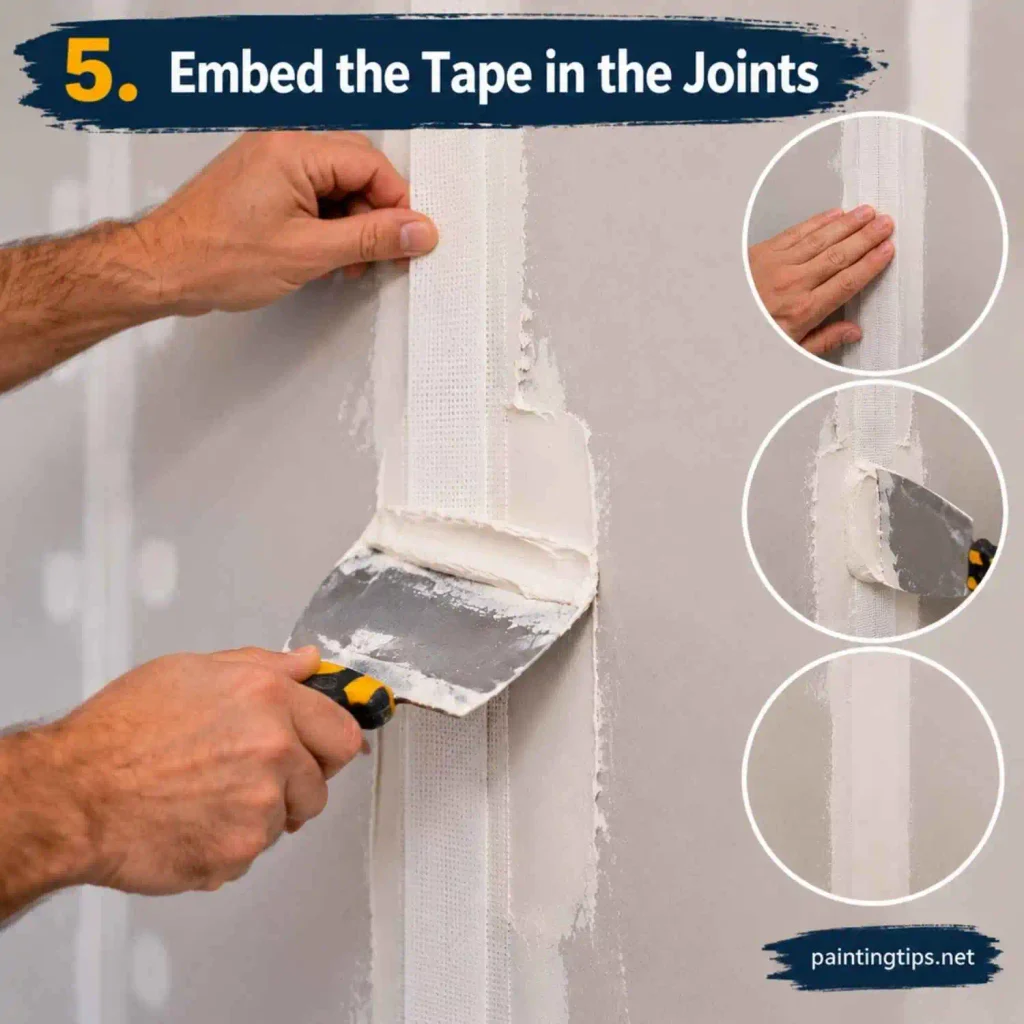
For paper tape, we butter the seam first with a layer of mud about 4 to 6 inches wide, then press the tape into it. Run the knife down the tape in one steady pull, and watch the edges. If mud oozes out on both sides, you’ve got good contact. If the paper looks dry or lifts, you didn’t leave enough underneath. Smooth a very thin coat over the tape right away so it doesn’t curl as it dries.
Mesh tape works the other way around. It’s self-adhesive, so you stick it over the seam first and press the mud through it afterward. Let this coat dry fully. With standard premixed compound that’s roughly a day, but a thicker layer takes longer, and so does a cool or damp room. If a spot still looks darker than the rest of the joint, it’s not ready for the next coat.
6. Apply the Second Coat
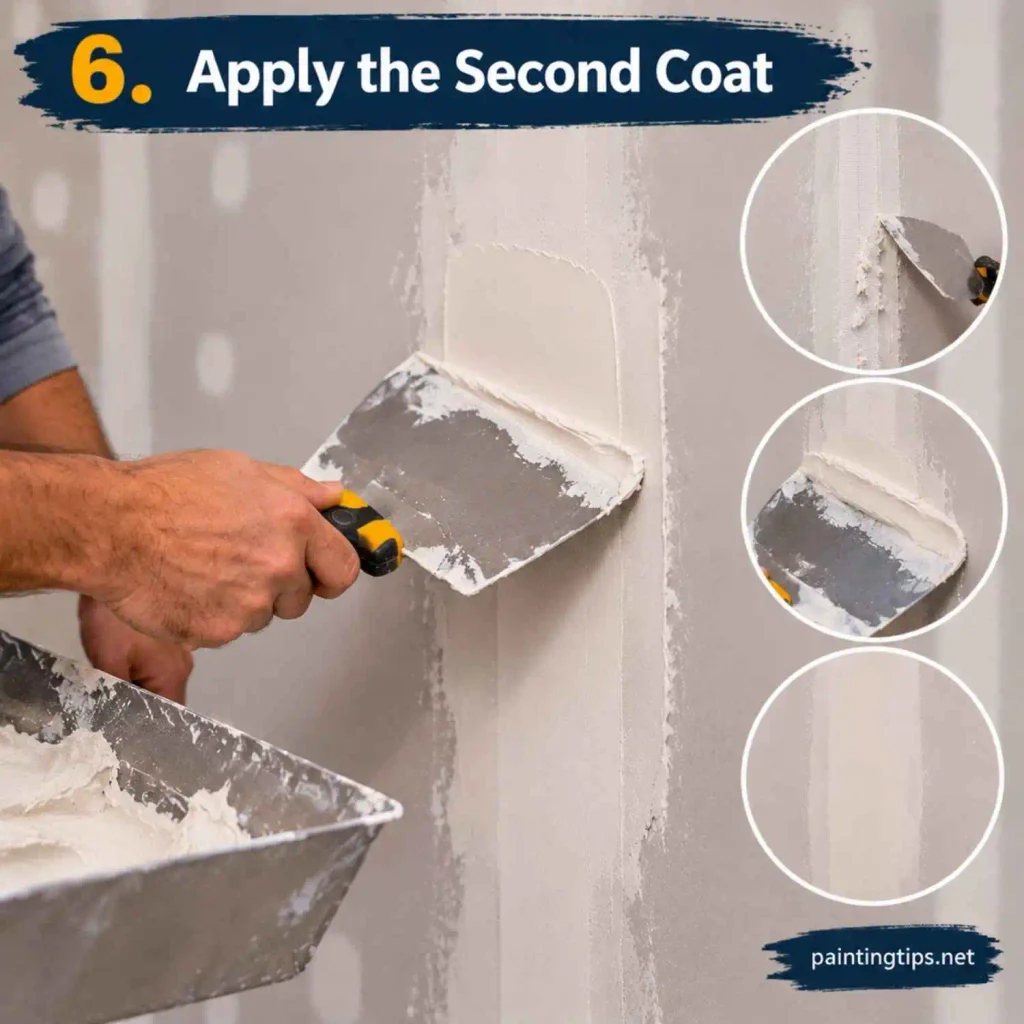
Whether you mud sheetrock or standard drywall, the second coat is where the joint starts to flatten out. Scrape off any ridges or dried crumbs, then use the 10-inch knife to lay on a coat that extends a couple of inches past the first one. Keep it thin and let the edges fade into the wall.
7. Apply the Third Coat
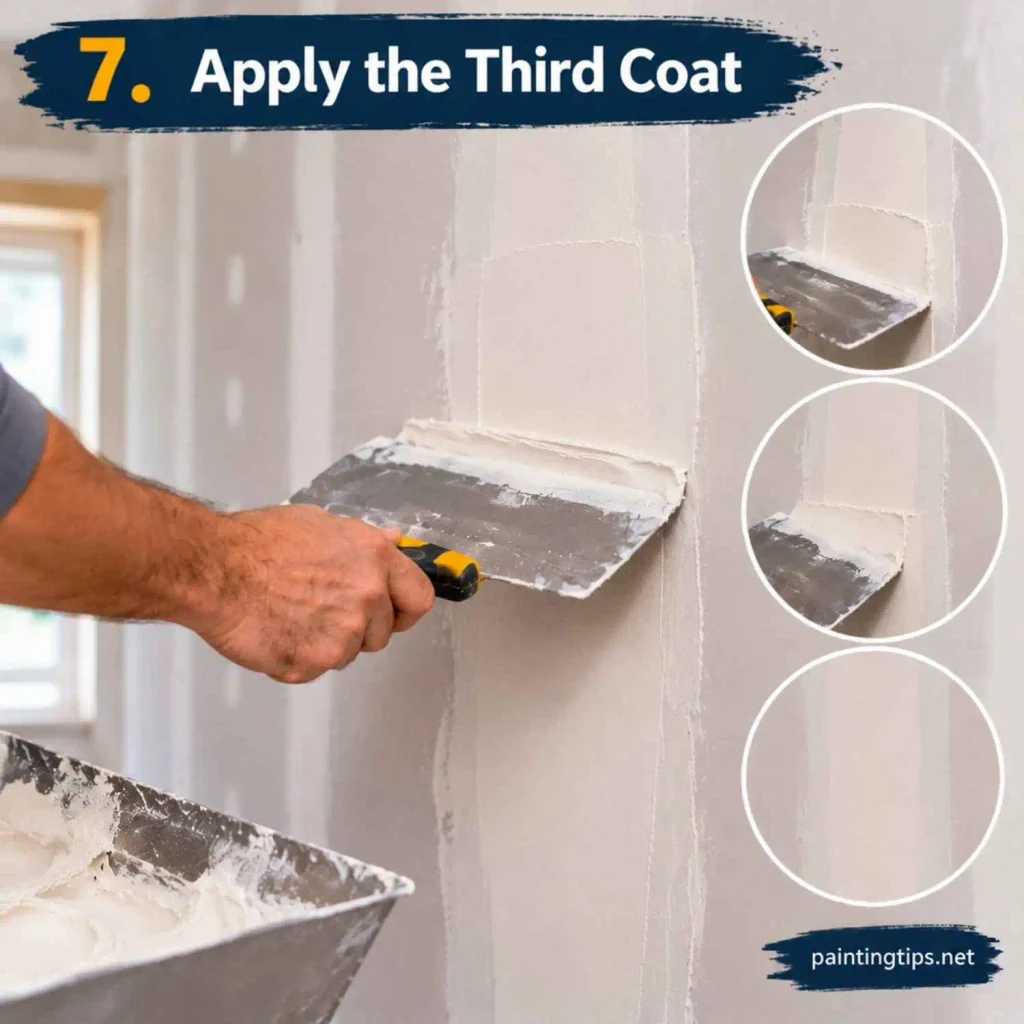
This is the finish coat, so slow down. Switch to the 12-inch knife and go wider again, filling any low spots and blending the joint into the board. Many finishers add a small splash of water to the mud for this coat so it glides better. Then let it dry completely.
8. Sand the Joints Smooth
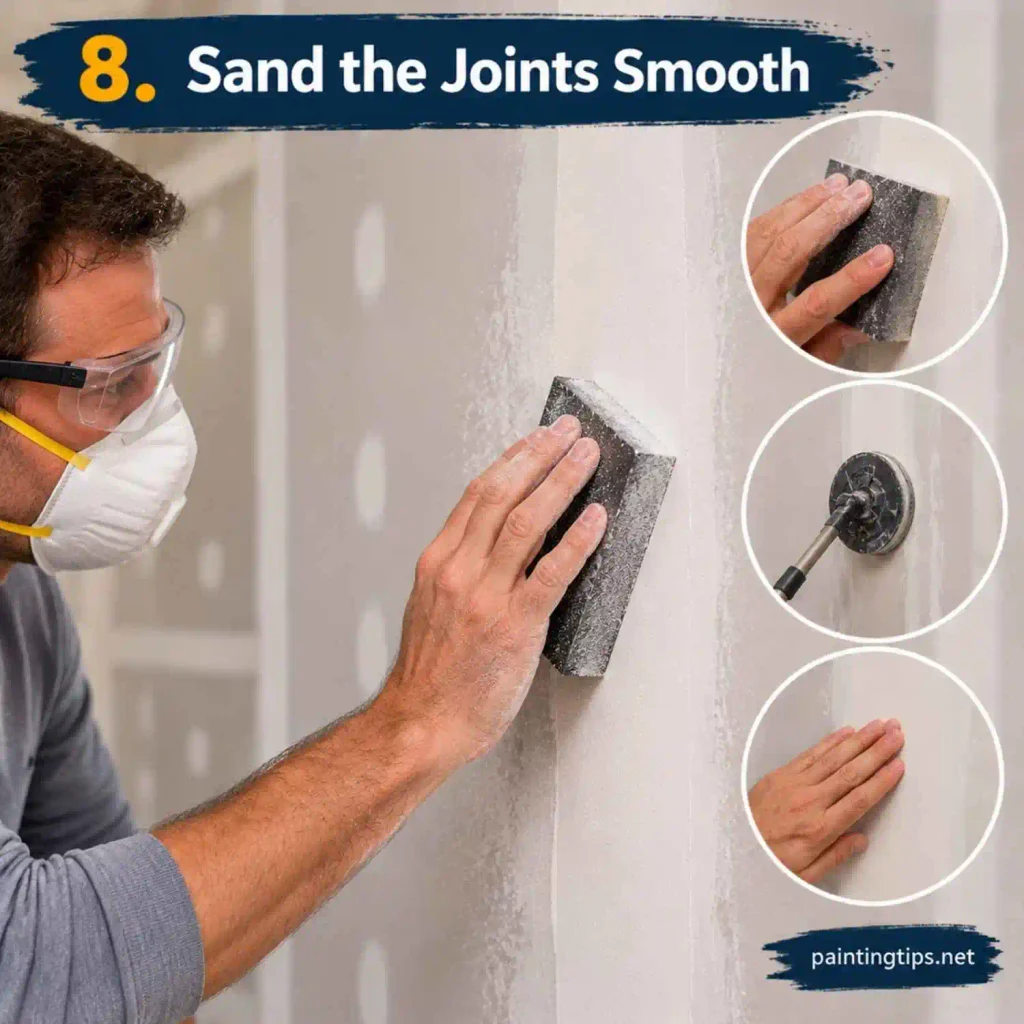
We sand with 120 to 150 grit and rarely go outside that range. Coarse paper digs trenches into soft mud, and those trenches are easy to miss until the primer goes on. Use a sanding sponge or pole sander and keep your strokes long and light. Stop the moment the joint feels flat under your palm, because fuzzing up the paper face around it leaves rough patches that paint will not hide. Wear a mask the whole time, since the dust gets into every room.
9. Clean the Dust and Prime the Wall
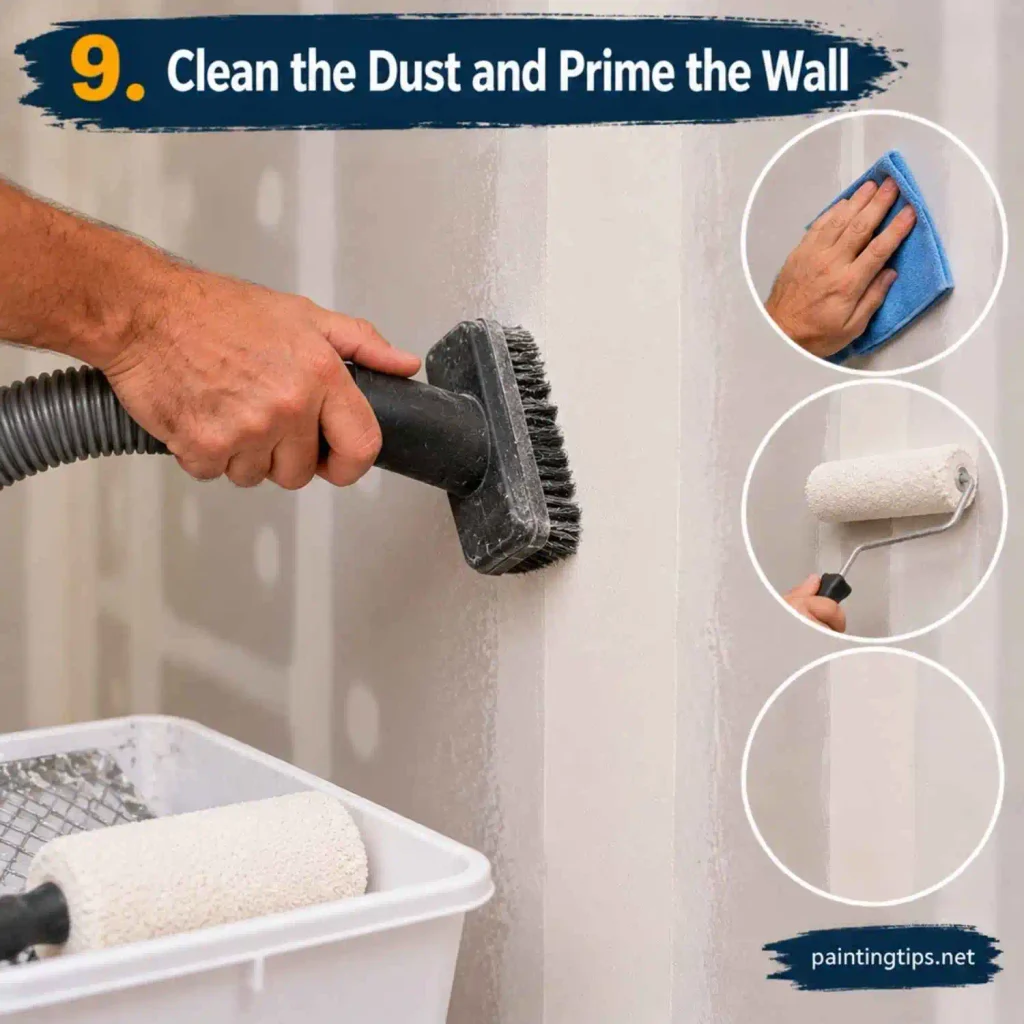
Vacuum or wipe the wall down before anything else. Dried mud is porous and drinks up paint, while the paper face takes it in much more slowly. Skip the primer and the joints end up looking dull and patchy, even under two coats of color. That’s why we prime every new wall, no exceptions. If you want the full process, we have a guide on prepping drywall for paint that covers cleanup and everything that comes after sanding.
If you’re unsure how much primer to put on, our article on how many coats of primer on new drywall answers that. And if you’re still wondering whether it’s worth the extra step, we explain it in should i use a primer before painting Once the primer is dry, how to paint new drywall walks you through the paint itself.
How Do You Mud Drywall Corners?
Inside and outside corners are handled differently. To mud drywall corners on the inside, spread compound along both sides, fold paper tape down its center crease, and press it into the mud. Smooth it with a knife or a corner tool. Work one side at a time, because if both sides are wet the knife will gouge the other one.
For an outside corner, the bead goes on before any mud. A metal bead gets nailed or screwed along the edge, while a paper-faced one is pressed into a bed of compound instead. Once it’s solid and straight, cover it with three thin coats. Each coat should run a little farther onto the wall than the last, so the bead fades out and the corner looks like part of the board.
How Do You Use Drywall Joint Tape?
Joint tape bridges the gap between two boards and spreads out the stress when the house moves, which is why seams without it crack. To use drywall joint tape, press paper tape into a thin bed of wet compound, or stick mesh tape straight onto the board. Either way you want it flat with no bubbles, so squeeze the extra mud out from the center toward the edges.
How Do You Tape and Float Drywall?
Taping is the first half and floating is the second. After the tape is in, you tape and float drywall by laying wide, thin coats of compound that stretch beyond the seam, so the raised joint blends into the flat board. When you float sheetrock, hold the knife at a slight angle and let the edge do the work instead of pushing down hard.
How Do You Use Mesh Drywall Tape?
Center the mesh over the seam and press it on, with no mud underneath. Then force compound through the weave so it fills the gap behind it, and skim a thin coat over the top. Mesh does best with a setting-type compound on the first coat, since that holds up better than all-purpose mud against hairline cracks.
What Is the Easiest Way to Mud and Tape Drywall?
For a beginner, mesh tape with premixed compound is the least stressful pairing. The tape sticks on its own, so you skip buttering the seam first, and you never have to measure powder or watch a clock. Keep every coat thin and let each one dry before the next.
Do You Put Mud Under Drywall Tape?
Only with paper tape. Paper needs a thin layer of mud beneath it because the compound is what glues it down. Mesh tape has its own adhesive backing, so the mud goes on top instead.
Can You Tape and Mud the Same Day?
Yes, but only for the first round. Bedding the tape and wiping a skim coat over it is a single job, so you can finish both before you call it a day. The coats after that are the slow part. With regular premixed compound, each layer has to dry before the next one goes on, which is why a typical wall takes several days. Setting-type compound is the shortcut, since it can be recoated in as little as 20 to 90 minutes. Those times assume a thin coat, though. A thick layer of either compound takes longer to dry, so don’t count on the shortest time if you piled it on.
How Many Times Do You Mud Over Drywall Tape?
Three coats is the standard: one to embed the tape, one to widen and smooth, and a thin one to finish. A stubborn low spot might need a fourth, but if each coat was thin and well feathered you rarely get that far.
Drywall Taping Mistakes
Rushing causes most of the trouble. Mud laid on too thick cracks and takes forever to dry. Tape set into too little compound bubbles later, and when that happens you cut the bubble open, add a bit of mud, and press it flat again. Recoating over a damp layer leaves wrinkles and soft spots, and skipping the feathering leaves a ridge that shows under paint. Sanding too hard scuffs the paper and ruins the surface you just built, and a dirty pan or knife drags little lumps across the joint and leaves streaks.
When to Use Drywall Tape
Tape goes on every seam where two boards meet, including butt joints and inside corners. It also covers cracks and repaired patches that need reinforcement. Screw heads don’t get tape, since mud alone fills those. If you want to properly tape drywall, treat any gap between boards as a spot that needs it.
Do You Mud Over Drywall Tape Immediately?
Usually, but only with a thin skim. Right after you embed the tape, wipe a light coat of compound over it so the paper can’t dry out and curl at the edges. The heavier coats come later, once that first layer has set.
Do You Have to Tape Drywall Seams?
Yes, every seam needs it. Mud on its own is brittle, so a joint without tape will usually crack within a season or two as the house settles, and the crack shows right through the paint. When you tape sheetrock, you can choose between paper and mesh. Paper is the stronger choice for flat seams and inside corners, while mesh is quicker to apply and forgives beginners. Whichever you pick, match it to the right compound, since mesh works best with a setting-type mud on the first coat.
Can You Put Mud Directly on Drywall?
Yes, that’s how screw holes, seams, and rough spots get filled. If the paper face is torn or fuzzy, give it a coat of primer first, because exposed paper tends to bubble when wet mud hits it.
Do You Tape First or Mud First?
It depends on the tape. Paper tape goes into wet mud, so mud comes first. Mesh tape sticks onto bare board, so the tape comes first and the mud follows.
Do I Mix Drywall Mud With Water?
Not usually. Premixed mud comes out of the bucket ready to spread, and adding water mostly just weakens it. The one time we reach for water is a stiff batch or a finish coat, and even then it’s only a small splash, stirred in until the mud glides off the knife. Powdered setting compound is the opposite case, since it has to be mixed with clean water. Follow the ratio on the bag and mix only what you can use before it starts to harden.
Do You Sand Between Each Layer of Drywall Mud?
Not a full sanding. Between coats, scrape off ridges and dried drips with your knife, or knock them down lightly with a sponge. The real sanding happens after the final coat. Setting-type compound cures very hard, so scraping works better than sanding there.
Do You Apply Mud to the Entire Drywall?
On a standard job, no. Only the seams, corners, and screw heads get compound. A skim coat is the exception. That’s a thin layer of mud over the whole wall, and it gives you a Level 5 finish, which suits rooms with harsh lighting or glossy paint.
Once the walls are smooth and sealed, you might also like our guide on how to paint sheetrock walls And if you’d like to understand what you’re rolling on first, we cover what is a primer paint too.
