Painting new sheetrock is a different job than repainting a sheetrock wall that’s already been through a few coats. This guide walks through the entire process of painting new sheetrock walls the right way, from prepping and priming to laying down a finish coat that looks smooth and professional, because sheetrock walls demand a level of attention that a standard repaint simply doesn’t require.
How to Paint New Sheetrock Walls

New sheetrock hasn’t been painted before, so a sheetrock wall behaves very differently than one that already has a coat or two on it. The paper facing and the joint compound used to finish the seams on a sheetrock wall are both porous, and they’ll pull moisture and pigment out of the paint unevenly if you go straight to your topcoat.
That’s why priming isn’t optional here the way it sometimes feels optional on a touch-up job — we’ve painted enough fresh sheetrock walls to know that skipping the primer step is the single most common reason the job comes out blotchy.
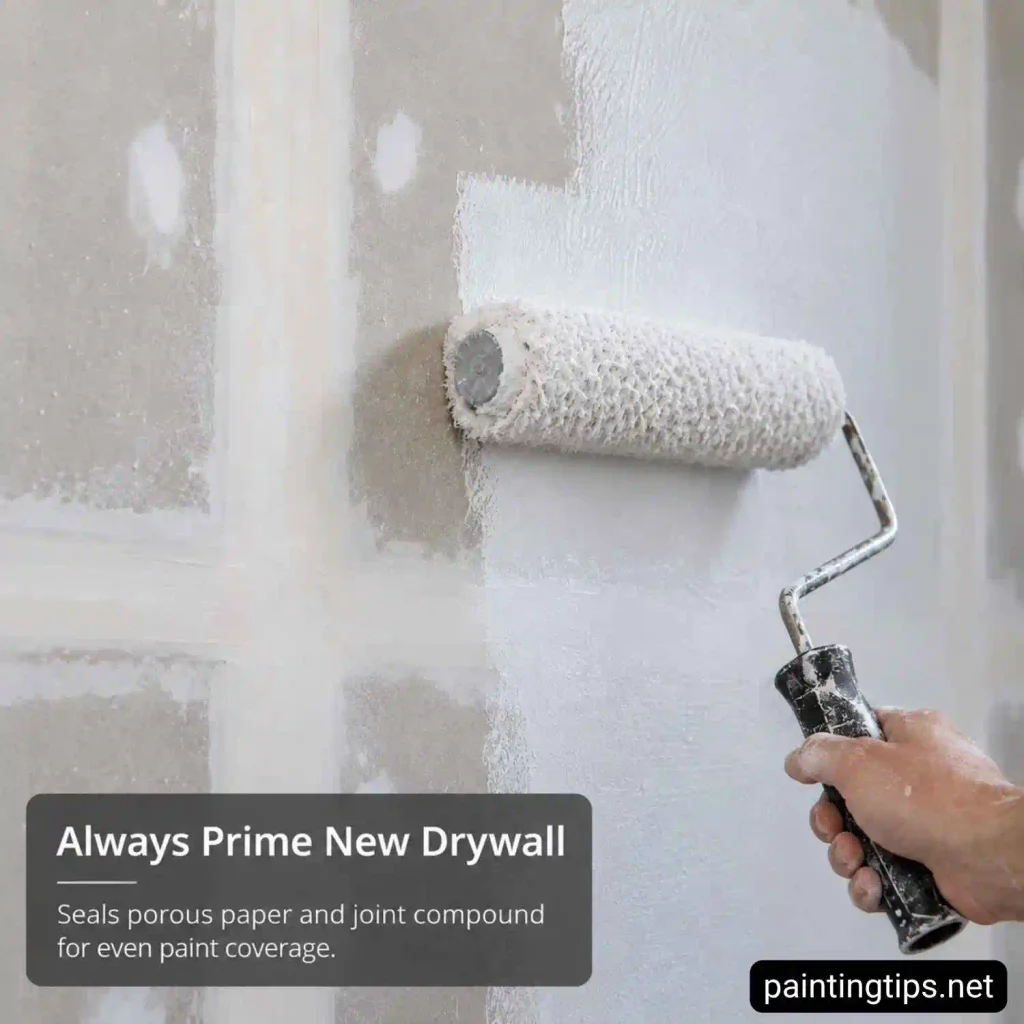
A good drywall primer also solves a couple of problems that aren’t obvious until you’re standing in front of a sheetrock wall with a roller in your hand. Fresh sheetrock almost always has a fine layer of gypsum dust sitting on its surface, even after a light wipe-down, and that dust gets between the paint and the wall if there’s no primer to seal it first. Primer locks that dust down and gives the topcoat something consistent to grip, while also keeping the sheetrock wall from drinking in more paint than it needs to. That’s one of the easiest ways to actually save money on a paint job rather than add a step to it.
If you want the full breakdown of getting a sheetrock wall ready before that first coat goes on, we’ve covered it in more depth in our guide on how to prep new drywall for paint.
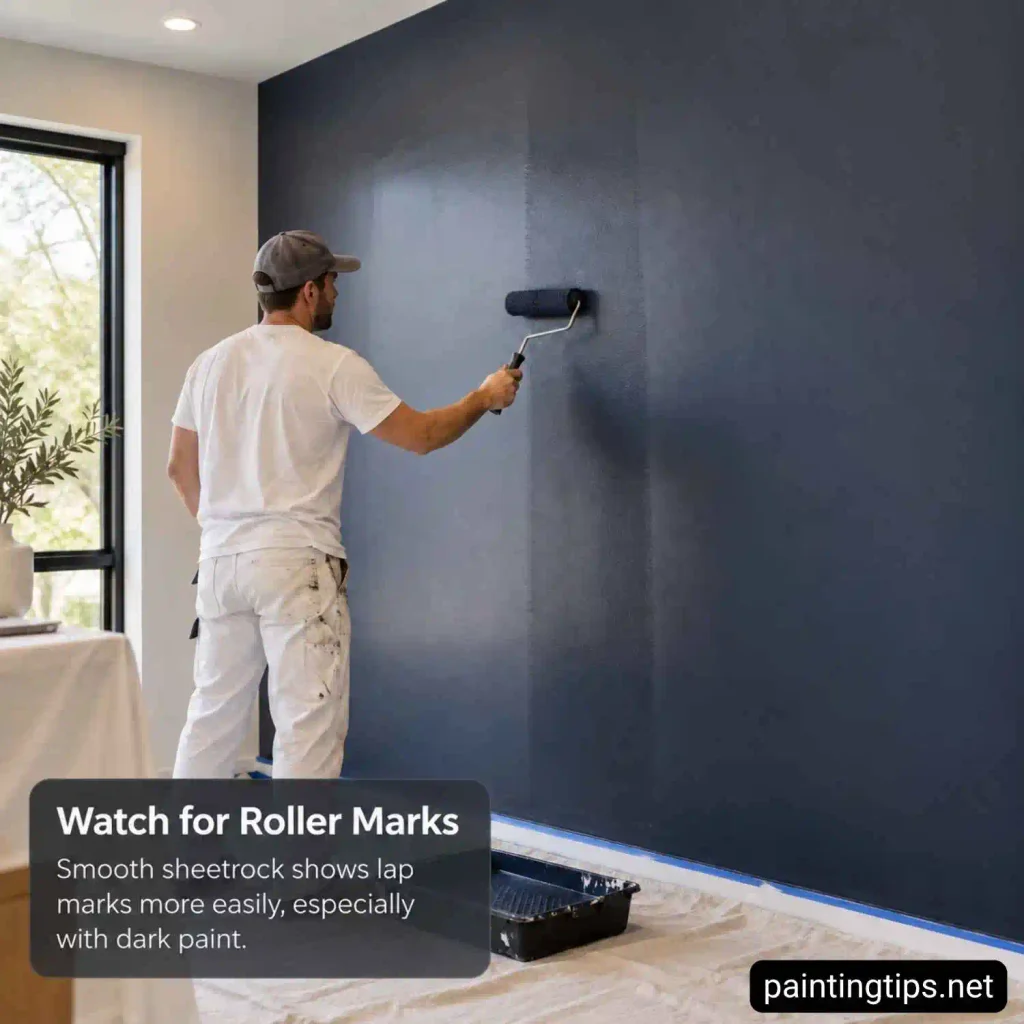
Sheetrock walls are also unusually flat and uniform, and that flatness has a downside: roller marks show up on a sheetrock wall more easily than they do on a textured or previously painted surface, especially once you’re working with a darker color. We run into this constantly with clients who want deep grays or navy accent sheetrock walls.
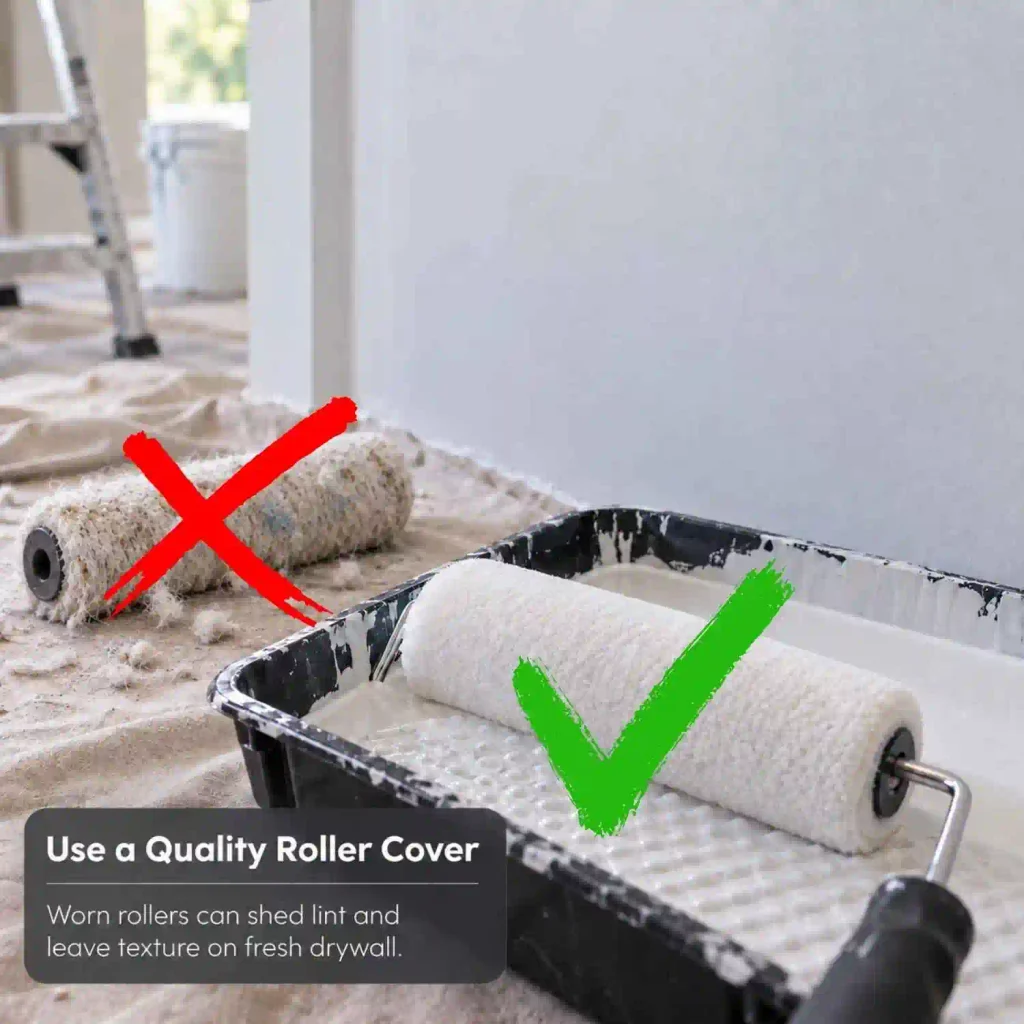
Roller choice matters more here than people expect, since a cheap or worn roller cover will leave stipple marks on a sheetrock wall’s smooth surface and is more likely to shed lint fibers that stick to the wet paint and dry into the wall — worth spending a little more on a quality roller cover before you start rather than fighting the results afterward.
1. Gather Your Materials Before You Start
Before you open a can of paint, it helps to have everything laid out. You’ll want a primer matched to your topcoat, painter’s tape, drop cloths, a putty knife, fine sandpaper, a quality angled brush for cutting in, and a roller frame with a nap thickness suited to a smooth sheetrock wall, typically a 3/8-inch nap. Having all of this ready before you start keeps the sheetrock wall job moving and stops you from having to stop mid-coat to run to the hardware store.

2. Repair and Sand Any Imperfections First
Even a brand-new sheetrock wall usually has small dents, nail pops, or rough spots along the seams that need attention before paint goes anywhere near it. A thin acrylic spackling compound, a lightweight wall repair paste, or a skim coat works well for filling these, depending on how deep the imperfection is.
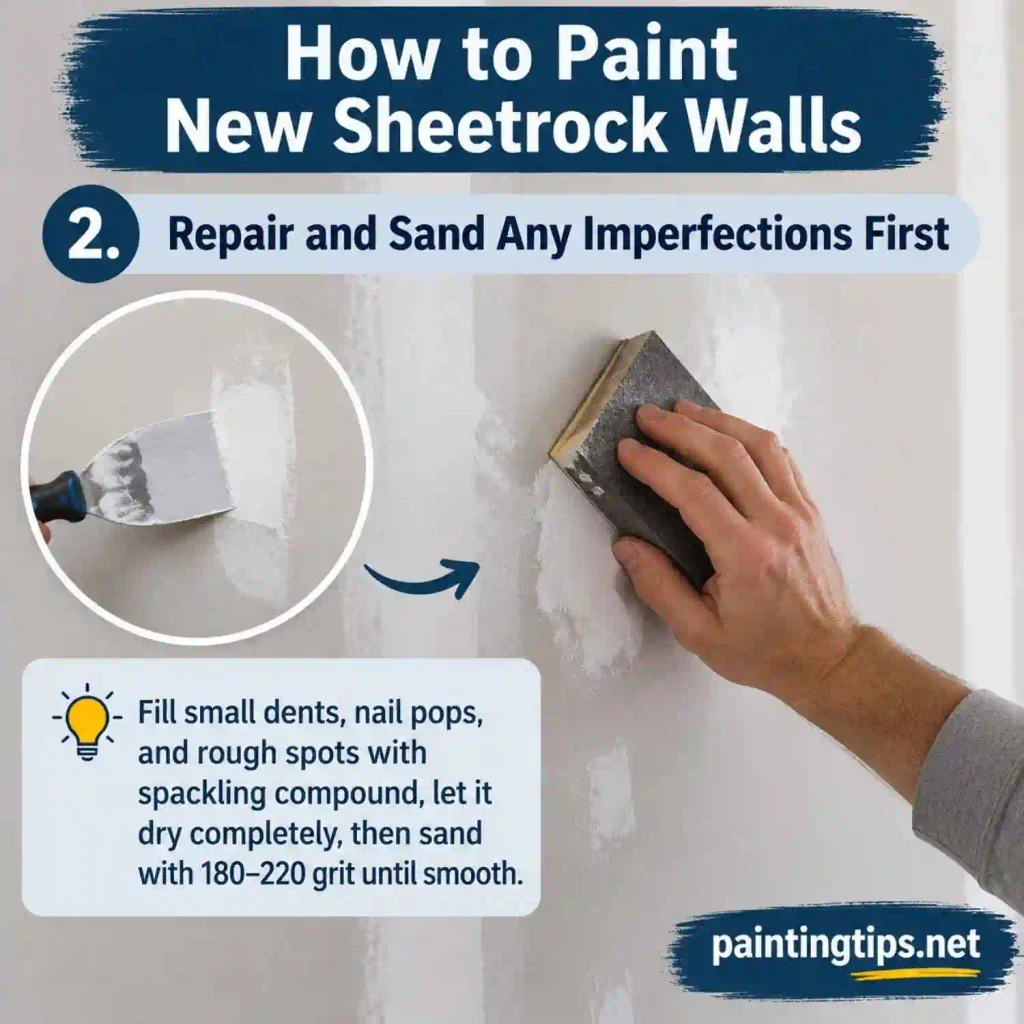
Once the patch is fully dry, and it needs to be completely dry rather than just dry to the touch, go over it with 180 to 220 grit sandpaper until it’s flush with the surrounding sheetrock wall. This step is easy to rush, but a patch that isn’t sanded smooth will telegraph right through the paint, especially under side lighting.
3. Clean the Dust Off the Walls
After sanding, a sheetrock wall is going to be covered in a fine layer of gypsum dust whether you can see it or not. This is a step people skip more often than they should, and it costs them later. Going over the entire surface with a slightly damp cloth or a microfiber mop before you prime does more for paint adhesion than almost anything else in the process, and it significantly cuts down on peeling or flaking down the road.
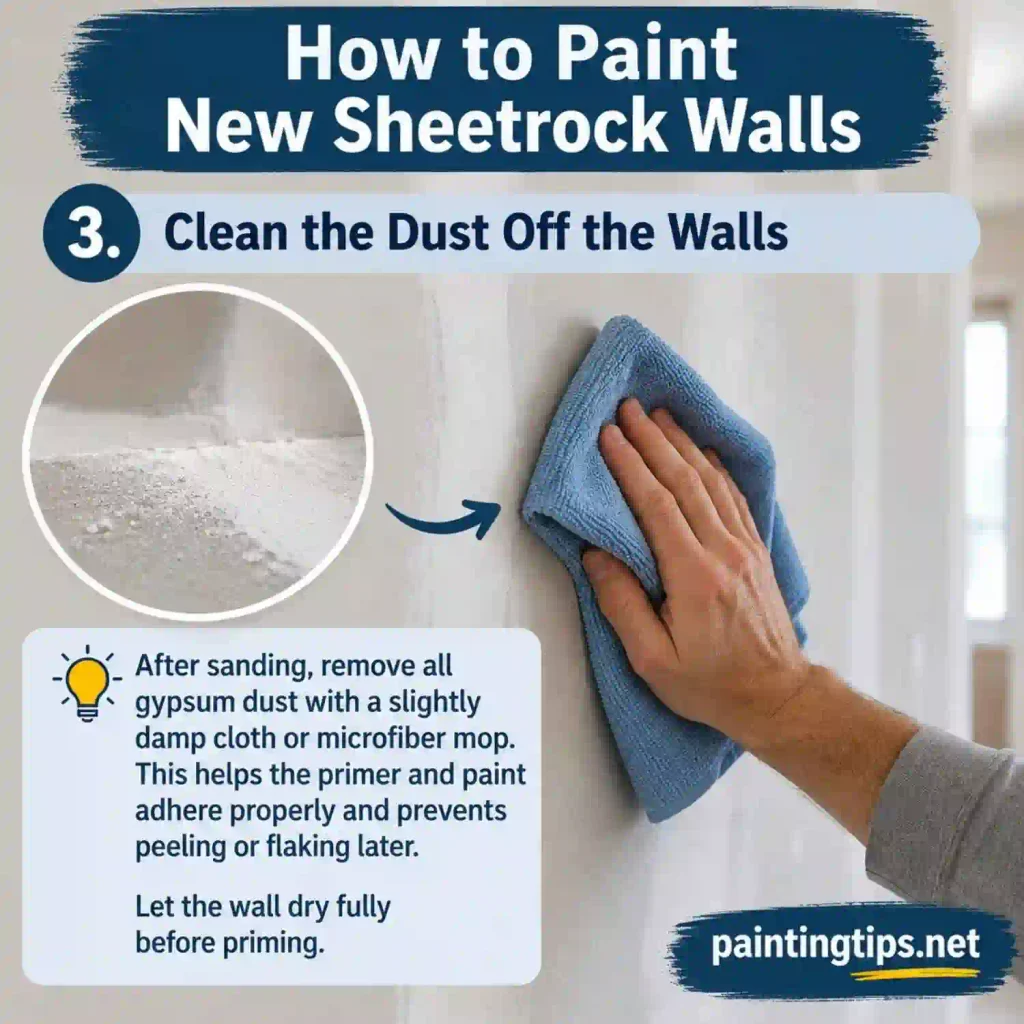
Let the sheetrock wall dry fully before moving on to priming. Once your walls are painted, it’s worth knowing that ongoing cleaning calls for a gentler touch than this stage does — we’ve got a separate guide on how do you clean walls without removing paint for exactly that.
4. Choose and Apply the Right Primer
This is also the stage where a little extra prep pays off, and if you want a closer look at getting the surface truly ready before the primer goes on, we walk through it in our guide on prepping drywall for primer. The primer you pick should match the chemistry of the paint you’re planning to use over it, so an oil-based topcoat calls for an oil-based primer, and a water-based or latex topcoat calls for a water-based primer.

For a raw sheetrock wall specifically, a PVA (polyvinyl acetate) drywall primer is the standard choice, and brands like Kilz Drywall PVA Primer, Zinsser Gardz, and Sherwin-Williams PrepRite ProBlock are all reliable options that hold up well on fresh joint compound. Roll and brush the primer on evenly, working the brush into corners and edges first, then let it cure for the full time listed on the can before touching it with a topcoat. Rushing this step is where a lot of otherwise careful sheetrock wall paint jobs go wrong.
5. Cut In and Roll the Paint
Once the primer has cured, use your angled brush to cut in a two to three inch border around the ceiling line, corners, baseboards, and window trim. If you’d rather skip the tape altogether for this part, our guide on how to paint trim without taping walks through a cleaner freehand approach. From there, load the roller and work the sheetrock wall in manageable sections, laying the paint on in a loose W or M pattern before filling it in with straight up-and-down strokes.
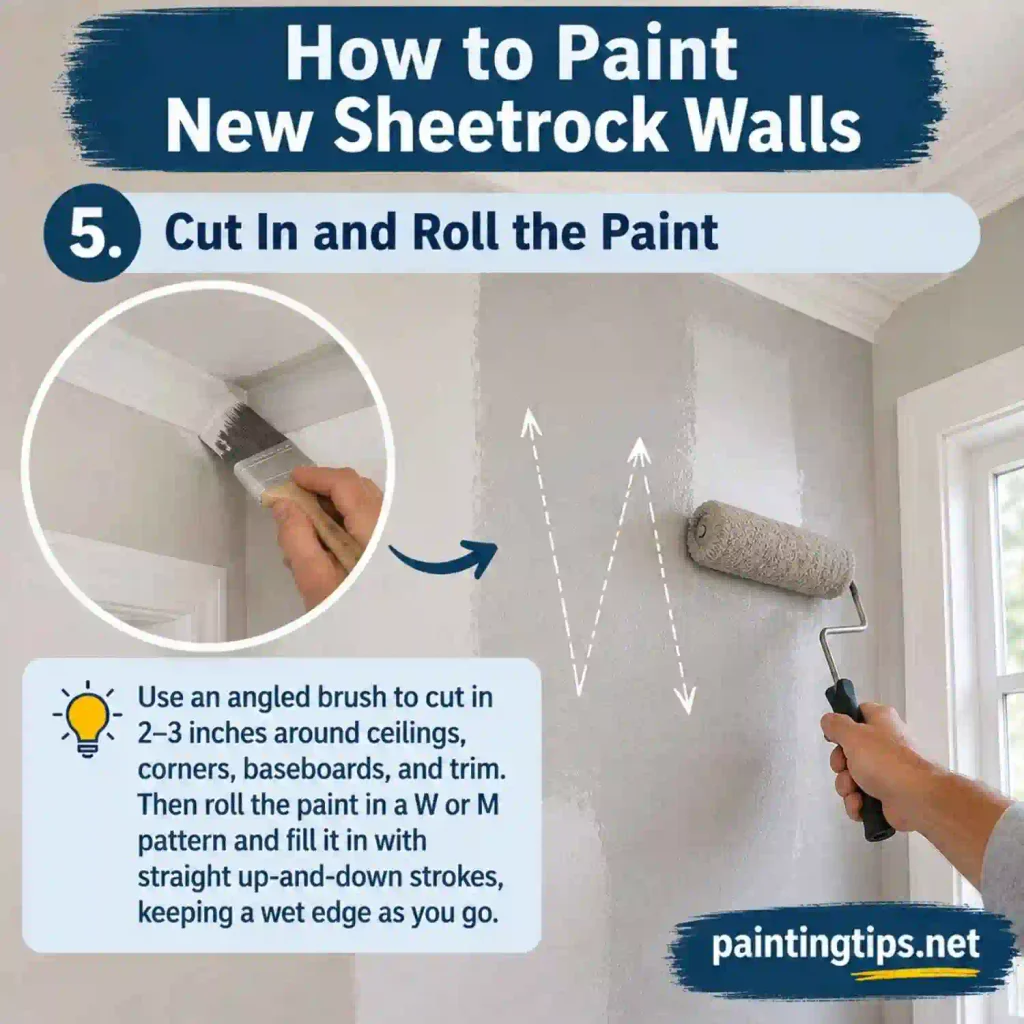
Try to keep a wet edge as you move across the sheetrock wall so you’re not overlapping onto paint that’s already started to set, since that overlap is exactly where those roller lines we mentioned earlier tend to show up.
6. Apply the Second Coat for Full Coverage
Let the first coat dry for two to four hours, or longer in humid conditions, before assessing whether the color and coverage look even. A new sheetrock wall almost always needs a second coat, since even a good primer won’t completely eliminate the extra absorbency of fresh drywall on the first pass.
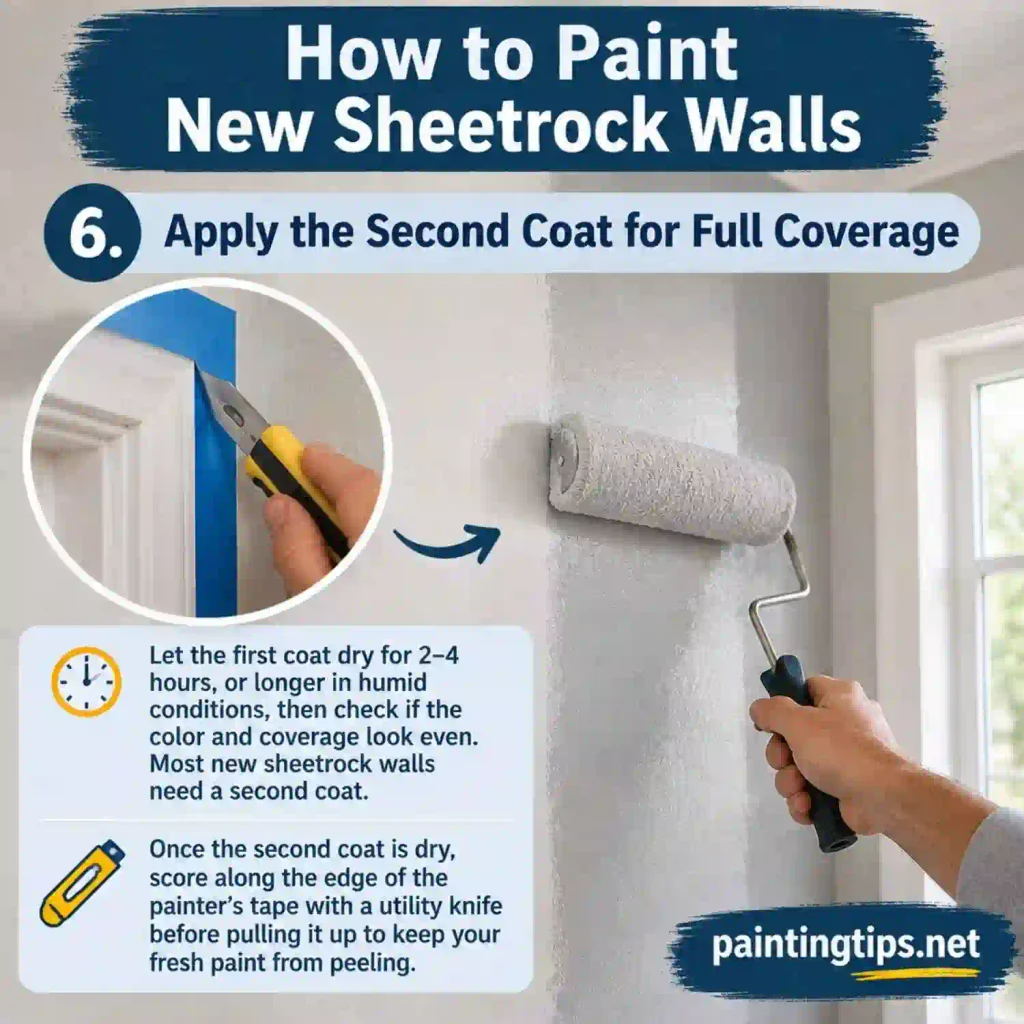
Once the second coat is dry, score along the edge of the painter’s tape with a utility knife before pulling it up, which keeps it from tearing your fresh paint film along with it.
Can You Paint Directly on Sheetrock?
Technically yes, but it’s not something we’d recommend. Paint applied straight onto an unprimed sheetrock wall tends to soak in unevenly across the paper and the joint compound, which leaves visible flashing where the finish looks flatter or duller over the patched seams. Priming first gives you a uniform surface so the topcoat color and sheen read consistently across the whole wall.
What Kind of Paint Do You Use on Sheetrock?
A standard interior latex paint in a matte, eggshell, or satin finish works well on a sheetrock wall once it’s been primed. Eggshell and satin are popular choices for living areas since they’re easier to wipe clean than a flat matte finish, and if you’re weighing options room by room, our guide on what type of paint to use in living room goes into more detail.
Matte does a better job hiding minor surface imperfections if the sheetrock wall wasn’t perfectly smooth to begin with, and understanding the differences between finishes in general is worth a read too — we break it down in our post on paint finish levels.
What Is the Best Way to Paint Drywall?
The most reliable approach is to patch and sand any imperfections first, clean the dust off the sheetrock wall thoroughly, apply a primer that matches your topcoat, then cut in the edges before rolling the field of the wall in sections, finishing with a second coat once the first has fully dried. Skipping any one of these steps is usually where problems show up later, and for a broader look at the process beyond just sheetrock, we cover it in our guide on how to paint drywall.
