Proper wall preparation is the foundation of a long-lasting, professional-looking paint job. Whether you’re painting a room for the first time or repainting over an existing coat, skipping prep steps is the most common reason paint peels, cracks, or looks uneven over time. In this guide, we’ll walk you through everything you need to know — from repairing surface damage and sanding to caulking, cleaning, and priming — so your paint adheres properly and looks great for years to come.
How to Prepare Painted Walls for Repainting
Before painting over previously painted walls, you need to carefully assess the existing surface before applying new paint. Even if the current paint appears to be in good condition, inspect it closely and prepare accordingly.
If the existing paint has a glossy finish, lightly sand it to dull the sheen. Glossy paints reduce adhesion because paint bonds mechanically to micro-abrasions rather than smooth surfaces. If you’re concerned about sanding dust, use a bonding primer instead — this will allow the new paint to adhere properly. Before we move on to the prep steps, let’s go ahead and answer some frequently asked questions.
Can I Just Paint Over Old Paint?
In some cases, yes—you can paint directly over existing paint, but only after checking a few things. Inspect the old paint first: if it is clean, dry, and matte, you can apply a new coat without priming. However, if the old paint is glossy, peeling, or dirty, adhesion will be reduced and there’s a higher risk of peeling shortly after. To avoid any issues, priming is always the safer choice.
What Is the Best Way to Prep Walls for Painting?
The best way to prep walls for painting is to follow a structured process: protect the space, repair damage, sand for smoothness and adhesion, remove surface contaminants, caulk gaps, and prime when needed. Consistency in preparation produces consistent results.
Tools & Materials You’ll Need
Gather all materials before beginning to maintain workflow efficiency:
- Drop cloths or plastic sheeting
- Painter’s tape
- Screwdriver (to remove outlet covers)
- Spackling compound (small repairs)
- Joint compound (larger drywall repairs)
- Putty knife (2–6 inch)
- Sandpaper (120–220 grit)
- Sanding sponge or pole sander
- Mild detergent or TSP substitute
- Bucket and sponge
- Microfiber cloth
- Paintable caulk and caulk gun
- Stain-blocking primer (if required)
- Safety glasses and dust mask
Step-by-Step Wall Preparation
Step 1: Clear and Protect the Area
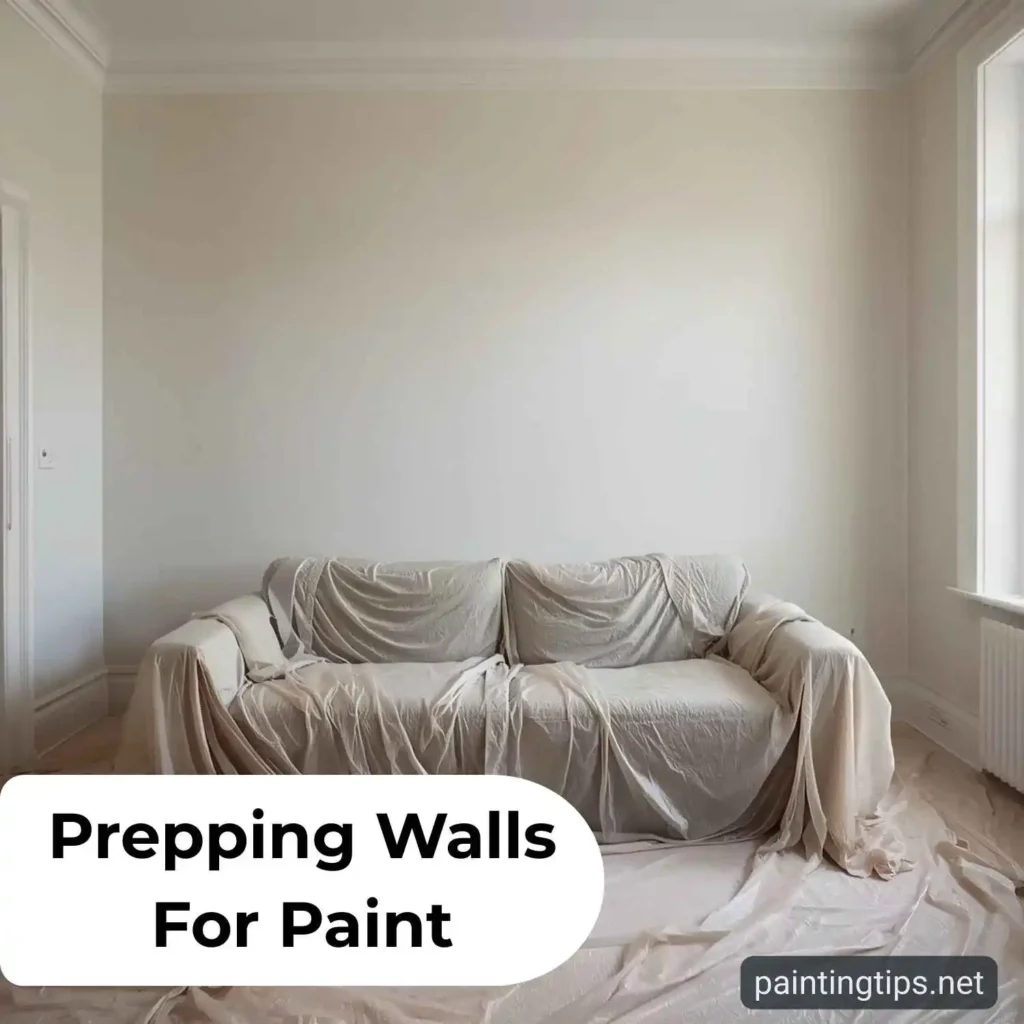
Before starting, move furniture out of the way, gather it in the center of the room, or shift it away from the walls. If you are painting the ceiling as well, cover the entire floor with a drop cloth or plastic sheeting. Remove wall decorations, outlet covers, and switch plates. If outlets and switches are staying in place, cover them with painter’s tape to protect them.
How do Professional Painters Prep Walls for Painting?
Professional painters always start by inspecting every wall. This allows them to identify areas that need repairs, sanding, or priming. They also make sure to use primer where necessary to guarantee a durable finish. Priming helps cover the old paint color effectively and prevents peeling or adhesion issues in the future.
Step 2: Inspect and Repair Surface Damage
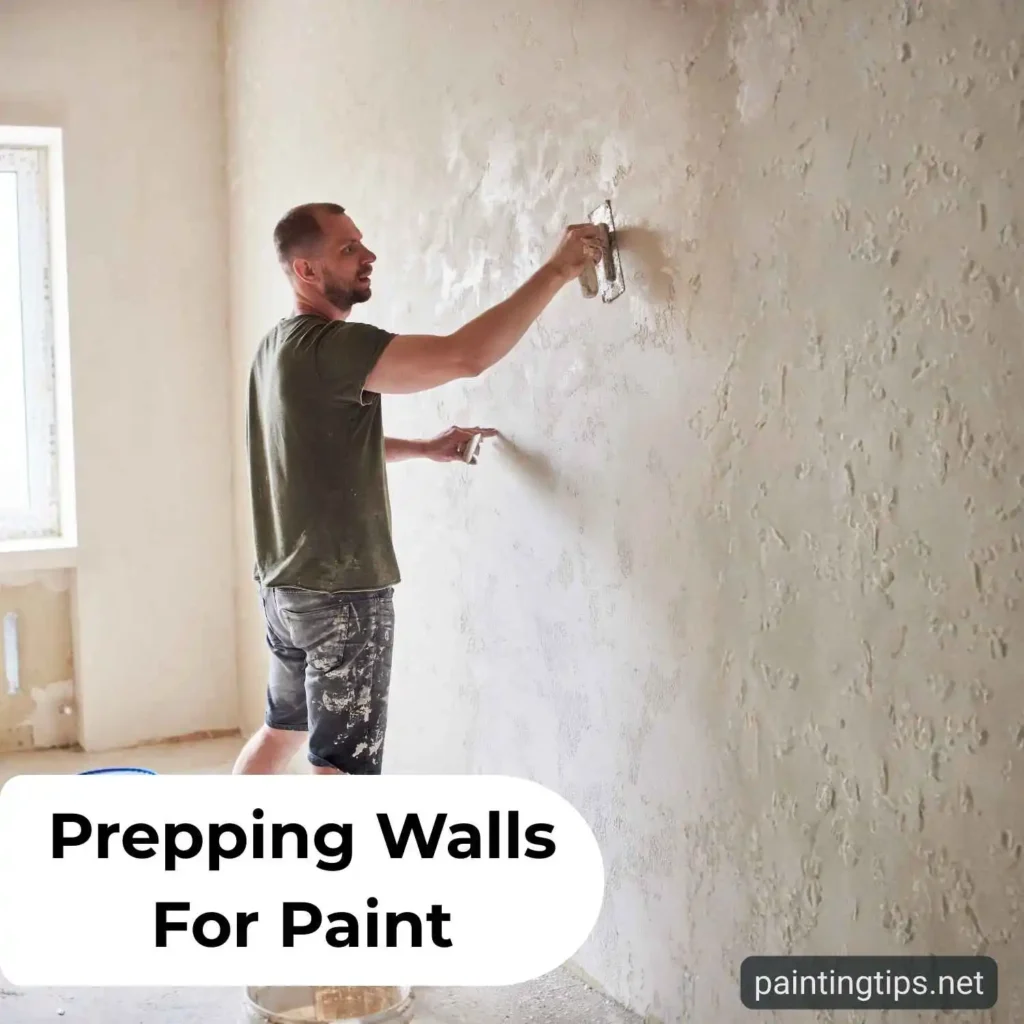
Examine the walls under raking light to identify dents, nail holes, cracks, peeling paint, and surface irregularities. For small holes, you can use premixed joint compound or polyurethane sealant; for minor plaster damage, a thin-coat finishing plaster works well.
After making the repairs, allow them to dry completely. The color change in plaster and compounds will indicate that drying is complete. Sanding too early can tear the compound and leave voids in the surface. Once dried, chip away any excess compound along door casings and baseboards using a metal putty knife.
Step 3: How to Smooth Walls Before Painting

After completing all repairs on the wall, you’ll need to sand the surface to achieve a smooth finish. Since joint compound and plaster are applied with a putty knife, they won’t be smooth enough once dried. Use 180–220 grit sandpaper to smooth out the compound and plaster. If your walls are not too uneven, 120–150 grit sandpaper will be sufficient. However, if you’re working with textured walls, the process requires a slightly different approach — check out our guide: How to Paint Textured Walls.
Step 4: Cleaning Walls Before Painting
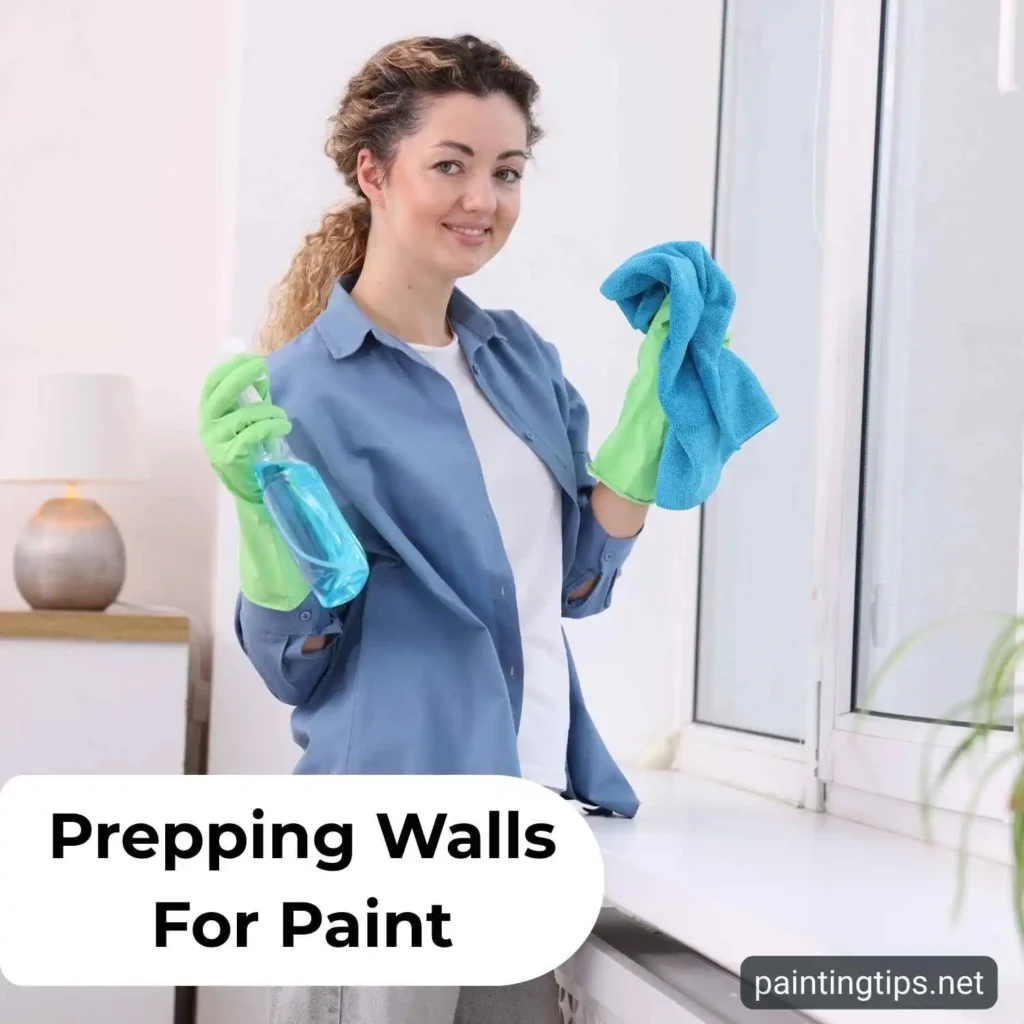
If the surface is dirty, primer and paint won’t adhere properly to the wall. To remove dust from sanding, along with any grease and grime, you can wash the walls with warm water and a mild detergent. Alternatively, instead of washing the wall, you can wipe it down with a damp cloth — this way, you won’t have to wait long for the wall to dry. Make sure the wall is completely dry before applying primer or paint.
Kitchen walls tend to collect grease, so pay extra attention to these areas and clean them thoroughly if any grease is present. If there is mold on the walls, remove it using a mold remover — otherwise, it will bleed through the paint after a while.
Step 5: Caulk Gaps Around Trim and Moldings
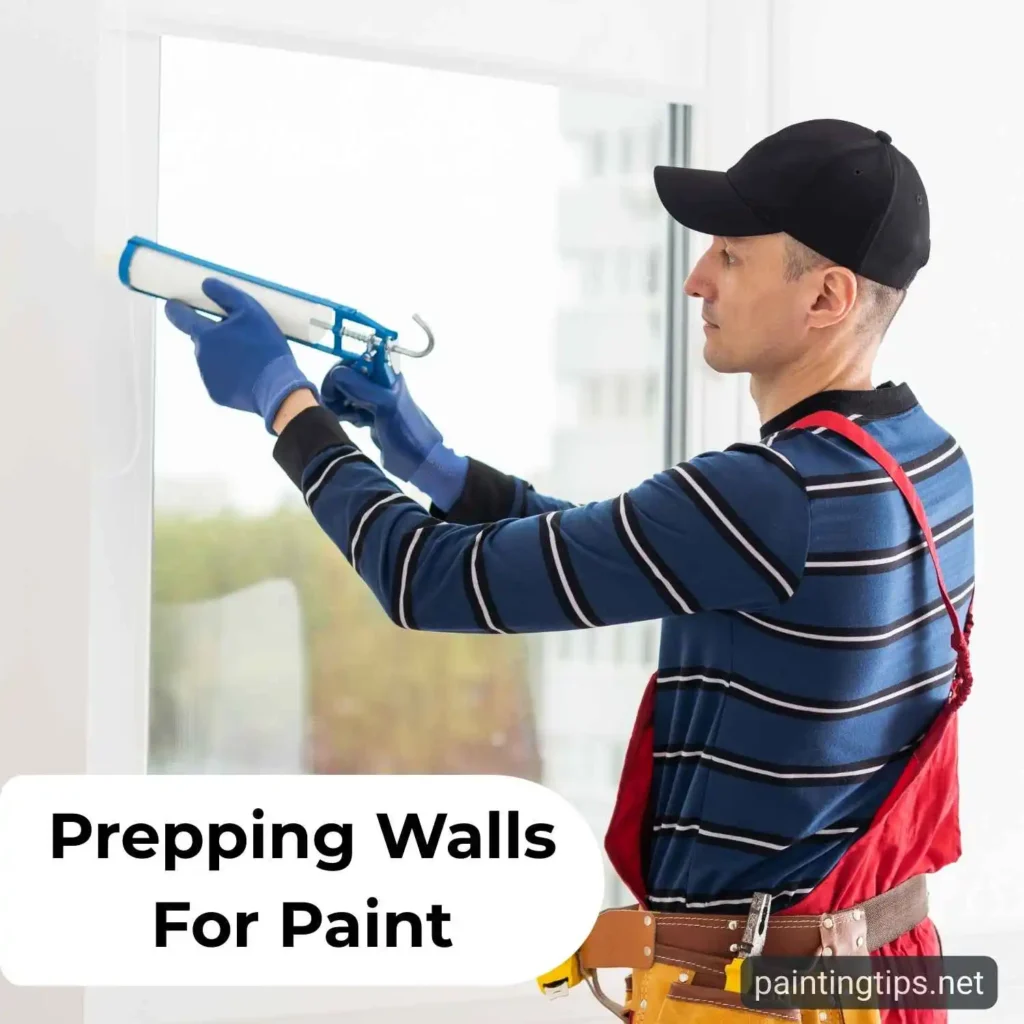
Apply paintable caulk along the gaps where door and window frames meet the wall. Smooth it out immediately before it dries to achieve a clean, finished look. Caulk eliminates visible shadow lines and improves the continuity of the painted surface. It also seals these areas to prevent insects from getting in. Allow the caulk to fully cure before applying primer.
Step 6: Tape and Mask Carefully
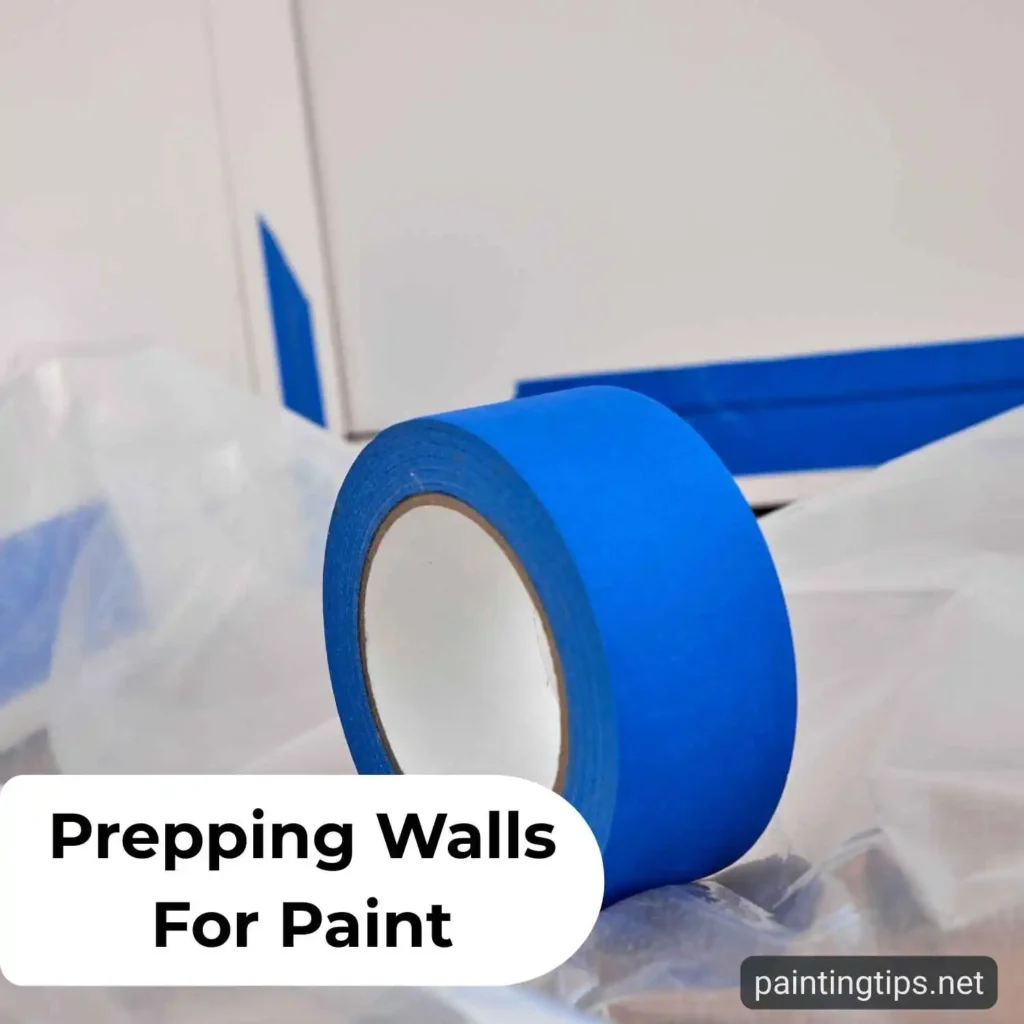
Apply painter’s tape along the edges of door and window frames, as well as baseboard trim. Press the edges of the tape down firmly to prevent paint from bleeding underneath. Taping is one of the most tedious and time-consuming parts of the prep process, but it makes the painting process significantly easier.
Step 7: Apply Primer When Necessary
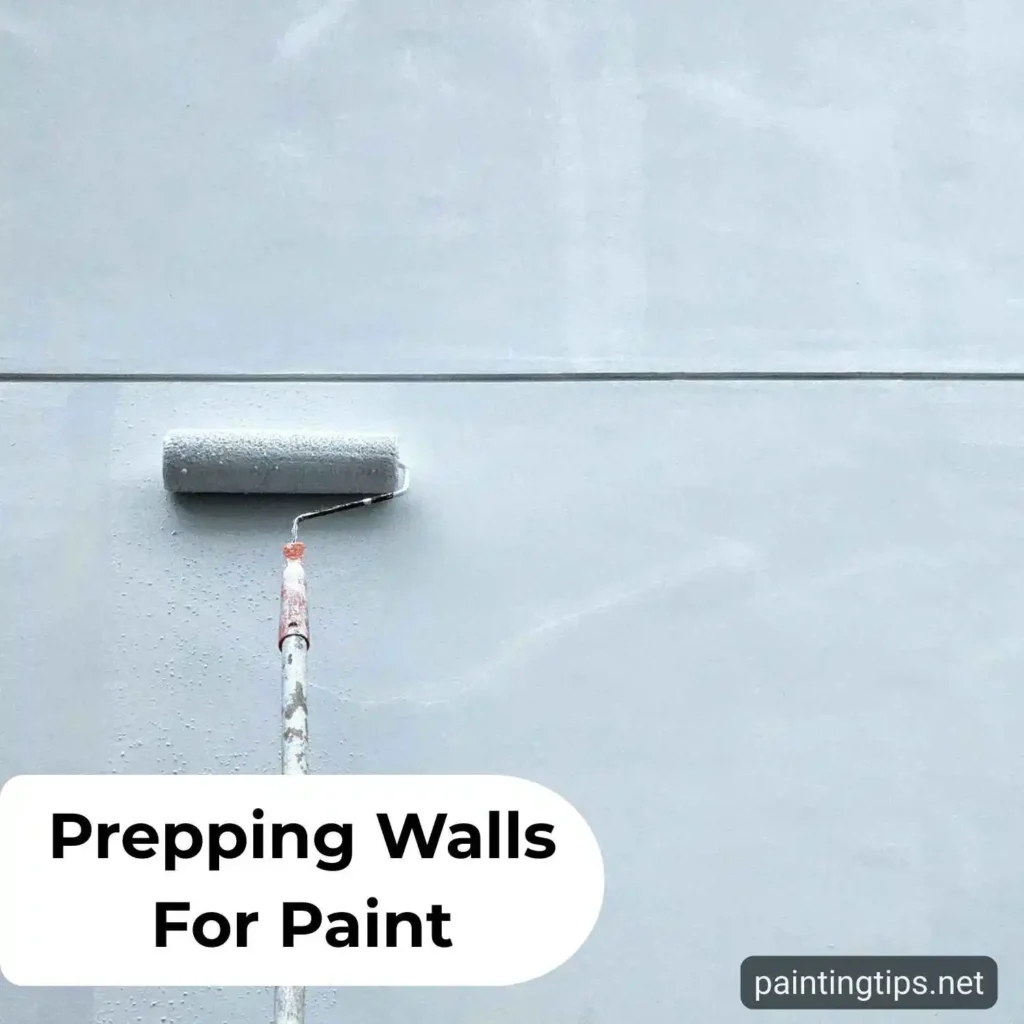
Priming is another time-consuming prep step, but most people and professional painters never skip it — because they know how critical it is. If you’re still unsure whether you need primer at all, check out our detailed guide: Do You Need to Primer Before Painting. Primer seals the tiny pores in the wall, blocks stains, and improves paint adhesion. Use primer especially if the existing paint on the wall is low quality or has a glossy finish, as it prevents peeling. You should also prime if the walls are a dark color; otherwise, you’ll end up using significantly more paint.
What Happens if I Don’t Use Primer When Painting?
If you skip the priming step, you may end up with uneven sheen, poor coverage, and adhesion issues in certain areas of the wall. Additionally, previously unpainted walls and drywall will absorb a significant amount of paint, which will greatly increase your paint consumption.
What Are Common Primer Mistakes?
One of the most common mistakes is applying primer over a dusty surface. Another frequent error is not allowing the primer to fully cure before moving on to the next step. Using the wrong type of primer for the surface or situation is also a widespread issue. Finally, spot-priming when the entire wall actually needs a full coat is a mistake that can lead to uneven results.
Can I Use Regular Paint Instead of Primer?
Regular wall paints are not formulated to seal porous surfaces or block stains. Unlike regular paint, primers are specifically formulated to stabilize the surface and improve adhesion before the topcoat is applied. Primer also prevents the paint from being absorbed into the surface. Don’t want to use primer? Then you may need to use more paint — both because the wall will absorb it and because paint tends to be less effective over dark colors. However, to reduce absorption, you can thin the first coat of latex paint with 20% water. If you’ve already decided to use primer but aren’t sure how much you’ll need, we’ve got you covered: How Much Primer Do I Need Before Painting.
Conclusion
By preparing your walls as outlined above, you can ensure your paint job lasts for years to come. Cleaning, repairing, sanding, and priming create a solid, uniform surface that promotes strong adhesion and an even sheen. Choose the right compound thickness for your repairs, and select the appropriate grit sandpaper for your walls. Also, never apply paint or primer to a freshly wiped, still-damp wall. Follow these steps, and enjoy your new paint job for years to come. Now that your walls are fully prepped, the next step is choosing the right color — check out our guide on the Most Popular Interior Paint Colors for inspiration.
FAQ
How to Prep Drywall for Paint
If there are holes or cracks in the drywall, repair them using lightweight joint compound or patching plaster. Once dry, sand with 200 grit sandpaper, then apply a drywall primer to prevent the drywall from absorbing the paint.
What Should Not Be Done Before Painting Interior Walls?
Before painting interior walls, there are several mistakes you should avoid. Make sure to clean the walls if they are dirty, and don’t skip sanding glossy surfaces. Never ignore moisture and mold issues, and avoid applying paint to damp surfaces. Most importantly, never skip the primer.
What Do You Put on Your Walls Before You Paint Them?
Before painting walls, you typically apply a coat of primer. Primer is different from standard paint — it improves the adhesion of the topcoat and makes color transitions easier. Applying primer is essential for a quality, professional-looking paint job.
What Should Not Be Done Before Painting Interior Walls?
The first and most important step before painting interior walls is priming. This ensures the paint adheres properly to the wall and colors cover evenly. Additionally, cleaning the wall and repairing any holes and cracks before priming are among the most essential prep steps before painting.