Most people assume bathroom wallpaper is a bad idea — and with the wrong materials, it is. But walk into any well-designed bathroom with wallpaper on the walls and you’ll immediately see why it’s worth doing right. The texture, the warmth, the character it adds are things paint simply can’t replicate. Get the prep and the product selection right, and bathroom wallpaper can last for years without lifting a single edge.
Can You Put Wallpaper in a Bathroom?
Yes, you can put wallpaper in a bathroom — but not just any wallpaper, and not with just any adhesive. A bathroom is a uniquely challenging environment. Humidity, steam, and temperature swings create conditions that standard wallpaper simply wasn’t designed to handle.
That said, with the right product choices and proper surface prep, wallpaper can work beautifully in a bathroom and last for years. The key is understanding where the usual rules change and adjusting your approach accordingly.
What Kind Of Wallpaper Can You Use In A Bathroom?
Standard paper-backed wallpaper belongs in living rooms and bedrooms — not bathrooms. In a high-moisture environment, it will absorb humidity, swell, and eventually peel away from the wall. For a bathroom, stick with one of two options: non-woven (fleece-backed) wallpaper or vinyl wallpaper.
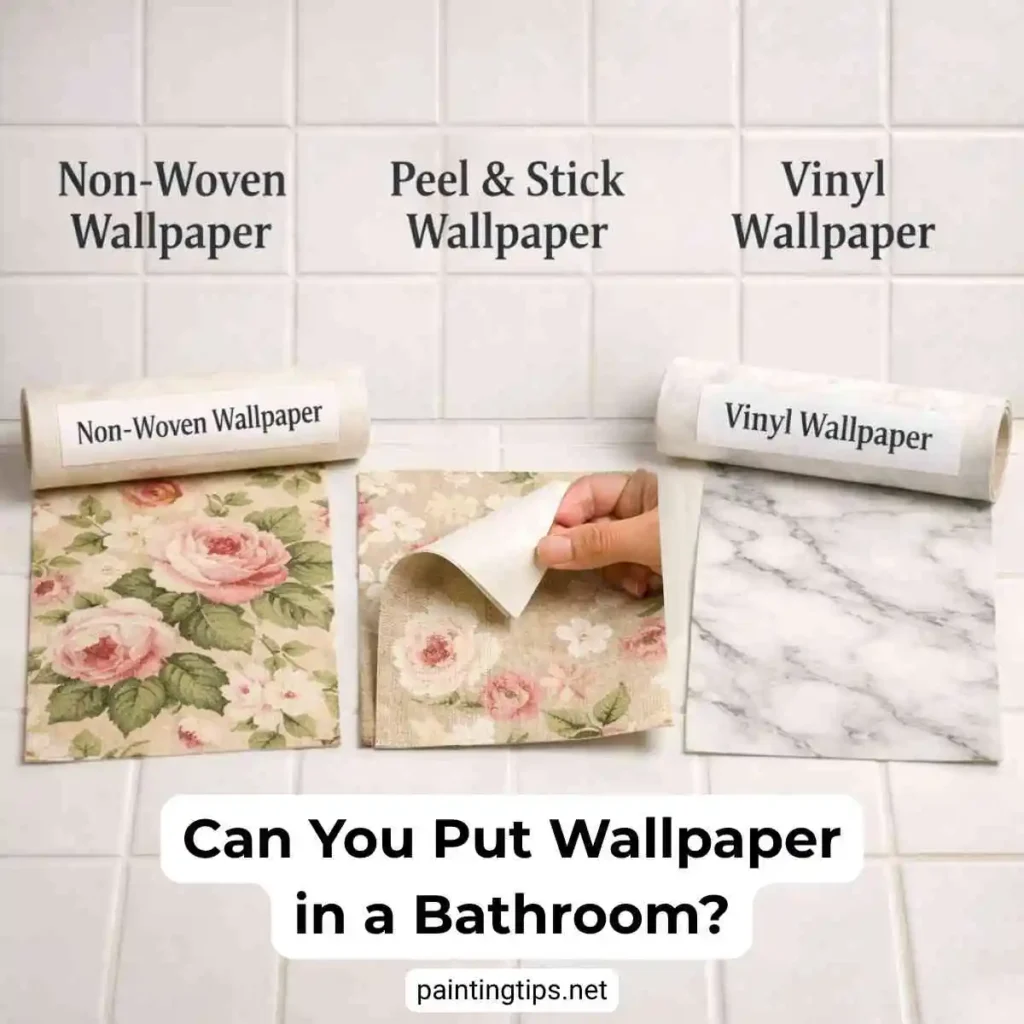
Non-woven wallpaper is dimensionally stable, meaning it won’t stretch or shrink when it gets wet, and it’s far more resistant to moisture than traditional paper. It’s also easier to hang and strips cleanly when the time comes. Because non-woven wallpaper tends to be thicker than vinyl, it does a much better job of hiding grout lines on tiled walls — if your tiles have deep or wide grout joints, this is the better choice of the two.
Vinyl wallpaper is thinner and more flexible, which makes it slightly easier to work with around corners and edges. Its main advantage is washability — you can wipe it down with a damp cloth without worrying about damaging the surface, which makes it a practical choice for a bathroom that sees heavy daily use. The trade-off is that it sits closer to the wall surface, so grout lines between tiles will be more visible underneath it.
If you need a quicker solution and your bathroom doesn’t get excessively steamy, peel-and-stick wallpaper is another option worth considering. These products adhere reasonably well to smooth tile surfaces and can be repositioned if you make a mistake during installation. Keep in mind, though, that grout lines will remain visible through the material, and over time, steam and temperature changes will shorten their lifespan considerably compared to properly installed non-woven or vinyl wallpaper.
Picking the Right Adhesive
This is where most DIY bathroom wallpaper projects go wrong. Standard wallpaper paste is formulated for porous, absorbent surfaces like drywall and plaster. Tile is neither — it’s non-porous and smooth, which means standard adhesive won’t bond properly and will eventually fail.
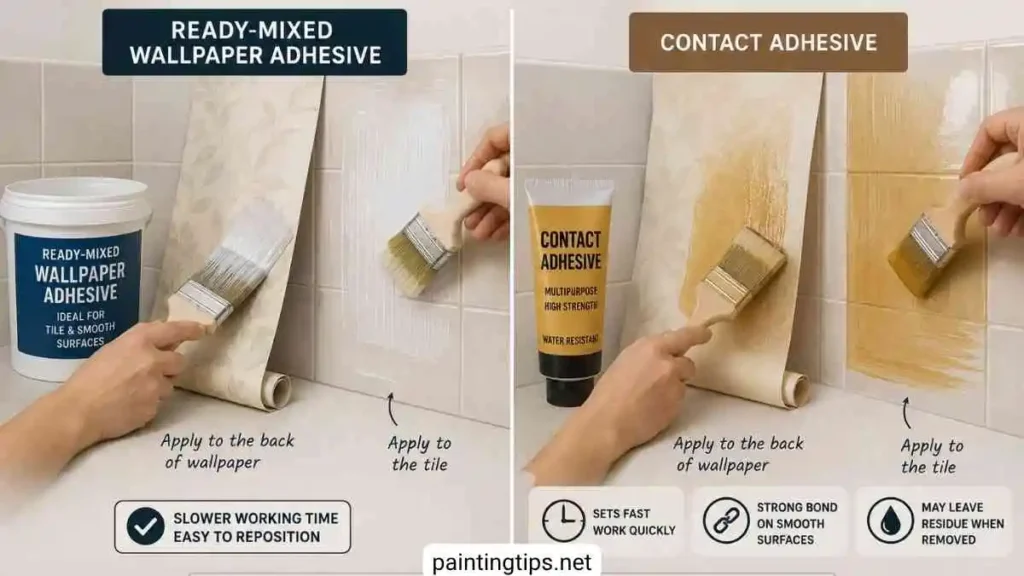
For tiled bathroom walls, you have two better options. The first is a ready-mixed (pre-mixed) wallpaper adhesive. These products bond to a wider range of surfaces than traditional paste and have a slower working time, which gives you room to reposition and smooth the wallpaper after hanging.
The second option is contact adhesive. While contact adhesive is a multipurpose product not specifically made for wallpaper, it works well on smooth surfaces like tile because it grabs both the wallpaper and the tile face firmly. The catch is that it sets fast. Apply it to both the tile and the back of the wallpaper, wait two to three minutes, then press the paper firmly into place and work section by section. Make all your adjustments quickly before the adhesive grabs.
The prep work looks remarkably similar if you’ve thought about [how to paint bathroom tile] instead — a clean, grease-free, fully dry surface is non-negotiable either way.
Apply adhesive evenly across the entire surface. Any thin spots can leave air pockets behind, and bubbles trapped between wallpaper and tile are difficult to fix after the fact. Also be aware that when the time comes to remove the wallpaper, contact adhesive will leave a residue on the tile that takes some effort to clean off. If you’ve ever considered [how to paint bathroom tile] as an alternative to wallpaper, you’ll find the surface prep requirements are nearly identical — both demand a clean, grease-free, fully dry tile surface before you start.
It’s also worth noting that a fully tiled surface isn’t the only starting point. If you want a deeper look at what the process involves and what to watch out for, our guide on [Can You Put Wallpaper Over Tile] covers it in detail.
Surface Prep — Don’t Skip This Step
Whether your bathroom walls are tiled or painted, the surface needs to be clean, dry, and stable before you hang anything.
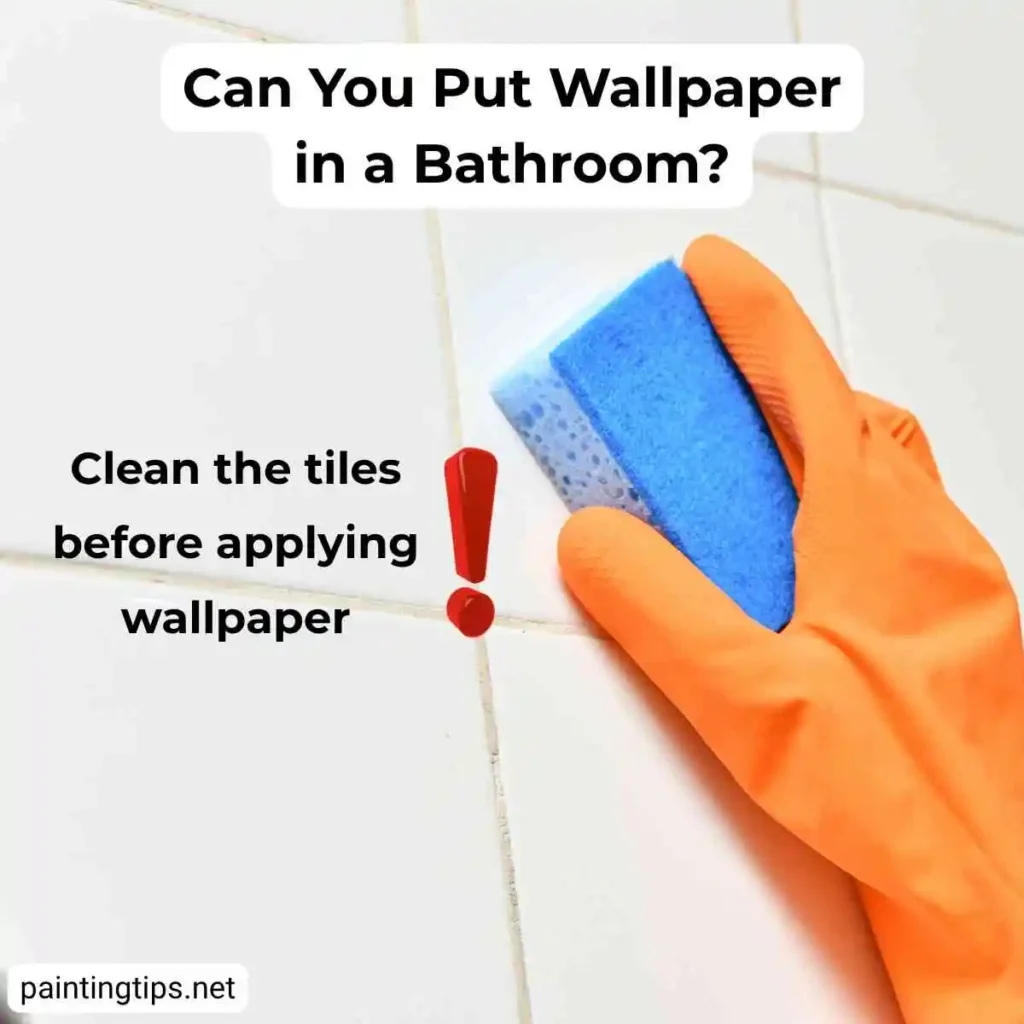
If the walls are tiled, wipe them down thoroughly to remove soap scum, grease, and any cleaning product residue. The surface must be completely dry before you apply adhesive — even trace moisture will interfere with bonding. If grout lines are heavily stained or discolored, [cleaning grout between tiles] before hanging is well worth the effort — adhesive bonds better to a genuinely clean surface.
If the walls are painted, check that the paint is fully adhered. Run your hand along the surface and look for any areas that are flaking, bubbling, or chalky. Any compromised sections need to be sanded down and primed before you start. Hanging wallpaper over loose or failing paint is one of the most reliable ways to end up with a failed installation. If your bathroom walls are already showing signs of peeling, it’s worth addressing the root cause first — our article on [how to stop bathroom paint peeling] explains what’s usually behind it and how to fix it properly before you move on to any new wall covering.
One more issue to check before you hang anything: mold. If there’s any mold present on the walls — even a small patch — it needs to be fully treated and eliminated before wallpaper goes up. Covering mold traps moisture and organic matter behind the surface, which accelerates the problem and makes it significantly harder to fix later.
Using a Primer
A bonding primer is one of the most underrated steps in a bathroom wallpaper project, and skipping it is a common mistake. On a painted wall, primer seals any minor inconsistencies in the surface and gives the adhesive something more uniform to grip. On tile, which is naturally non-porous and resistant to bonding, primer is even more valuable.
Look for a product specifically labeled as a bonding primer or adhesion-promoting primer. These are formulated to chemically key into smooth, hard surfaces and create a slightly more absorbent, receptive layer for the adhesive to grab onto. Some primers marketed for use on glossy or non-porous surfaces actually work by micro-etching the surface to increase its grip — ideal for glazed tile. Apply a thin, even coat with a roller, work it into any grout lines, and allow it to cure fully according to the manufacturer’s instructions before you apply any adhesive or hang any wallpaper. Rushing this step will undo the benefit entirely.
If you’re working on walls that were previously painted and the paint has been sealed with a glossy or semi-gloss finish — which is common in bathrooms — a bonding primer is essentially non-negotiable. Wallpaper adhesive has very little to hold onto over a slick painted surface, and primer is what bridges that gap. Even on surfaces that seem ready to go, we’d always recommend priming rather than skipping it. It’s a low-cost step that protects a significant investment of time and materials.
After the Wallpaper Is Up
The work doesn’t stop once the last strip is smoothed into place. Managing moisture in the bathroom is the best thing you can do to extend the life of your wallpaper over the long term.
After every shower or bath, steam and warm air should be cleared from the room as quickly as possible. If your bathroom has an exhaust fan, run it during and for at least 15 to 20 minutes after bathing. If there’s no fan, open a window or crack the door to let the humid air escape. Letting steam sit in a closed bathroom will eventually work its way behind the wallpaper, weaken the adhesive bond, and cause the edges to lift.
It’s also a good habit to periodically check the seams and edges — these are the first places moisture finds its way in. If you notice a small section starting to lift, press it back down with a seam roller and a small amount of the original adhesive before it gets worse. Catching it early makes the fix simple. For routine cleaning, use a lightly damp cloth on vinyl wallpaper and avoid scrubbing. Non-woven wallpaper is more sensitive to direct moisture, so wipe it only when necessary and keep the cloth as dry as possible.
One firm rule: do not install wallpaper inside the shower enclosure or directly behind the bathtub in areas that receive regular water splashing. No wallpaper product — including vinyl — is designed for wet-zone use, and no adhesive will hold indefinitely in those conditions. Keep the wallpaper to dry walls, and you’ll have a much better outcome.
How Does Wallpaper Hold Up in Bathrooms?
It depends entirely on the product and the prep. Non-woven and vinyl wallpaper hold up well in bathrooms when installed correctly — proper adhesive, primed surface, and good ventilation are what make the difference. Standard paper-backed wallpaper, on the other hand, will absorb humidity and eventually peel regardless of how well it’s installed.
Is Wallpapering a Bathroom a Good Idea?
Yes, as long as you go in with realistic expectations. Wallpaper adds texture and character that paint simply can’t replicate, and with the right product it can last for years. The key is keeping it away from wet zones — no wallpaper inside the shower or directly behind the tub — and managing moisture with an exhaust fan or open window after every shower.
Can I Put Normal Wallpaper in a Bathroom?
We wouldn’t recommend it. Standard paper-backed wallpaper wasn’t designed for high-humidity environments. It will swell, bubble, and peel — it’s not a question of if, but when. Stick with non-woven or vinyl wallpaper, which are built to handle the moisture levels a bathroom produces on a daily basis.