Repainting an old dining table costs a fraction of what a new one does, and most people can finish the job in a weekend. Below we go through the prep, primer, paint and protective topcoat, what to do differently with solid wood and MDF, and how long the finish needs to cure before the table is back in daily use.
How to Paint a Wooden Dining Table
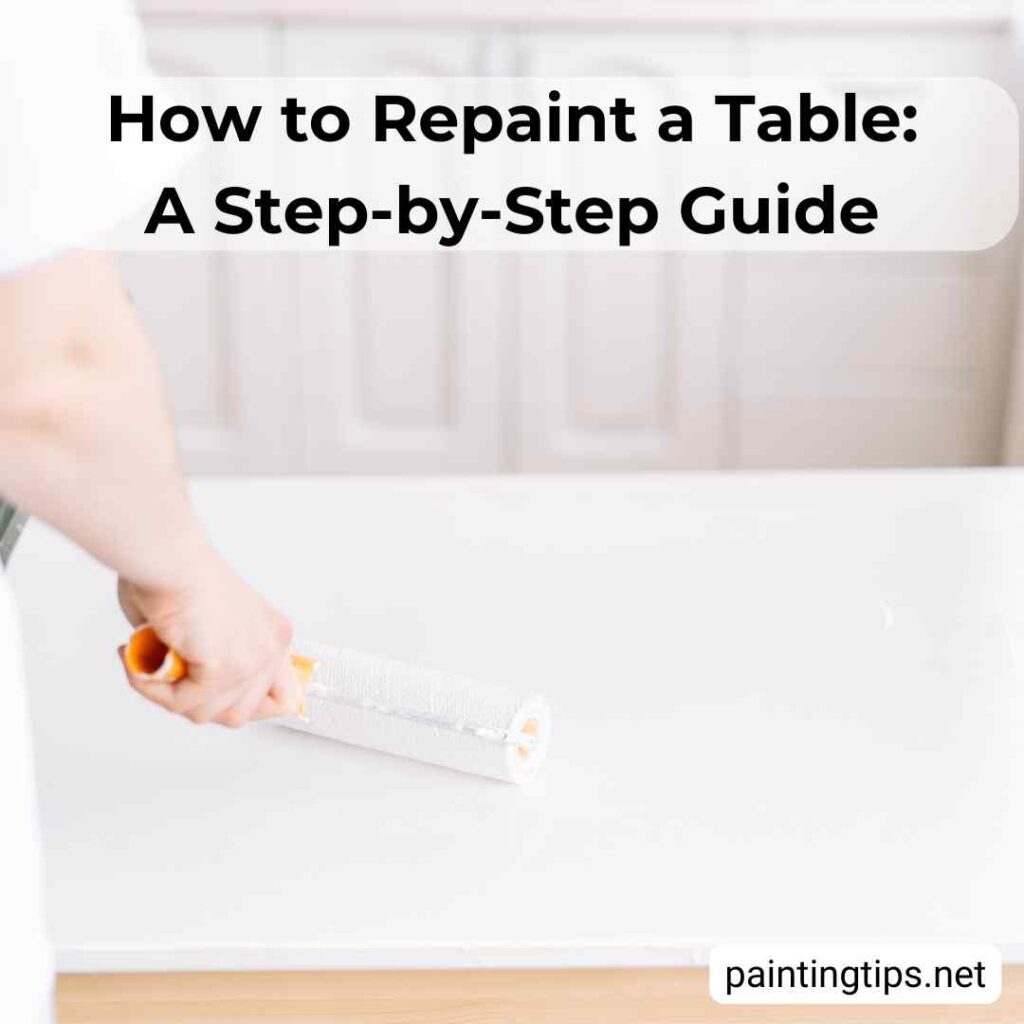
Wood takes paint better than almost any other material, so painting a wooden dining table is a forgiving project. The trouble is the surface. Most tables leave the factory with a smooth, glossy varnish, and paint has a hard time gripping it. That’s why the prep work matters more than the brand of paint you end up buying.
A dining table also gets harder use than the rest of the furniture in the house. Hot dishes, wet glasses, place settings sliding across the top and constant wiping all take a toll. When we see a painted table fail, it’s rarely the paint itself. It’s usually a skipped cleaning step, the wrong primer, or a top that never got a protective coat.
The method below works the same way for solid wood and MDF, and it works just as well on a kitchen table as on a formal dining room table. MDF needs one extra step along the edges, which we cover further down. The same steps also apply to smaller pieces, and if you have a matching coffee table waiting for a makeover, this guide will help: how to paint coffee table.
Can You Just Paint over a Table?
You can, but we wouldn’t skip the prep. A flat top makes a table easy to paint, but paint rolled straight over glossy varnish or lacquer will start scratching and peeling within a few months. The surface needs to be cleaned and then either sanded or treated with a deglosser and a bonding primer so the paint has something to hold on to.
If your table was painted before, or a previous paint job went wrong, it’s better to strip the old layer first. This guide shows how to do it without damaging the wood: how to remove paint from wood table.
Can I Paint a Table Without Sanding?
Yes, you can paint a table without sanding. However, sanding is important for the paint to adhere properly. Instead of sanding, you can use a primer that matches the type of paint you plan to use before painting the table.
What Kind of Paint do You Use on a Table?
Water-based furniture paint, cabinet paint or urethane-modified acrylic is the best choice. When you’re shopping for wood paint for a dining table, these are the labels to look for, because they dry hard and clean up with water. Ordinary wall latex looks fine on the first day, but it stays soft for weeks and tends to “block,” which means plates and placemats stick to it.
If you’d like to know what else acrylic paint is good for before you buy, this explainer covers it: what is acrylic paint used for?
Matte, satin and semi-gloss all work. We usually go with satin, since it hides small roller marks and wipes clean easily. Oil-based paints are tougher, but they dry slowly and can yellow over time, especially in light colors.
Is it Better to Paint a Table With a Brush or Roller?
Use both. A short-nap roller gives the flattest, smoothest result on the big top surface, and a good angled brush handles the edges, legs and any rounded or carved areas a roller can’t reach. A mini roller with a 3/16-inch nap leaves the least texture. We paint the legs and edges first and roll the top last, which also hides any brush marks.
How to Paint a Dining Table?
Solid wood and MDF follow almost the same steps, so the method works even if you simply want to repaint a dining table in a different color. The one real difference is the raw edge of MDF, which soaks up water-based primer like a sponge and swells. Seal those edges first with a shellac-based or solvent-based primer, then carry on as normal. If your table is MDF, this guide covers the whole process: How to paint mdf?
A large six-person table needs roughly 1.5 liters of paint for two coats, not counting the chairs. Here’s the process from start to finish.
1. Clean the Table
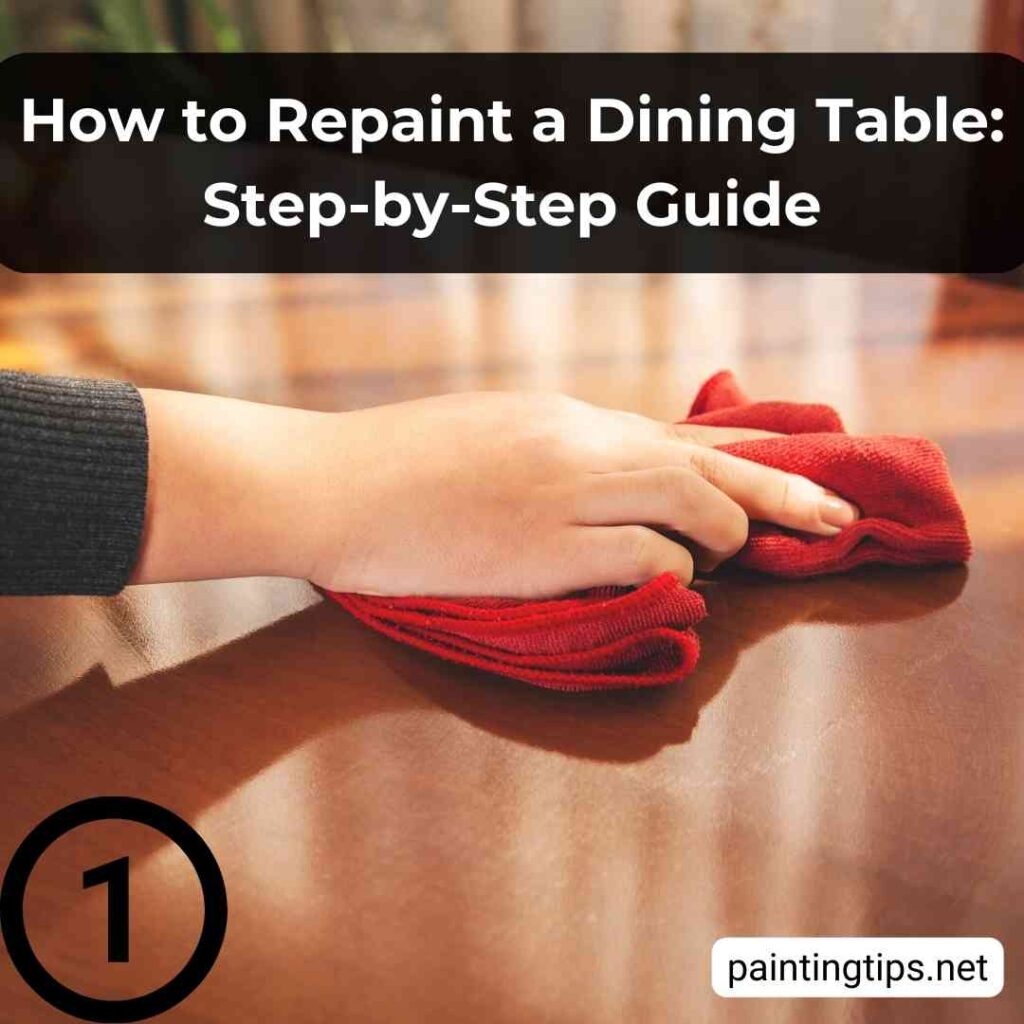
Always clean before you sand. Furniture polish, wax and cooking grease get pushed deeper into the wood by sandpaper, and that’s what causes fisheyes and peeling later. Wipe the whole table with a degreasing cleaner, or warm water with a little dish soap, and pay extra attention to the sticky spots where people sit. Let it dry completely before you move on.
2. Sanding
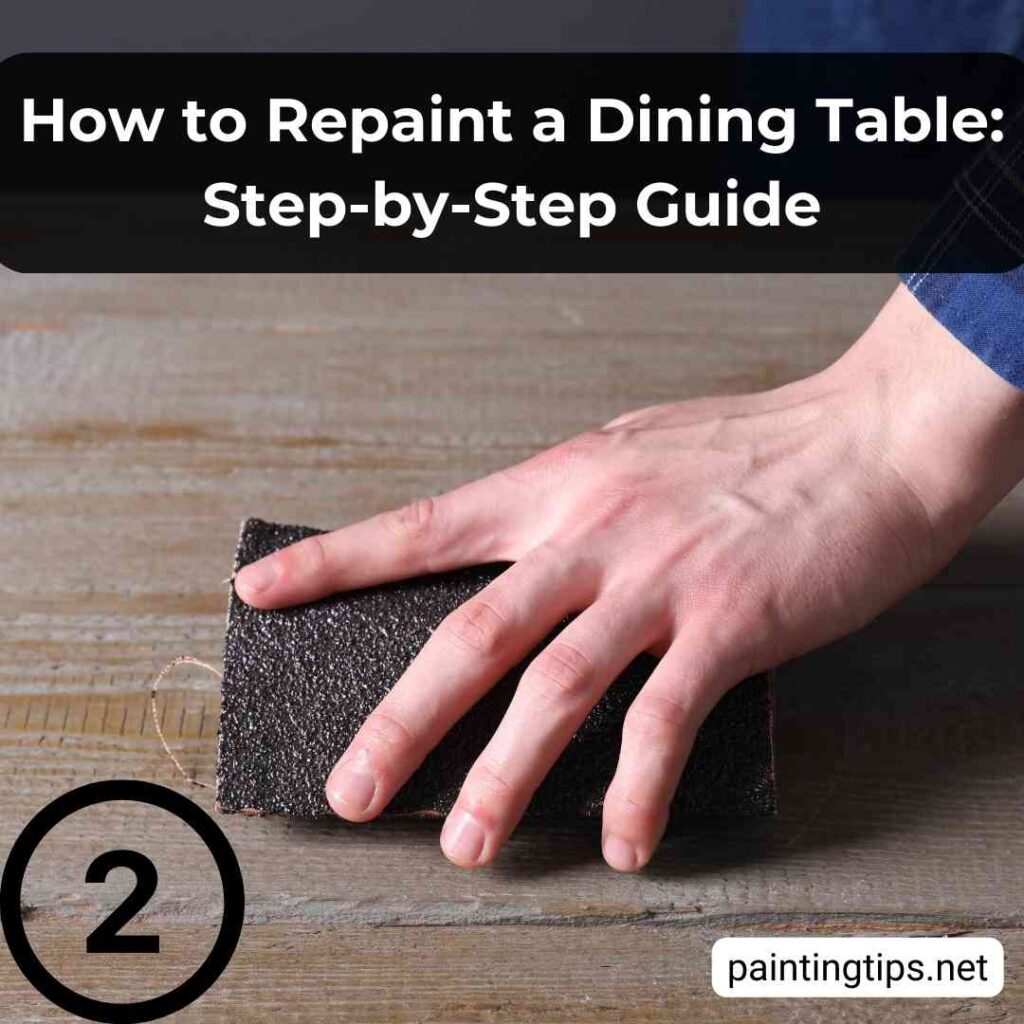
Sand the entire table with 180 to 220 grit sandpaper until the shine is gone. You aren’t stripping the finish, just dulling it enough for the primer to grip, and glossy or varnished tables need this most. Then wipe off all the dust with a tack cloth or a slightly damp microfiber cloth.
3. Apply Primer
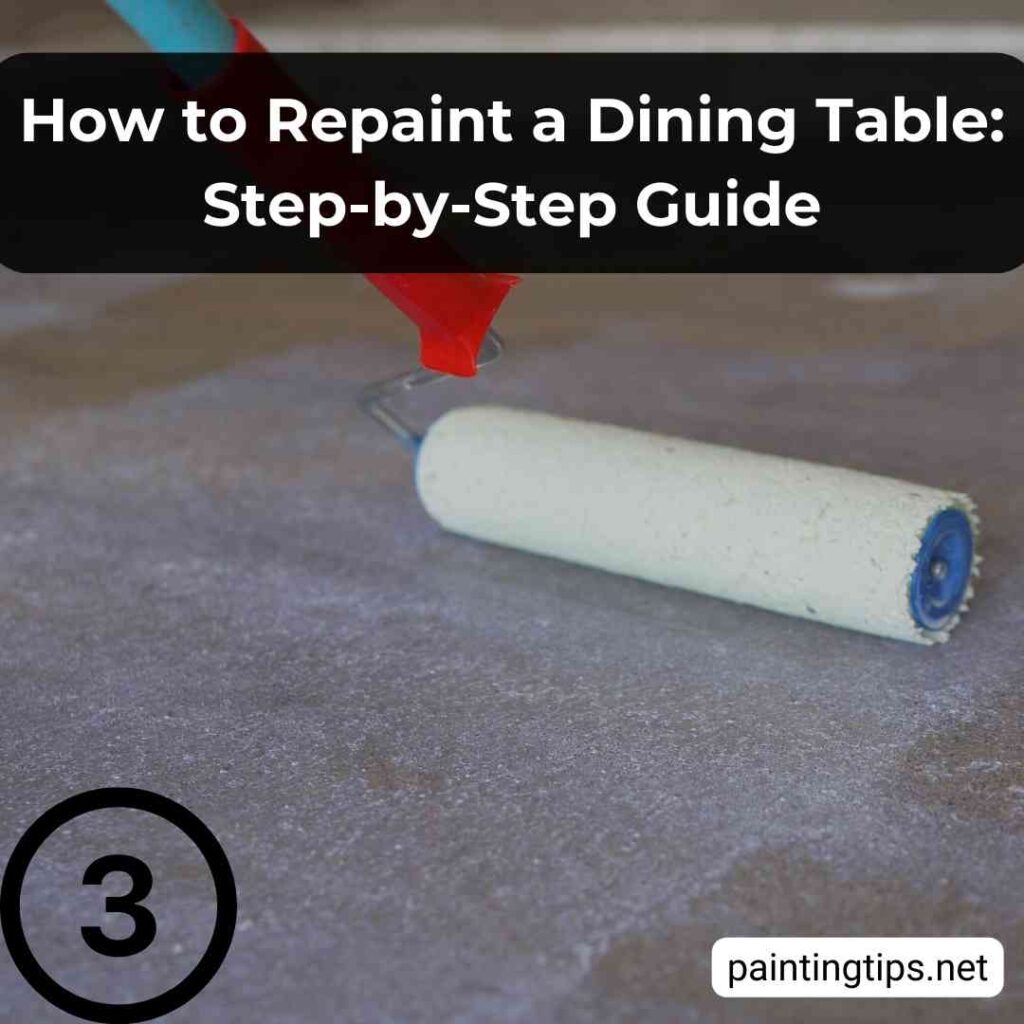
Use a bonding primer on glossy or varnished tables. If the wood is oak, mahogany or walnut, choose a stain-blocking primer instead, because the tannins in these woods can bleed through water-based paint as yellow or brown blotches. Apply one thin, even coat with a small roller. Even on light wood we don’t like to skip it, since primer improves adhesion and evens out the color underneath.
Not sure which primer fits your table? This explainer covers the basics: What is primer paint?
4. Wait for the Primer to Dry
Give the primer at least four hours, and longer if the room is cold or humid. Painting over primer that’s still soft traps moisture and leads to peeling down the road. If the dried primer feels rough under your hand, sand it very lightly with 320 grit and wipe off the dust before you paint.
5. Apply at Least Two Coats of Paint to the Table
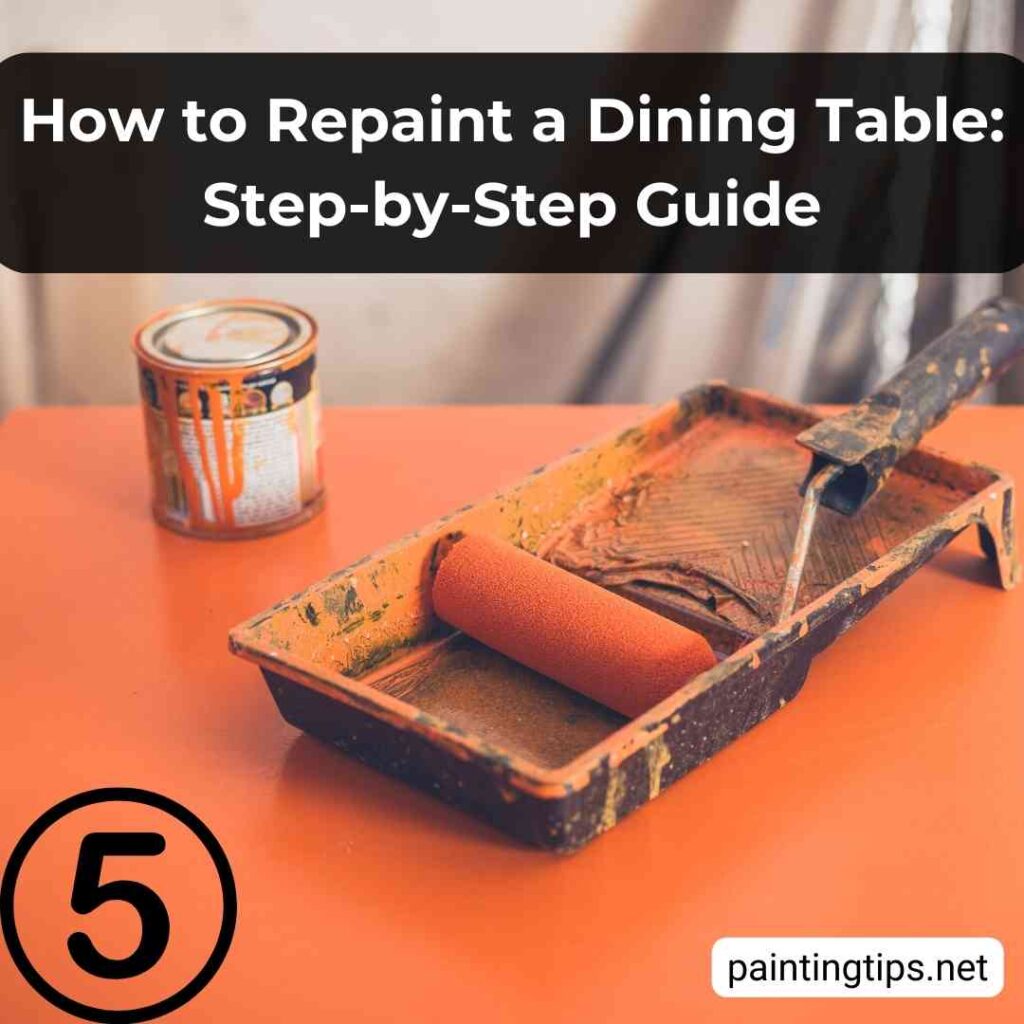
Roll the top and brush the edges and legs, and keep each coat thin. Thin coats level out better and cure harder than one thick coat ever will. Wait at least four hours between coats, and add extra time if the room is cool. Drying times change with temperature and humidity, so it’s worth checking before you recoat: How long between coats of paint?
6. Apply Water-Based Varnish
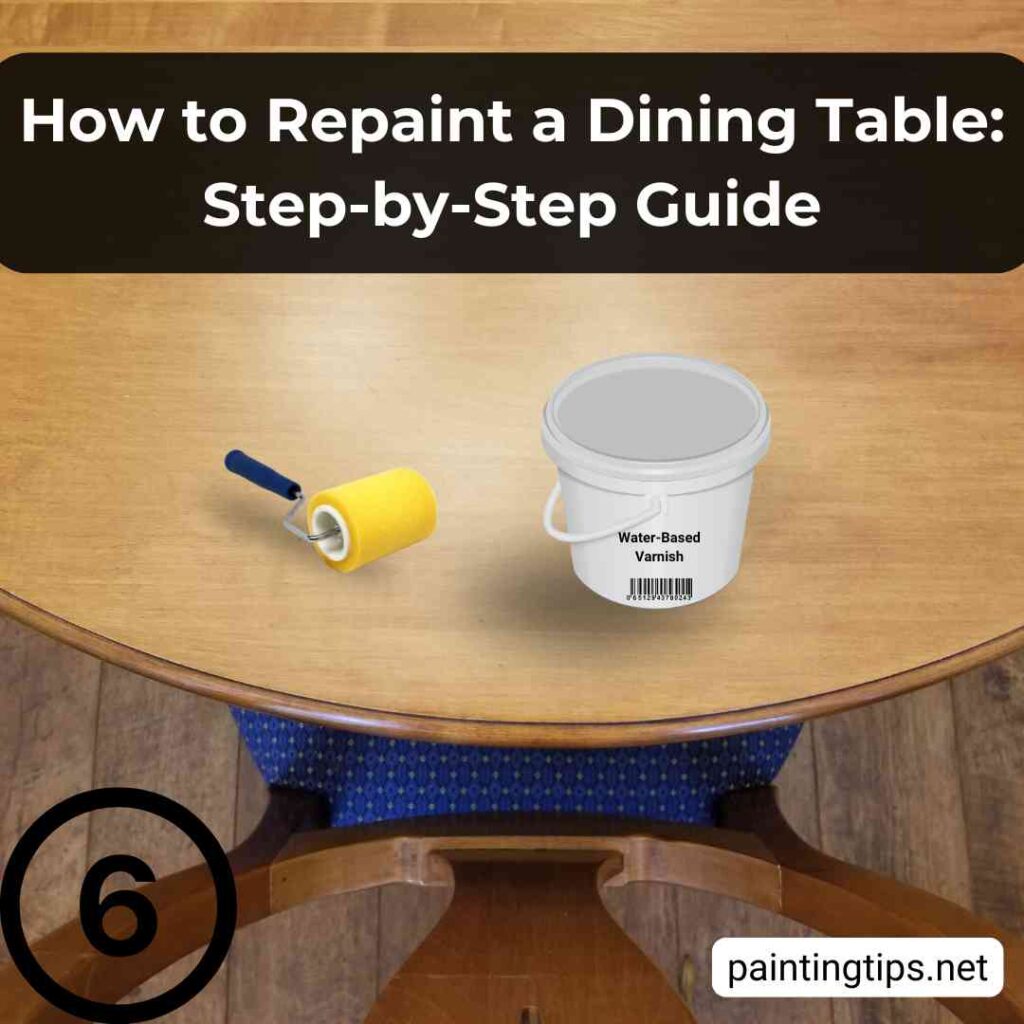
Skipping the clear coat is the most common mistake when painting a table top. In our experience, a wooden table that gets a coat of varnish over the paint lasts for years, while one left without it starts showing deformation in the paint after just a few years. Plates, glasses and daily cleaning wear down bare paint faster than most people expect.
We use water-based polyurethane, because it stays clear and doesn’t amber like oil-based products do. If you’re weighing the two, this comparison lays out the differences: Oil based stain vs water based.
Wait 24 hours after the last coat of paint, sand very lightly with 320 grit, wipe off the dust and apply the varnish with a foam roller or foam brush. Two to three thin coats work better than one heavy one, with a light sanding between coats to keep it smooth. Water-based varnish comes in matte, semi-gloss and glossy, so pick the sheen that suits your room.
The table will feel dry within a day, but it’s only ready for light use after two to three days, and full hardness takes three to four weeks. We suggest placemats and coasters for that first month, since a hot pan set down in week one is the way we most often see a good finish ruined. If a hot dish has already left a mark on your table, this guide shows how to deal with it: how to remove heat stains from wooden table
Supplies Checklist
- Degreasing cleaner or dish soap: removes wax, grease and furniture polish so the primer can bond.
- 180 to 220 grit sandpaper: dulls the old finish so the primer grips. Pick up some 320 grit too for sanding between coats.
- Tack cloth or damp microfiber cloth: picks up sanding dust that would otherwise leave bumps in the paint.
- Bonding primer: the base layer for glossy or varnished wood. Use a stain-blocking primer for oak, mahogany or walnut.
- Shellac or solvent-based primer (MDF only): seals raw edges so they don’t swell.
- Furniture, cabinet or urethane-modified acrylic paint: dries harder and resists sticking better than wall paint.
- 4-inch short-nap mini roller and angled brush: the roller covers the top smoothly, and the brush handles edges, legs and curves.
- Water-based polyurethane: the protective topcoat that resists scratches, water rings and hot dishes.
- Foam roller or foam brush: applies the polyurethane without bubbles or roller marks.
- Paint tray, painter’s tape and drop cloth: keeps the work area clean and gives you crisp lines.
