Painting your bathroom vanity cabinet is one of the easiest and most affordable ways to refresh your bathroom without a full renovation. Whether your vanity is old, yellowed, scratched, or simply outdated, a fresh coat of paint can completely transform the space. However, because bathroom vanity cabinets are constantly exposed to moisture, steam, and daily wear, painting them requires the right preparation and technique. In this guide, we’ll walk you through how to paint bathroom vanity cabinets step by step, from sanding and priming to sealing the finish, so you can achieve a smooth, durable, and professional-looking result. “You may also be interested in reading this before painting your vanity: Can you paint a ceramic sink?”
How to Paint Bathroom Vanity

Painting a bathroom vanity cabinet requires a little more care than painting a regular cabinet in any other room. That’s because the vanity is constantly exposed to warm moisture and steam. For this reason, simply painting it is not enough — you also need to properly seal it.
Many bathroom vanity cabinets also have grooves, corners, and decorative details. Ensuring the paint reaches these areas without leaving brush marks is an important part of getting a smooth finish.
Another challenge when painting bathroom vanity cabinets is their glossy and slippery surface. Many vanities are coated with lacquer or laminate, which prevents paint from adhering properly. This makes surface preparation extremely important.
With all these precautions in mind, here is a complete step-by-step guide on how to paint bathroom vanity cabinets the right way.
Step 1: Remove Drawers, Doors, and Hardware
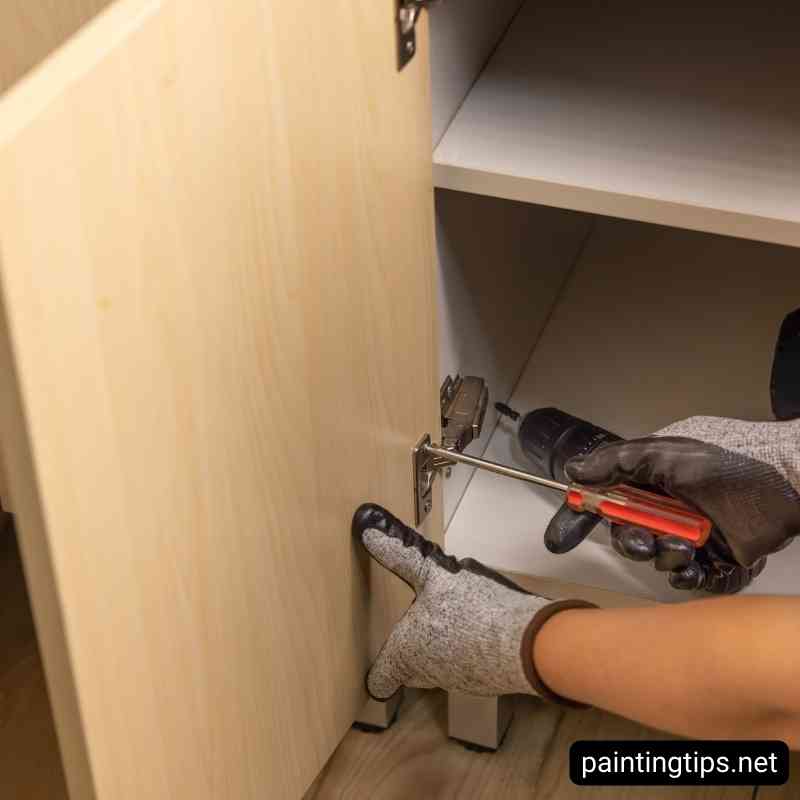
Before you start painting bathroom vanity cabinets, remove the doors, drawers, handles, knobs, and hinges. This will give you easy access to all surfaces and grooves. A simple screwdriver is all you need. If you don’t want to remove the hardware, make sure to cover and seal these parts thoroughly with painter’s tape.
Step 2: Pull the Vanity Slightly Away From the Wall
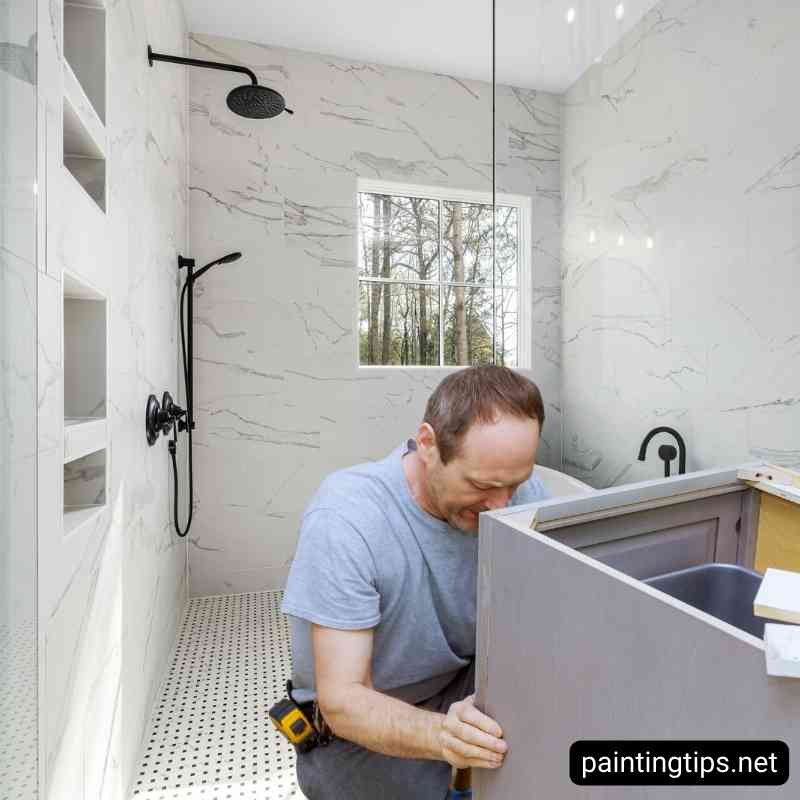
Pulling the bathroom vanity slightly forward will give you more room to paint comfortably. If you also plan to paint the inside of the vanity, empty it first and move it into a more open space if possible. Even sliding it a few inches forward is usually enough.
Step 3: Tape It Up
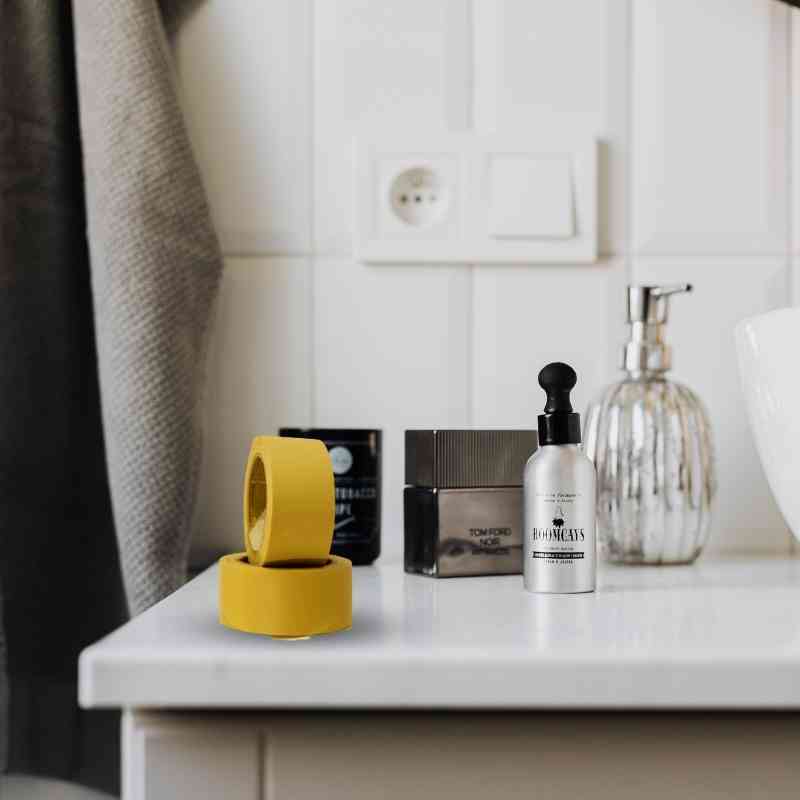
If you don’t plan to paint every part of the vanity — or if you want to use two colors — protect the areas you don’t want painted by applying painter’s tape. Painter’s tape is especially helpful if you choose not to remove the hinges and handles. Make sure you press the tape firmly so paint doesn’t bleed underneath.
Step 4: Sand the Surface
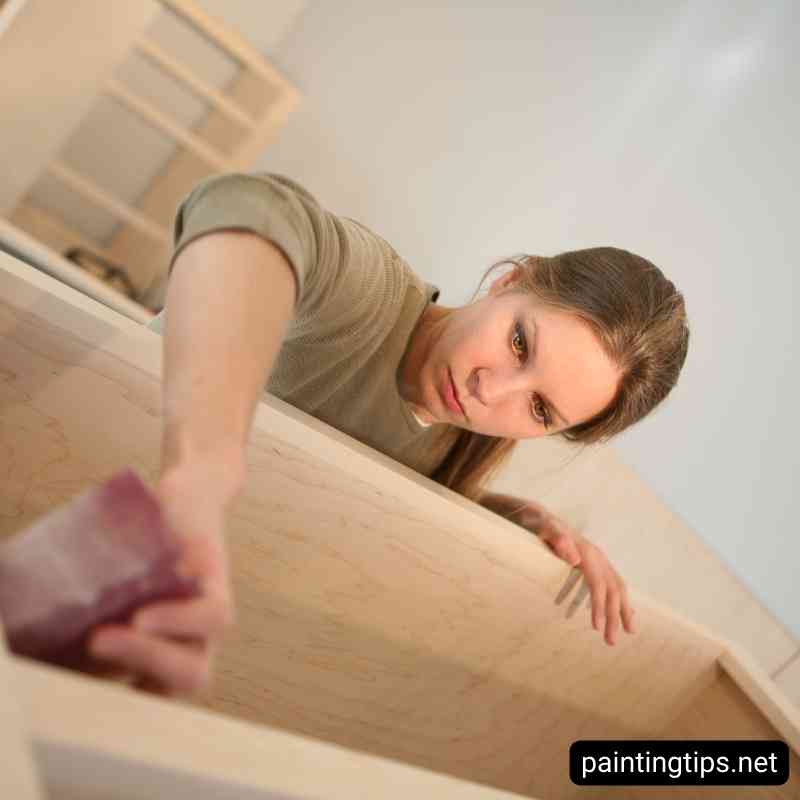
Most bathroom vanity cabinets have a glossy, sealed, or laminate surface. They’re designed this way to resist moisture, but it also makes painting difficult. To help the paint stick, sand the entire surface lightly using 200- or 220-grit sandpaper. You don’t need to remove the old finish completely — just dull the shine and create a slightly rough texture. This step ensures that both your primer and paint will bond properly.
Step 5: Clean the Surface
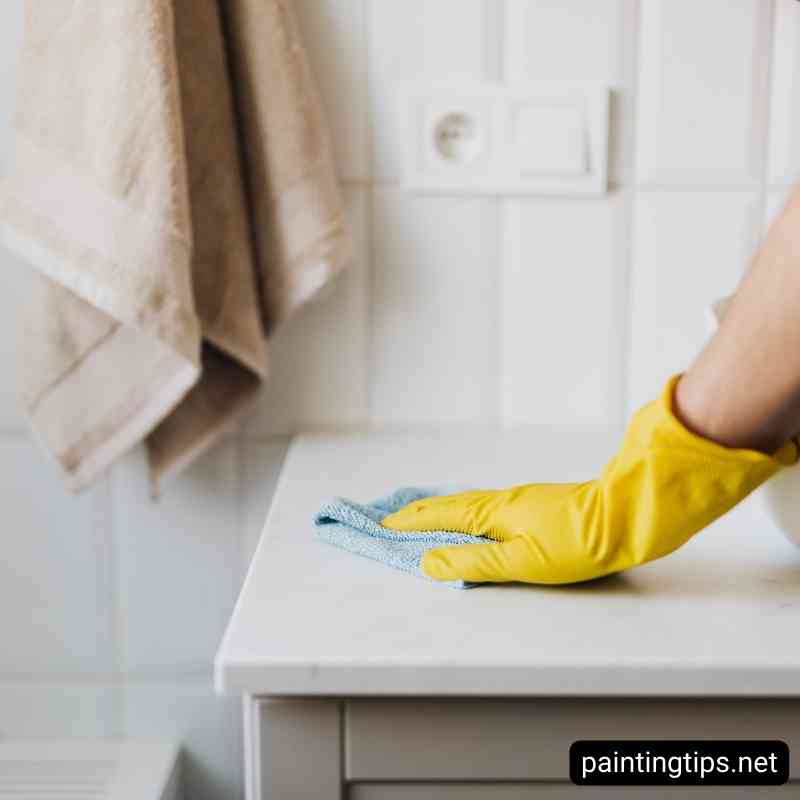
After sanding, wipe down the vanity with a damp cloth to remove all sanding dust. Before applying primer or paint, make sure the surface is completely dry.
Step 6: Prime the Vanity
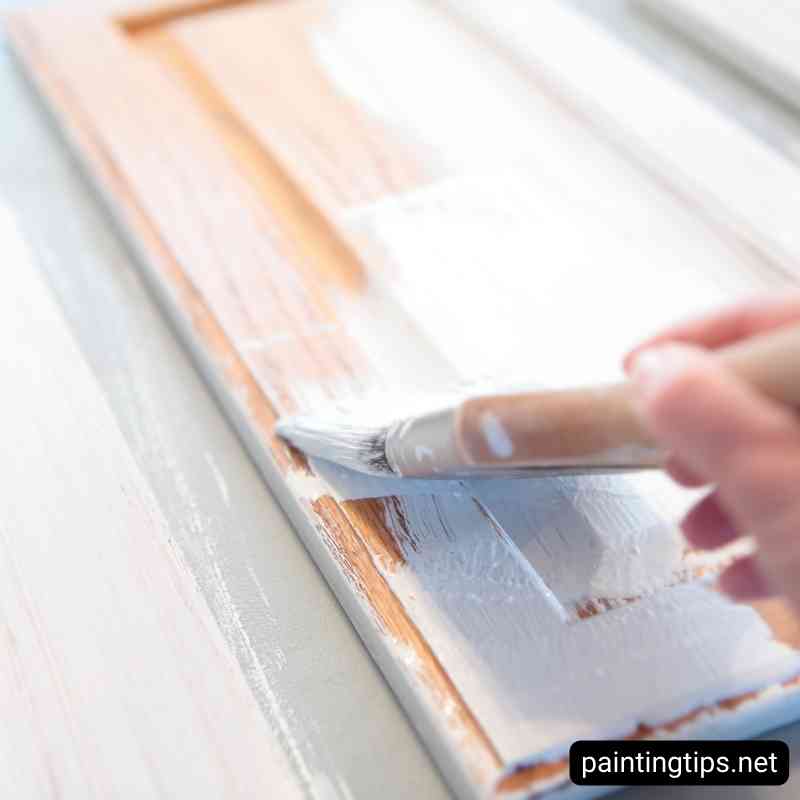
Use a 4–5 inch roller to apply a thin, even coat of primer. For painting bathroom vanity cabinets, a bonding primer or acrylic primer works best, especially on laminate or glossy surfaces. One coat is usually enough. However, if you’re switching from a dark color to a much lighter shade, apply two coats — allowing about four hours of drying time between each coat.
Step 7: Paint the Bathroom Vanity
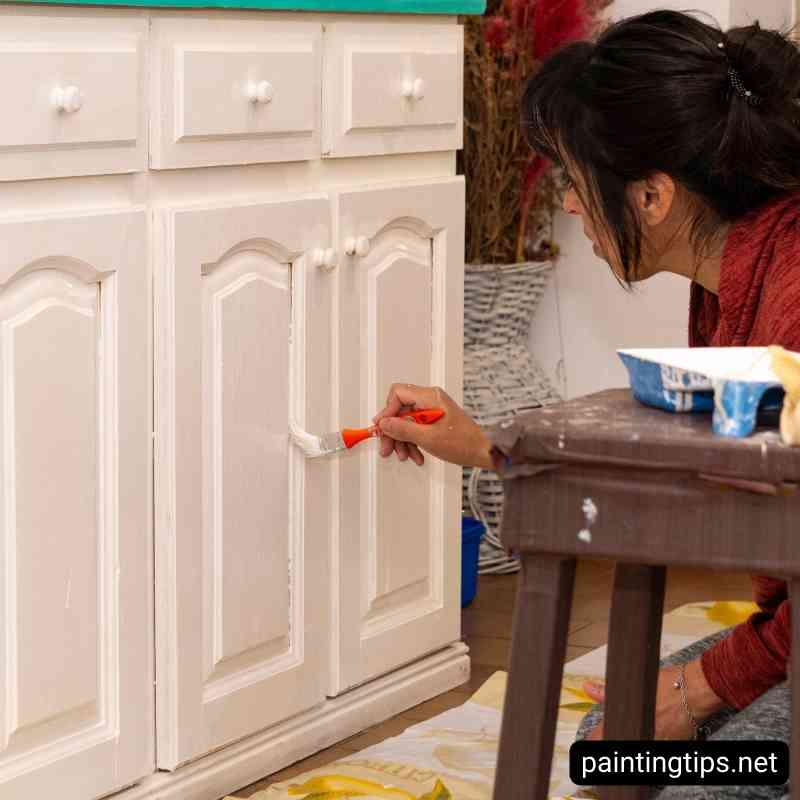
Now it’s time to paint the bathroom vanity. To avoid visible brush and roller marks, use high-quality tools. Apply the paint in thin, even coats and allow each layer to dry before applying the next. For the smoothest finish:
- Use a small foam roller for flat surfaces.
- Use an angled brush for grooves and corners.
- Don’t overload your brush or roller.
- Always follow the wood grain direction.
- Two thin coats usually give the best, most durable results.
Step 8: Seal the Paint
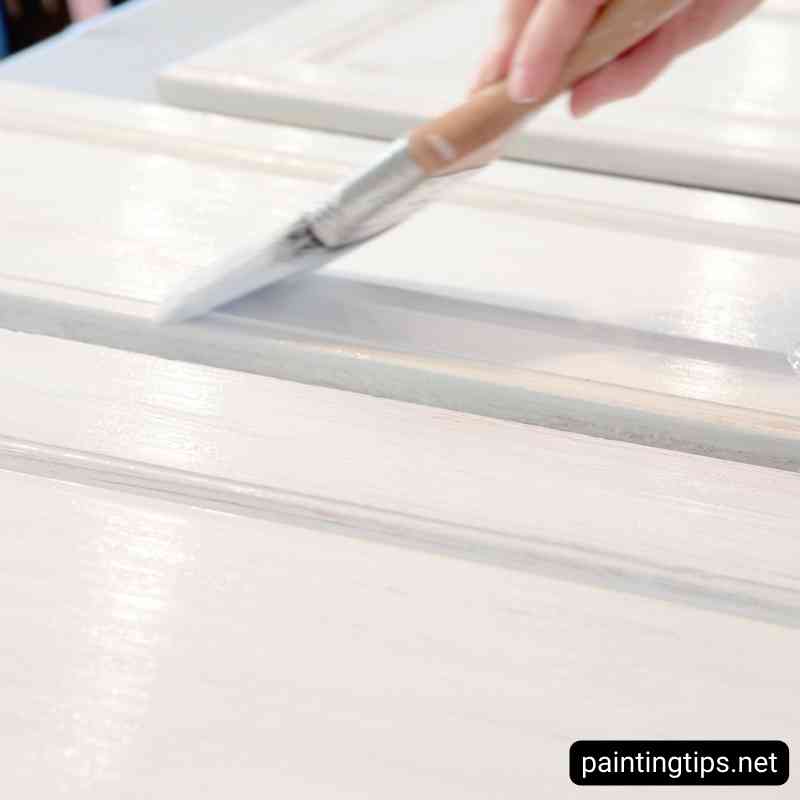
Bathroom vanities are constantly exposed to moisture and warm steam, so sealing the paint is essential for durability. Use a clear, water-based polyurethane sealer to protect the surface. It creates an invisible protective layer that prevents scratches, moisture damage, and peeling. Apply one or two coats, allowing each coat to dry fully.
Step 9: Reassemble Your Bathroom Vanity

Once the paint and sealer are completely dry, reinstall the hardware, doors, and drawers. Push the vanity back into place — and your freshly painted bathroom vanity cabinet is ready to use! “If you’re planning a full bathroom renovation, you might also find this helpful: How to paint tile.”
Supply Checklist
- Screwdriver (for removing hardware)
- Painter’s tape
- 200–220 grit sandpaper
- Damp cloth or tack cloth
- Bonding primer or acrylic primer
- 4–5 inch foam roller
- Angled paintbrush
- High-quality cabinet paint
- Clear, water-based polyurethane sealer
- Drop cloth or protective plastic
- Small container or tray for paint and primer
- Gloves and mask (optional but recommended)