Removing a textured ceiling is one of those renovation jobs that looks straightforward until you’re standing on a ladder with a scraper, water dripping on your face, and a room full of dust. Done right, it’s entirely manageable as a DIY project. Done wrong, it creates more work than the original ceiling ever caused. This guide walks through the process step by step—from testing for asbestos before you touch anything to getting a surface that’s actually ready for paint.
How to Remove a Textured Ceiling
Textured ceilings—popcorn, stipple, slap brush, and stamped finishes among them—were standard in residential construction for several decades. They served a practical purpose: hiding imperfections in the drywall beneath and dampening sound between floors. The problem is that those same grooves and peaks that concealed bad taping work also trap dust, resist cleaning, and date a room immediately.
Scraping is the most common removal method and the one this guide focuses on. It works on most texture types and produces a surface that can be skim-coated, sanded, and painted to a smooth finish. The main variables are whether the ceiling has been painted over—painted texture is significantly harder to remove—and whether the existing material contains asbestos, which changes everything about how you approach the job.
Before committing to full removal, it’s worth considering the alternatives. If the texture is intact and the ceiling is otherwise in good condition, painting with a high-build roller can refresh the look without the mess. Covering with new drywall or a thin skim coat over the existing texture are also options worth weighing against the time and cleanup that scraping involves.
Is it Worth Removing Textured Ceiling?
For most homeowners, yes—but the effort involved depends heavily on the ceiling’s condition. Uncoated texture that was never painted scrapes off relatively easily once wetted. Painted textured ceilings are a different story: the paint seals the surface and prevents water from penetrating, which means the texture won’t soften and releases in small, stubborn fragments rather than clean sheets. In that situation, you’re looking at more time, more passes, and a rougher surface underneath that will need more prep work before painting.
If the texture is painted and in reasonable condition, covering rather than removing is sometimes the more practical choice. If it’s uncoated, peeling, or you’re committed to a smooth finish, scraping is the right call.
Can Textured Ceilings Be Smoothed Without Scraping?
Yes, though with trade-offs. Applying a skim coat of joint compound directly over existing texture can level the surface without removal—but only if the texture is well-adhered and the ceiling can support the additional weight. It’s faster than scraping and produces less dust, but the surface needs to be properly prepared and the skim coat applied evenly to avoid visible irregularities.
Scraping remains the most reliable route to a genuinely smooth ceiling. The steps below cover that process in full.
How to Remove Textured Ceiling: Step by Step
Tools and materials you’ll need: long-handled scraper with a wide blade, garden pump sprayer, P2/N95 respirator, safety goggles, protective overalls, drop cloths, painter’s tape, 180–220 grit sandpaper, damp cloth, primer.
Step 1: Test for Asbestos Before You Do Anything
This is the step most guides bury or skip entirely, and it’s the most important one. Textured ceiling materials applied before the mid-1980s frequently contained asbestos. Scraping an asbestos ceiling without proper precautions creates airborne fibers that pose a serious long-term health risk—not a short-term irritation, but a genuine hazard.
If your home was built before 1985, take a small sample of the texture material and have it tested before proceeding. Testing kits are available at hardware stores, or you can send a sample to a certified lab. If the result comes back positive, stop—this is a job for a licensed asbestos removal contractor, not a weekend DIY project.
Step 2: Prepare the Room
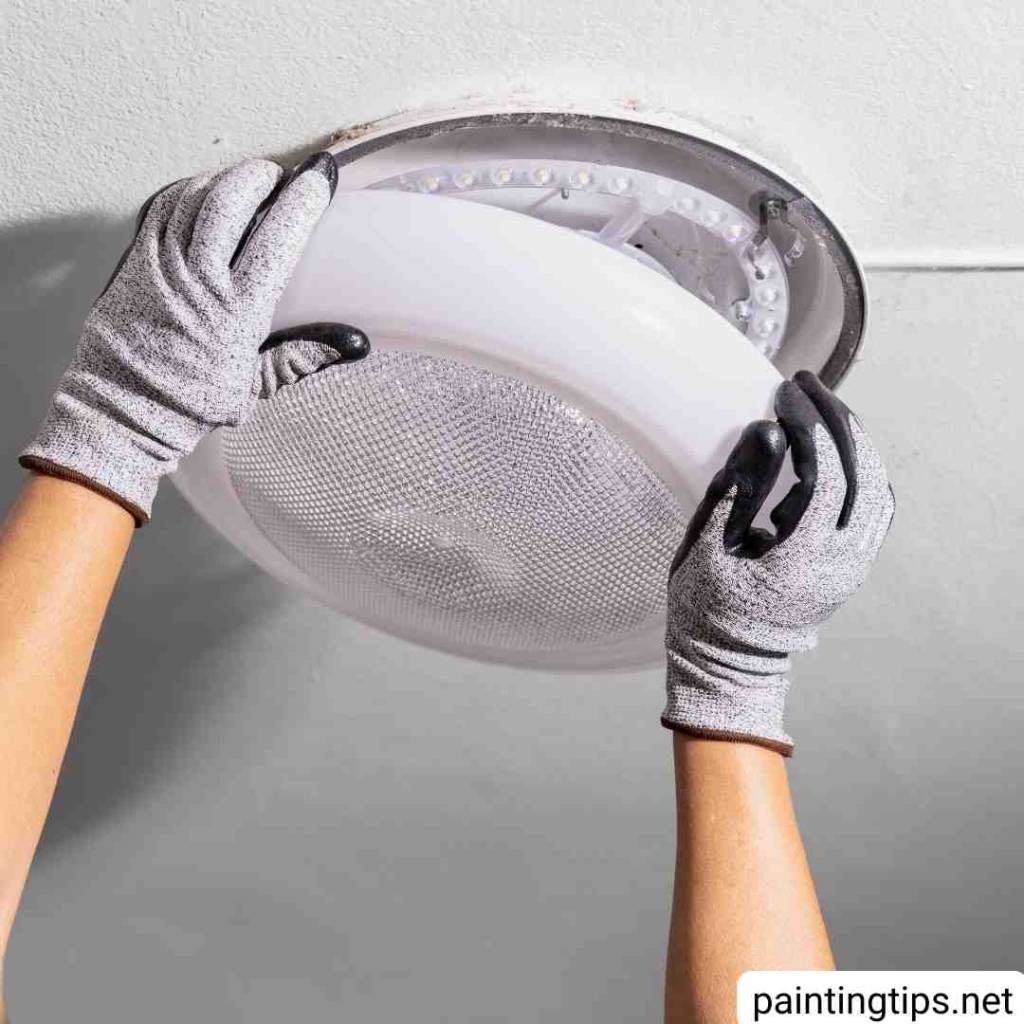
Remove or disconnect ceiling fixtures and cut power to the relevant circuits at the breaker. Water and electricity don’t mix, and you’ll be spraying water above your head throughout this process.
Cover the floor completely with drop cloths and tape them to the base of the walls—texture debris and wet plaster will land everywhere, and a thorough floor covering cuts cleanup time significantly. Cover or remove any furniture remaining in the room.

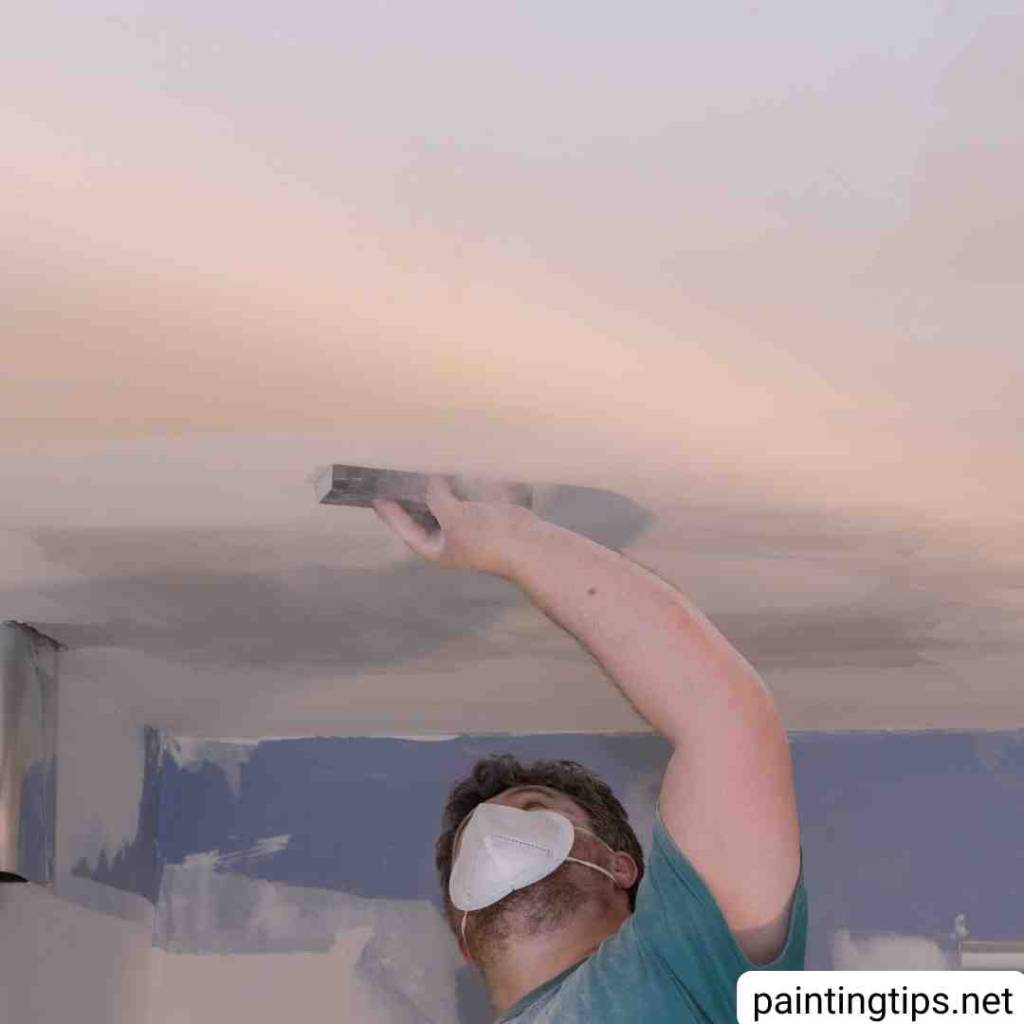
Step 3: Protect Yourself

Put on your respirator, goggles, and overalls before you start spraying or scraping. Even non-asbestos texture dust is fine enough to cause irritation, and you’ll be working directly beneath the falling debris throughout the job. This isn’t optional protective theater—ceiling texture removal generates a sustained cloud of fine particulate that a basic dust mask doesn’t adequately filter.
Step 4: Wet the Ceiling
Fill a garden pump sprayer with warm water and apply an even mist to a manageable section of ceiling—typically two to three square metres at a time. Don’t saturate it; you’re trying to soften the texture, not soak through to the drywall beneath. Over-wetting can damage the drywall paper and create a surface that needs significant repair before painting.
Allow the water to soak in for 15 to 30 minutes. The texture should feel soft and slightly yielding when pressed gently with a finger. If it still feels hard, mist again and wait. Painted texture will resist water penetration—you may need to score the surface lightly with a stiff brush before wetting to allow moisture in.
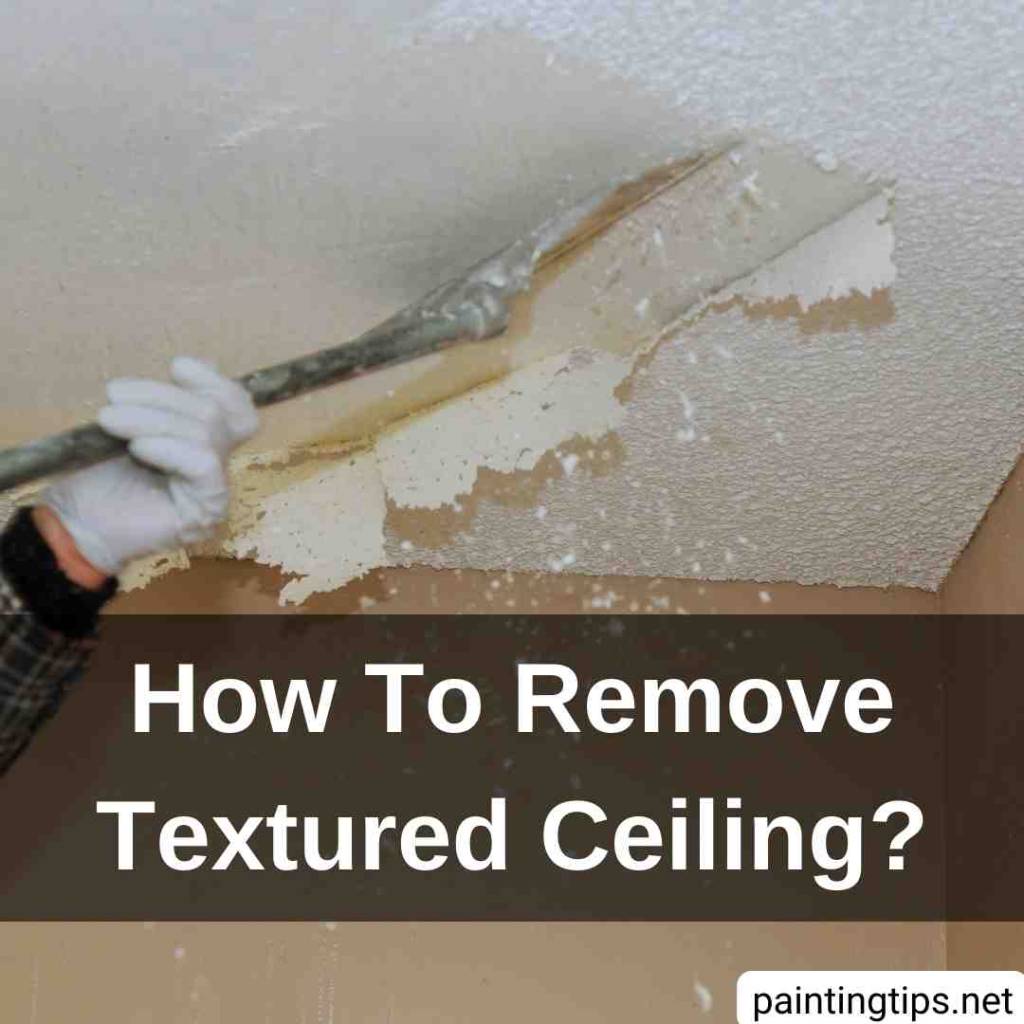
Step 5: Scrape the Texture
Use a wide-blade scraper with a long, adjustable handle—working overhead is physically demanding, and a proper long-handled tool reduces the strain on your arms and shoulders considerably. Hold the blade at a low angle to the ceiling and work in smooth, overlapping strokes.
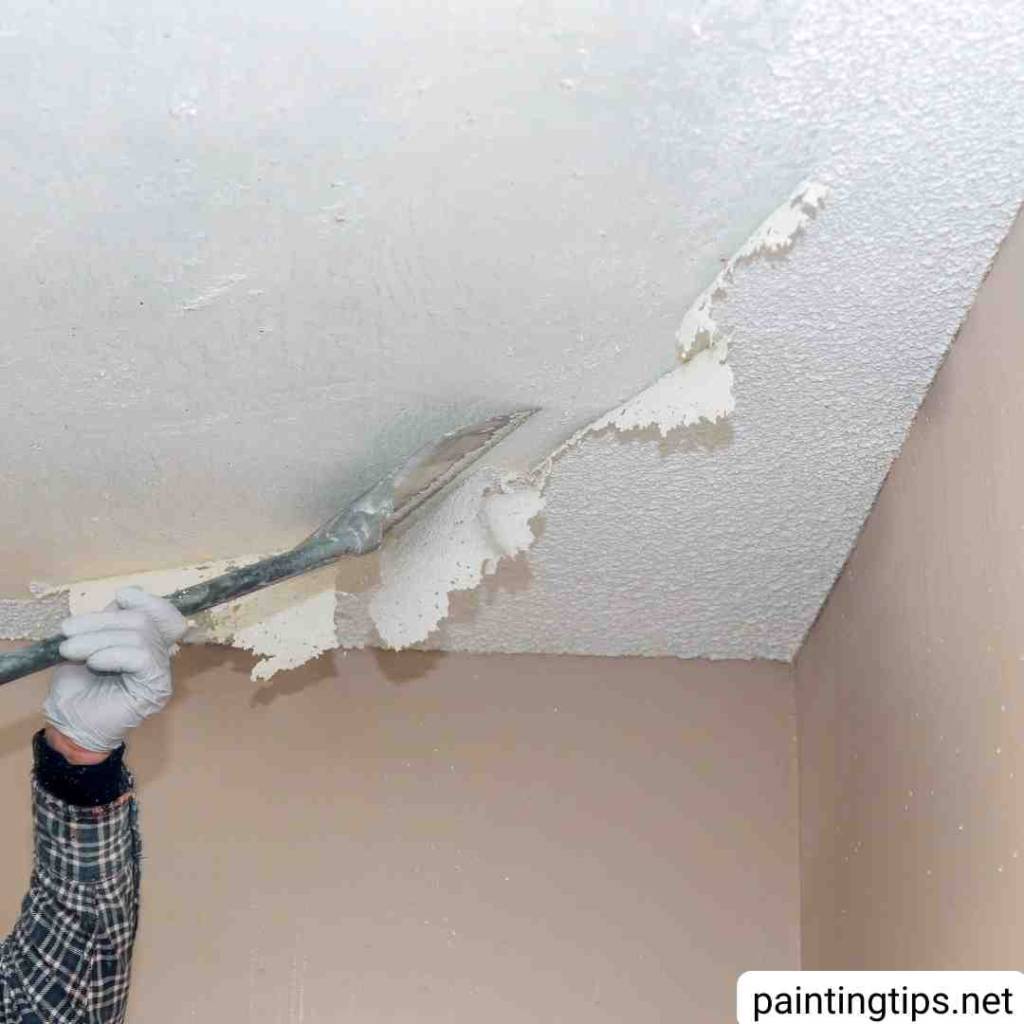
Scrape in different directions as needed. Some texture types release more easily when approached from a specific angle. If an area is resisting, re-wet and wait rather than forcing it—aggressive scraping damages the drywall beneath and creates repair work that takes longer than the scraping itself.
Work in sections, keeping the rest of the ceiling covered until you’re ready for it. Texture that dries out mid-job will need to be re-wetted before it releases cleanly.
Step 6: Sand and Smooth
Once the texture is removed, let the ceiling dry completely—at least 24 hours, longer in humid conditions. Inspect the surface carefully once dry. You’ll likely find raised edges, tool marks, and patches of remaining texture that weren’t visible when the surface was wet.
Sand these areas with 180–220 grit sandpaper until the surface is uniformly smooth. A sanding pole is worth using for efficiency. After sanding, wipe the entire ceiling with a lightly dampened cloth to remove dust and fine debris before moving on.
Step 7: Clean the Room
Texture debris and dust will have settled on every surface in the room regardless of how well you covered things. Vacuum drop cloths before removing them to avoid spreading dust further. Wipe walls down with a damp cloth—fine plaster dust clings to painted surfaces and will show through new paint if left behind. “Related post: How to clean walls without leaving streaks.”
Step 8: Apply Primer
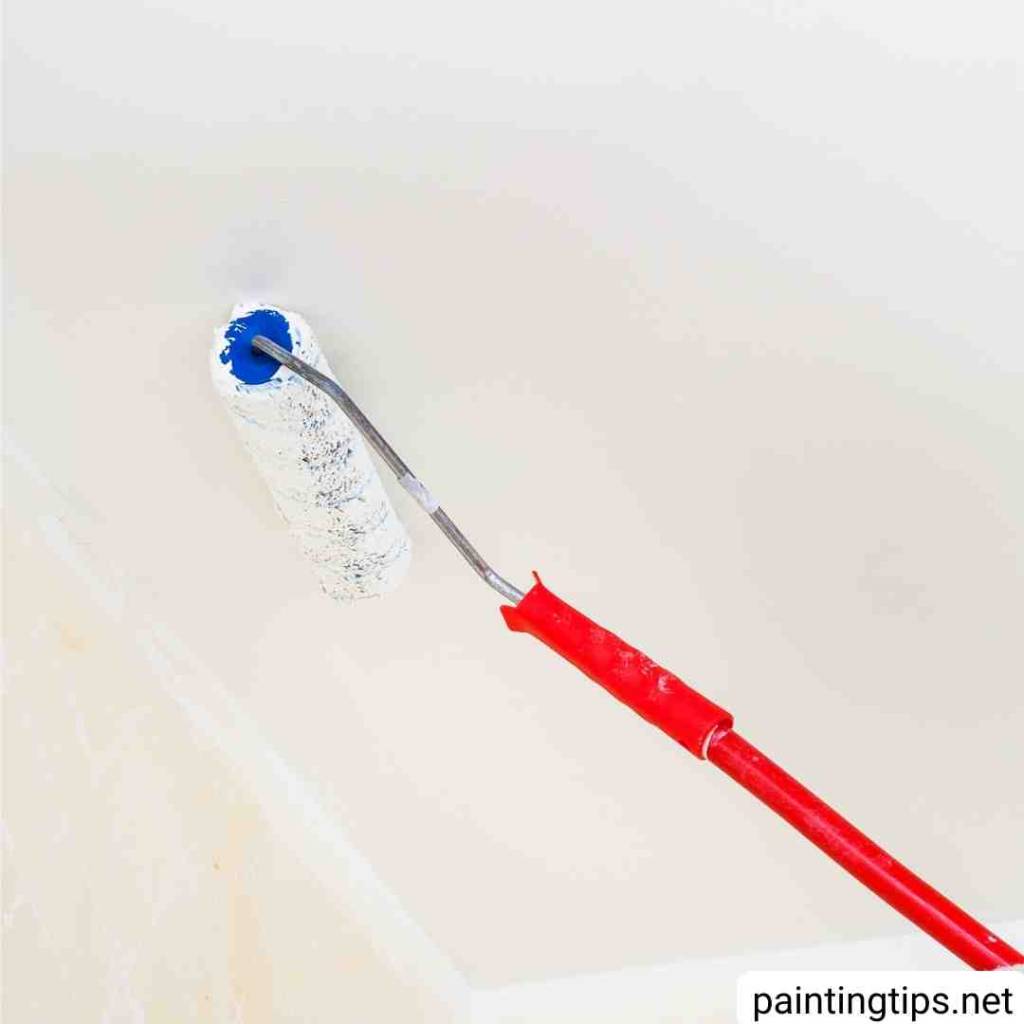
Once the ceiling is clean and fully dry, apply a quality primer before painting or applying a skim coat. Primer seals the exposed drywall paper—which absorbs paint unevenly if left unprimed—and gives your topcoat a uniform base to work from. If you’re planning to skim coat rather than paint directly, check whether your chosen compound requires a primed surface first. “Related post: How to get rid of popcorn ceiling.”
Frequently Asked Questions
Below are answers to the most common questions about textured ceiling removal. For anything not covered here, feel free to use the comments section.
What Is the Best Way to Remove a Textured Ceiling?
Wetting and scraping is the most reliable method for most texture types. Wet the surface in manageable sections, allow it to soften for 15 to 30 minutes, then scrape with a wide-blade long-handled scraper. Painted texture resists this approach because the paint prevents water penetration—scoring the surface before wetting helps, but painted ceilings generally take significantly more time and effort to remove cleanly.
How Do You Remove a Stipple or Popcorn Ceiling?
The process is the same as for other texture types: test for asbestos first, wet the surface, wait for it to soften, and scrape. Stipple and popcorn finishes are typically thicker than other textures but release well once properly wetted—provided they haven’t been painted over. If they have, expect more resistance and more passes.
How Do You Remove Painted Textured Ceiling?
Painted texture is harder because the paint seals the surface and blocks water absorption. Score or perforate the surface lightly before wetting to allow moisture to penetrate. Apply water, wait longer than you would for uncoated texture—up to 45 minutes—and work in smaller sections. Expect the process to take significantly longer than removing uncoated texture, and plan for more surface repair work afterward.
Is Textured Ceiling Removal a DIY Job?
For most uncoated texture in homes built after the mid-1980s, yes. The process is physically demanding and messy but doesn’t require specialist skills. The exception is any ceiling that may contain asbestos—if there’s any possibility the texture was applied before 1985, test first. If the result is positive, hire a licensed contractor. DIY asbestos removal is not a risk worth taking.
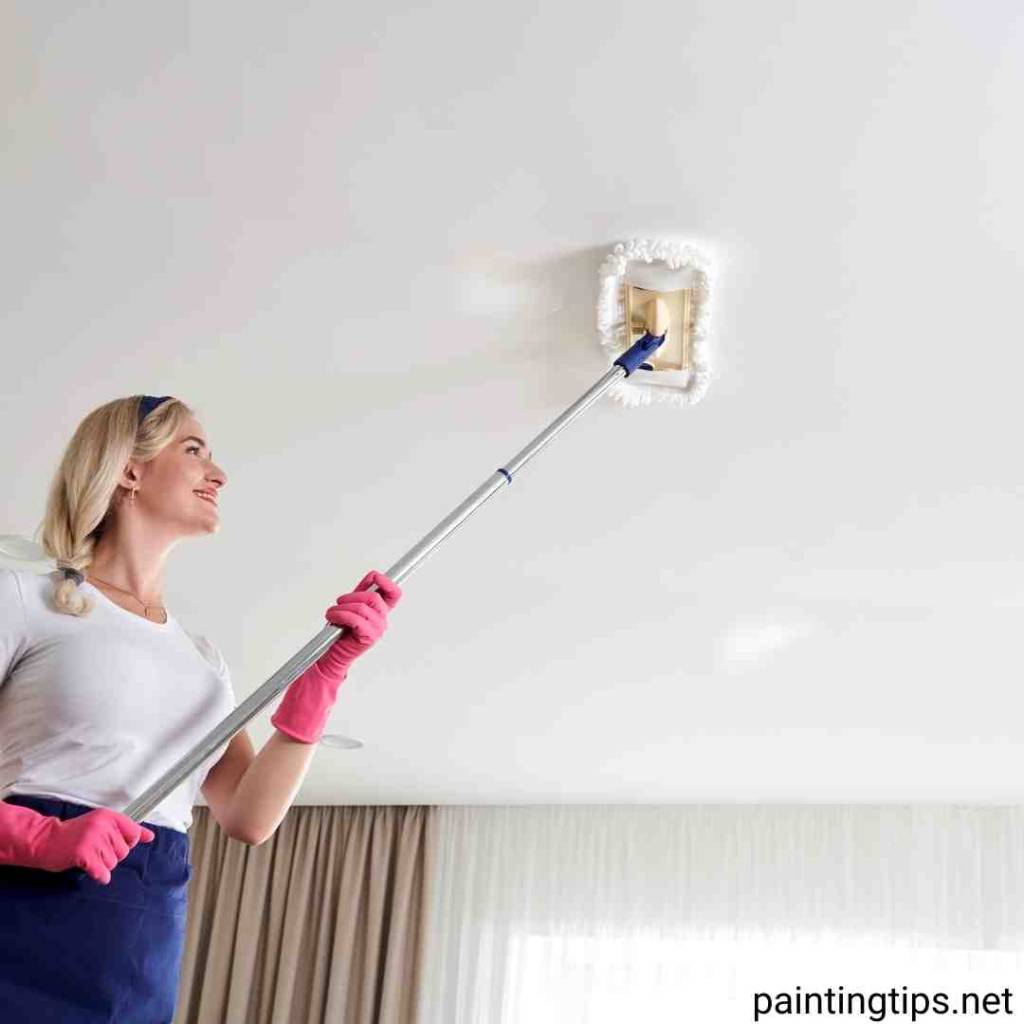
How Do You Clean a Textured Ceiling Without Removing It?
For light dust accumulation, a vacuum with a soft brush attachment works well on most texture types. For more stubborn marks, a barely damp sponge or cloth applied gently—without scrubbing—can lift surface dirt without damaging the texture. Avoid soaking the surface, as moisture can soften and dislodge the texture material.
What Is the Easiest Way to Remove Ceiling Texture?
Uncoated texture on a well-adhered surface responds best to warm water and a quality long-handled scraper. The easier the texture releases, the more time you’ll save. The single biggest factor in how easy or difficult the job is comes down to whether the ceiling has been painted—painted texture is consistently the hardest to remove cleanly.