The door frame complements the door and baseboards, so it should coordinate well with the door, trim, and even the wall color. That’s why it’s essential to choose the right shade before you start painting. In this guide, we’ll show you how to paint a previously painted or unpainted door frame easily and professionally in five simple steps. “If you’re planning to paint the doors too, read this first: Painting interior doors.”
Painting Door Frame
Painting a door frame is quite simple — you don’t need to be a professional painter to get great results. With just a few steps, you can apply two coats and paint several door frames in a single day.
The goal when painting a door frame is to achieve a smooth, even surface without visible brush marks. If the old color is dark, you’ll also want the new paint to cover it easily. All of this is possible with the right technique, proper order, and the right brush.
How to Paint a Door Frame Step by Step
Here are 5 easy steps to paint your door frame neatly and professionally. Follow the correct order and don’t skip the prep work — it makes all the difference.
1-Remove or Cover the Door
Before painting the frame, you can either remove the door or tape it securely. Removing the door makes the job faster and easier, but you can still paint the frame without taking it down.
If you choose not to remove the door, cover it completely with painter’s tape to protect it from paint splatters. Also, wrap the hinges with painter’s tape if you don’t plan to paint them.
2-Prepare the Area
If the frame was previously painted, start by wiping it with a damp cloth to remove dust, oil, and dirt. For stubborn stains, use an all-purpose cleaner or lightly sand the area.
Inspect the frame for dents or cracks. If you find any, fill them with a good-quality wood filler. Once the filler dries, sand the surface with 180-grit sandpaper for a smooth finish.
If there are gaps between the door frame and the wall, use paintable polyurethane caulk to fill them. This gives the frame a seamless, professional appearance.
3-Fill, Sand, and Clean the Frame
If the frame was previously painted, start by wiping it with a damp cloth to remove dust, oil, and dirt. For stubborn stains, use an all-purpose cleaner or lightly sand the area.
Inspect the frame for dents or cracks. If you find any, fill them with a good-quality wood filler. Once the filler dries, sand the surface with 180-grit sandpaper for a smooth finish. “This may be useful: How to fix broken door frame.”
If there are gaps between the door frame and the wall, use paintable polyurethane caulk to fill them. This gives the frame a seamless, professional appearance.
4-Apply Primer
Priming isn’t always necessary, but it’s highly recommended if the frame has a dark color, a glossy finish, or was previously painted with enamel paint. One coat of primer is usually enough, but for dark colors, you can apply two coats. Wait at least 4 hours between coats. (For more details, see our article “How Many Coats of Primer.”)
5-Start Painting the Door Frame
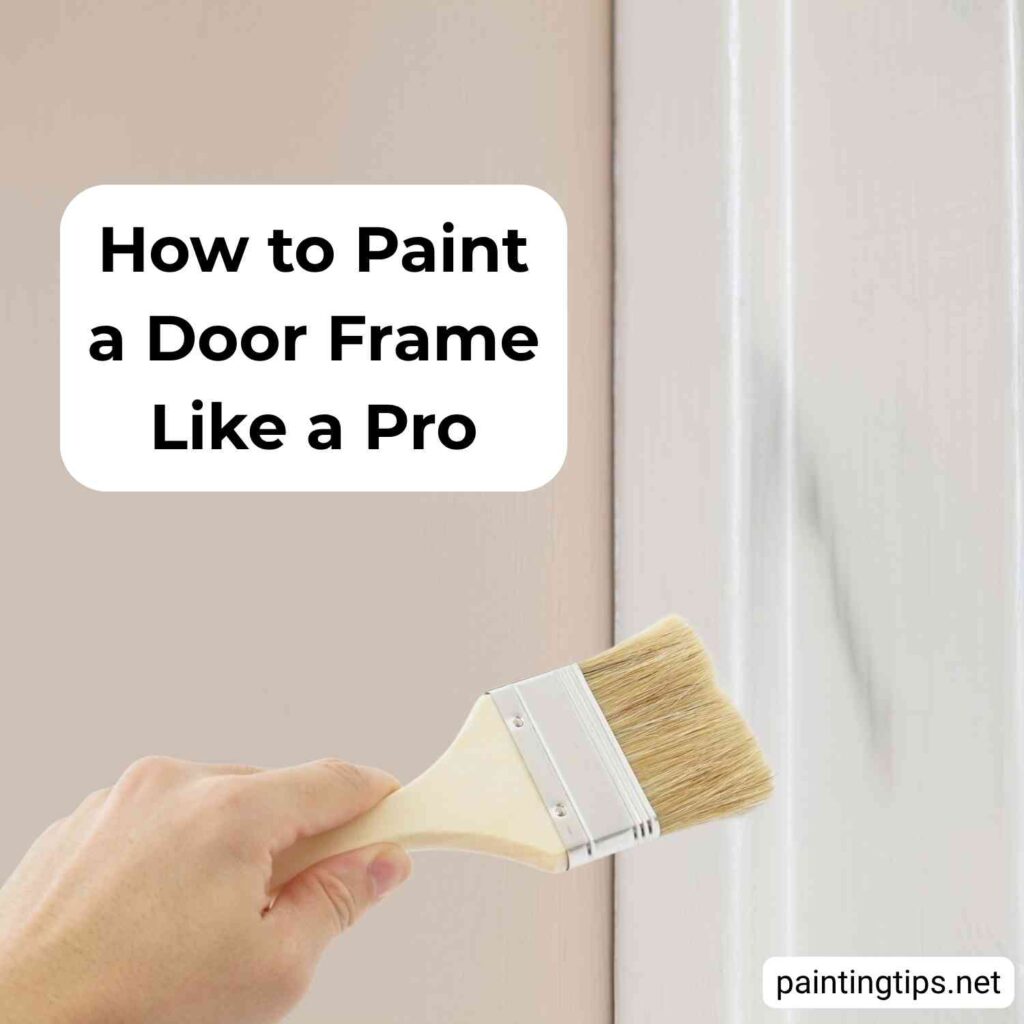
Before painting, make sure the primer is completely dry. Use a high-quality brush and avoid overloading it with paint to prevent drips. If you notice drips forming, sand them smooth once dry and repaint.
Begin painting from the top center of the frame and move toward both corners. Try not to get paint on the adjacent wall. Next, paint the vertical sections of the frame from top to bottom. Apply the paint evenly to avoid streaks or thick patches.
When finished, inspect for uneven areas and touch them up as needed. Soft, high-quality brushes work best for a smooth finish.
If you’re using water-based paint, wait at least 4 hours between coats. For oil-based or enamel paint, wait at least 24 hours between coats and use an oil-based primer for best adhesion.
Things You Will Need
- Painter’s tape
- Drop cloth or old newspapers
- Damp cloth or cleaner
- Sandpaper (180-grit)
- Wood filler
- Putty knife
- Primer (optional but recommended)
- Paint (water-based or oil-based)
- High-quality brush
- Paintable caulk
A valuable contribution to the topic.